


When our team stepped in to take over this project, the home was mid-renovation following the sudden shutdown of the original general contractor. Inheriting an active job site meant immediately stepping up to audit incomplete work, untangle pending vendor orders, and re-coordinate trade scheduling to keep the project on track. From day one, our priority was providing the homeowners with seamless continuity, clear communication, and the technical expertise needed to bring their vision across the finish line.
Transforming a residential space into a refined, functional home requires balancing design, trades, and supply chain logistics. Over the past eight weeks, our team navigated everything from material lead times to utility quirks on the project. Here is a look at how this transformation unfolded from start to finish.
Phase 1: Initial Planning & Surface Prep (Late June – Early July)
The project officially kicked off on June 30 with client measurement meetings to confirm ordering requirements. By July 1, site progress moved fast:
- Fresh paint went onto the living room ceiling.
- Recessed lighting trim, ceiling registers, and a new garage entry door were installed.
- Drywall patching began around the main entryway.
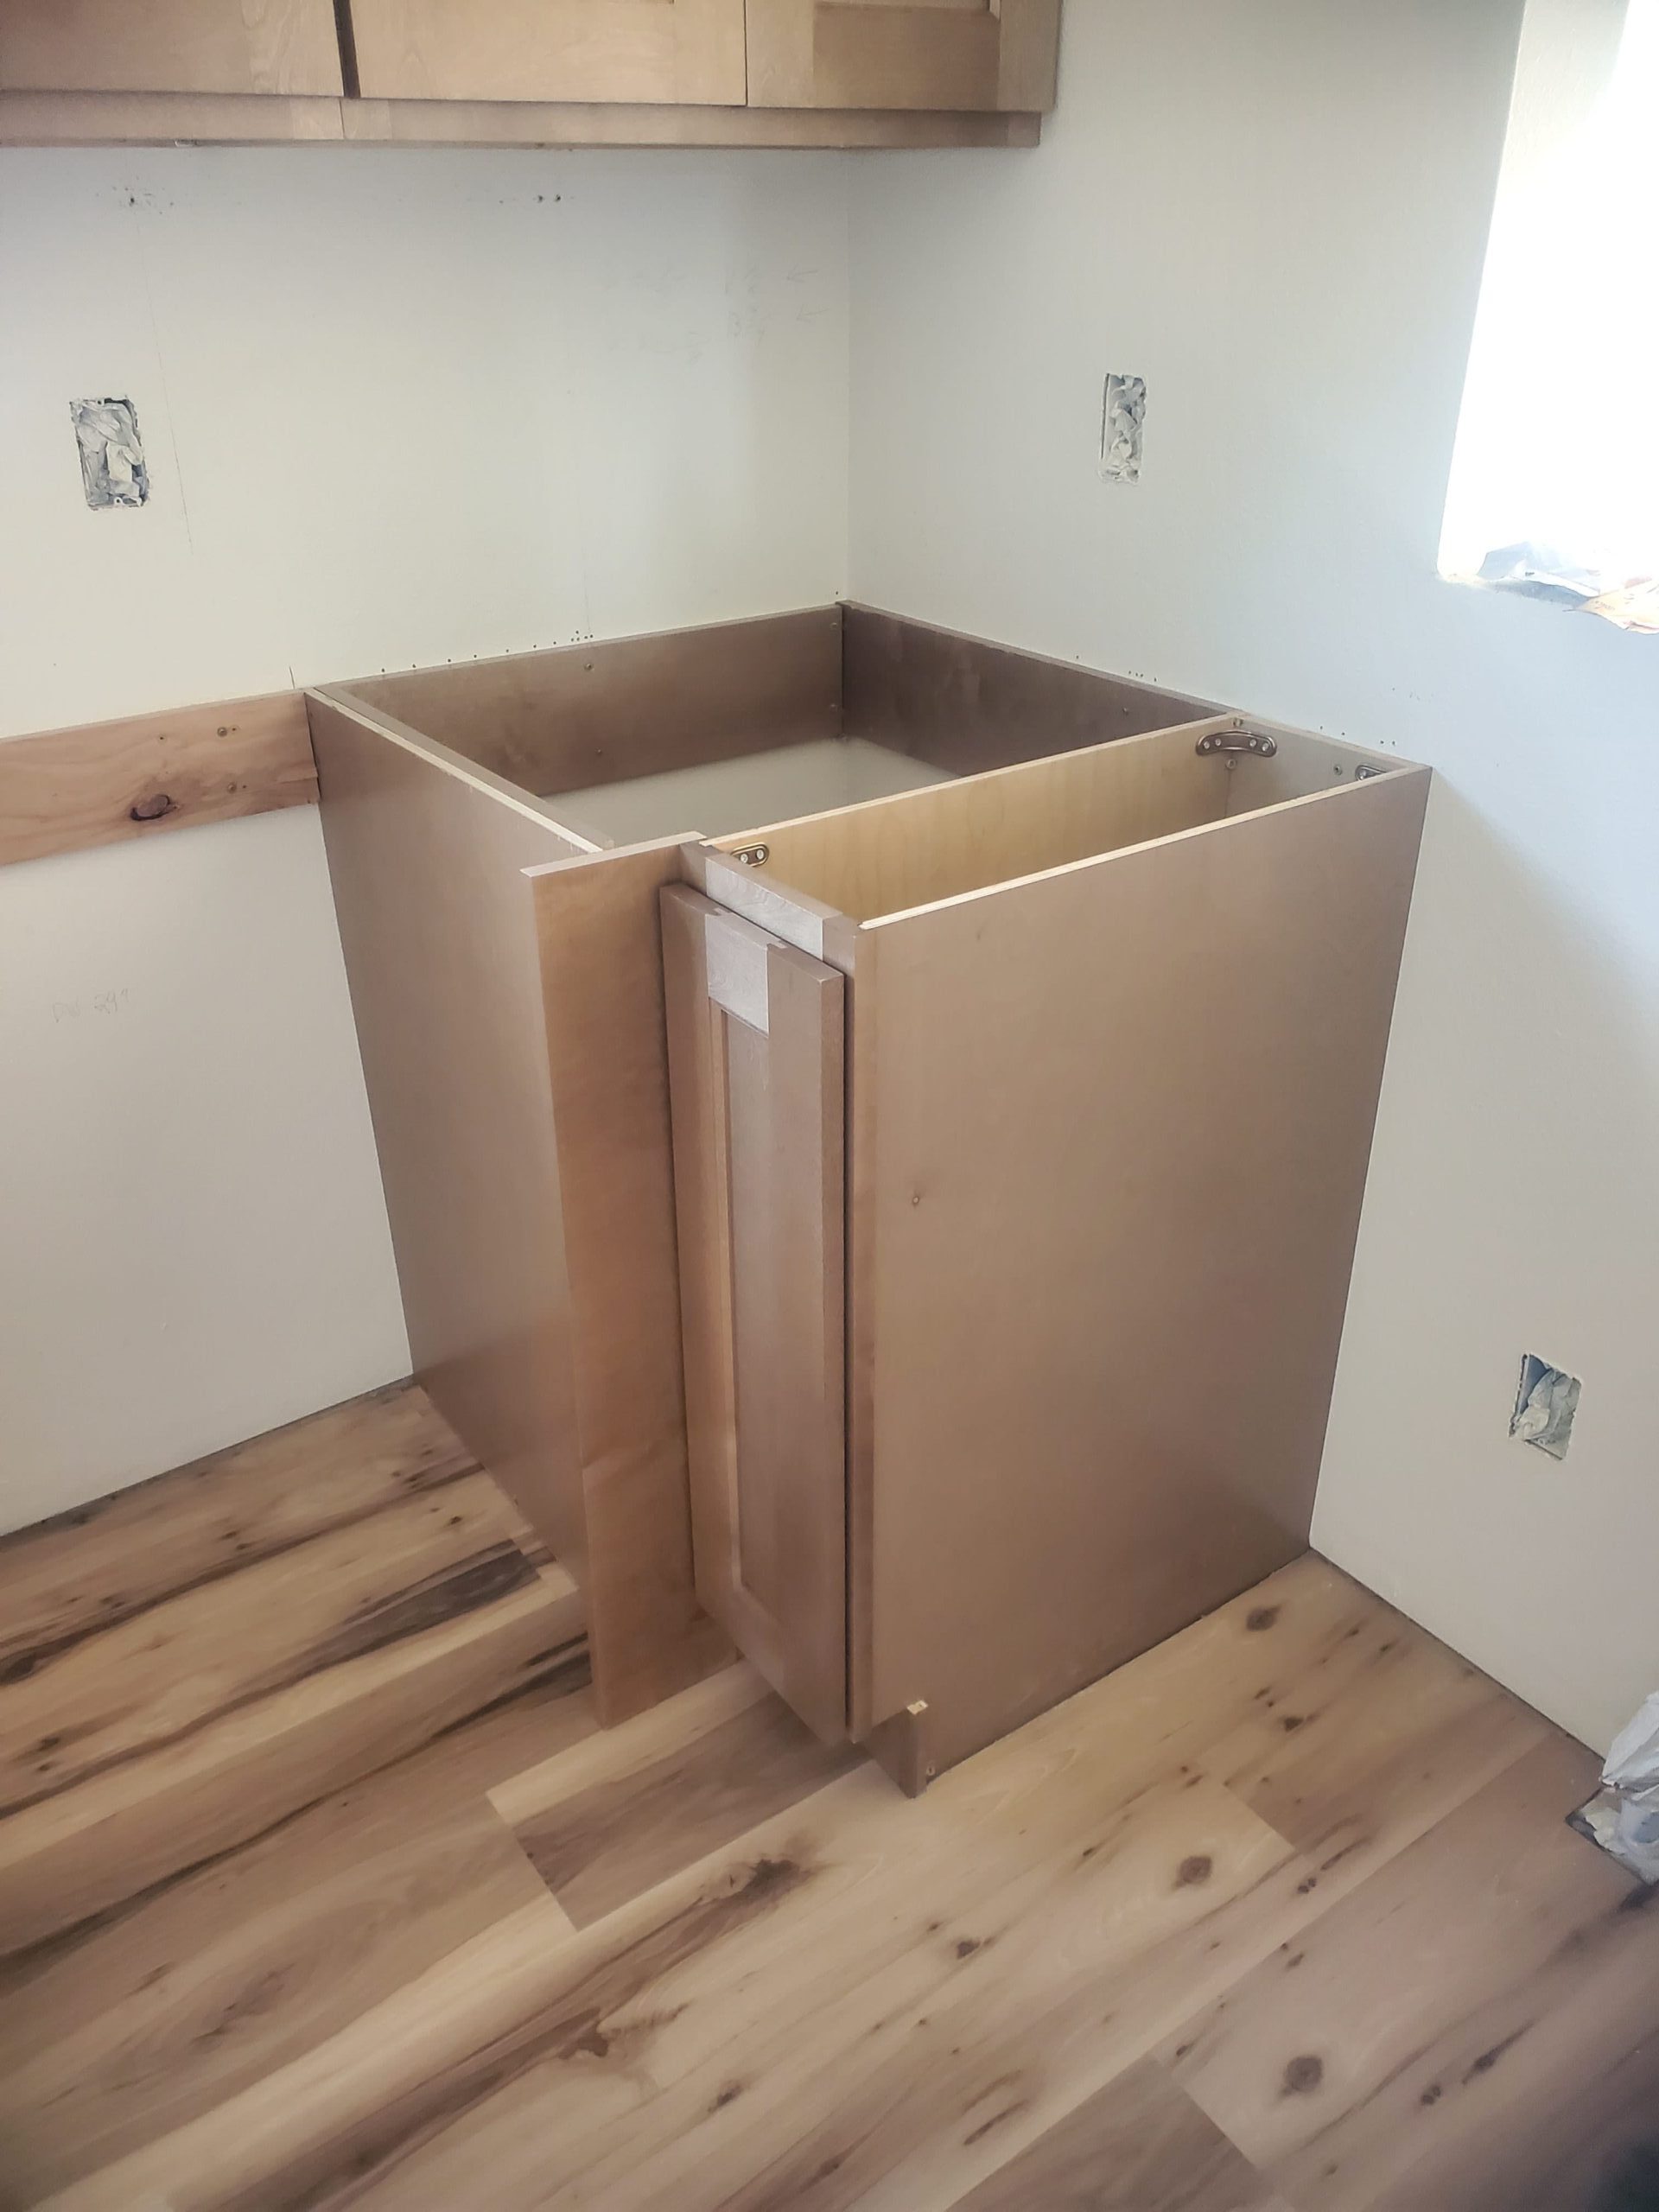
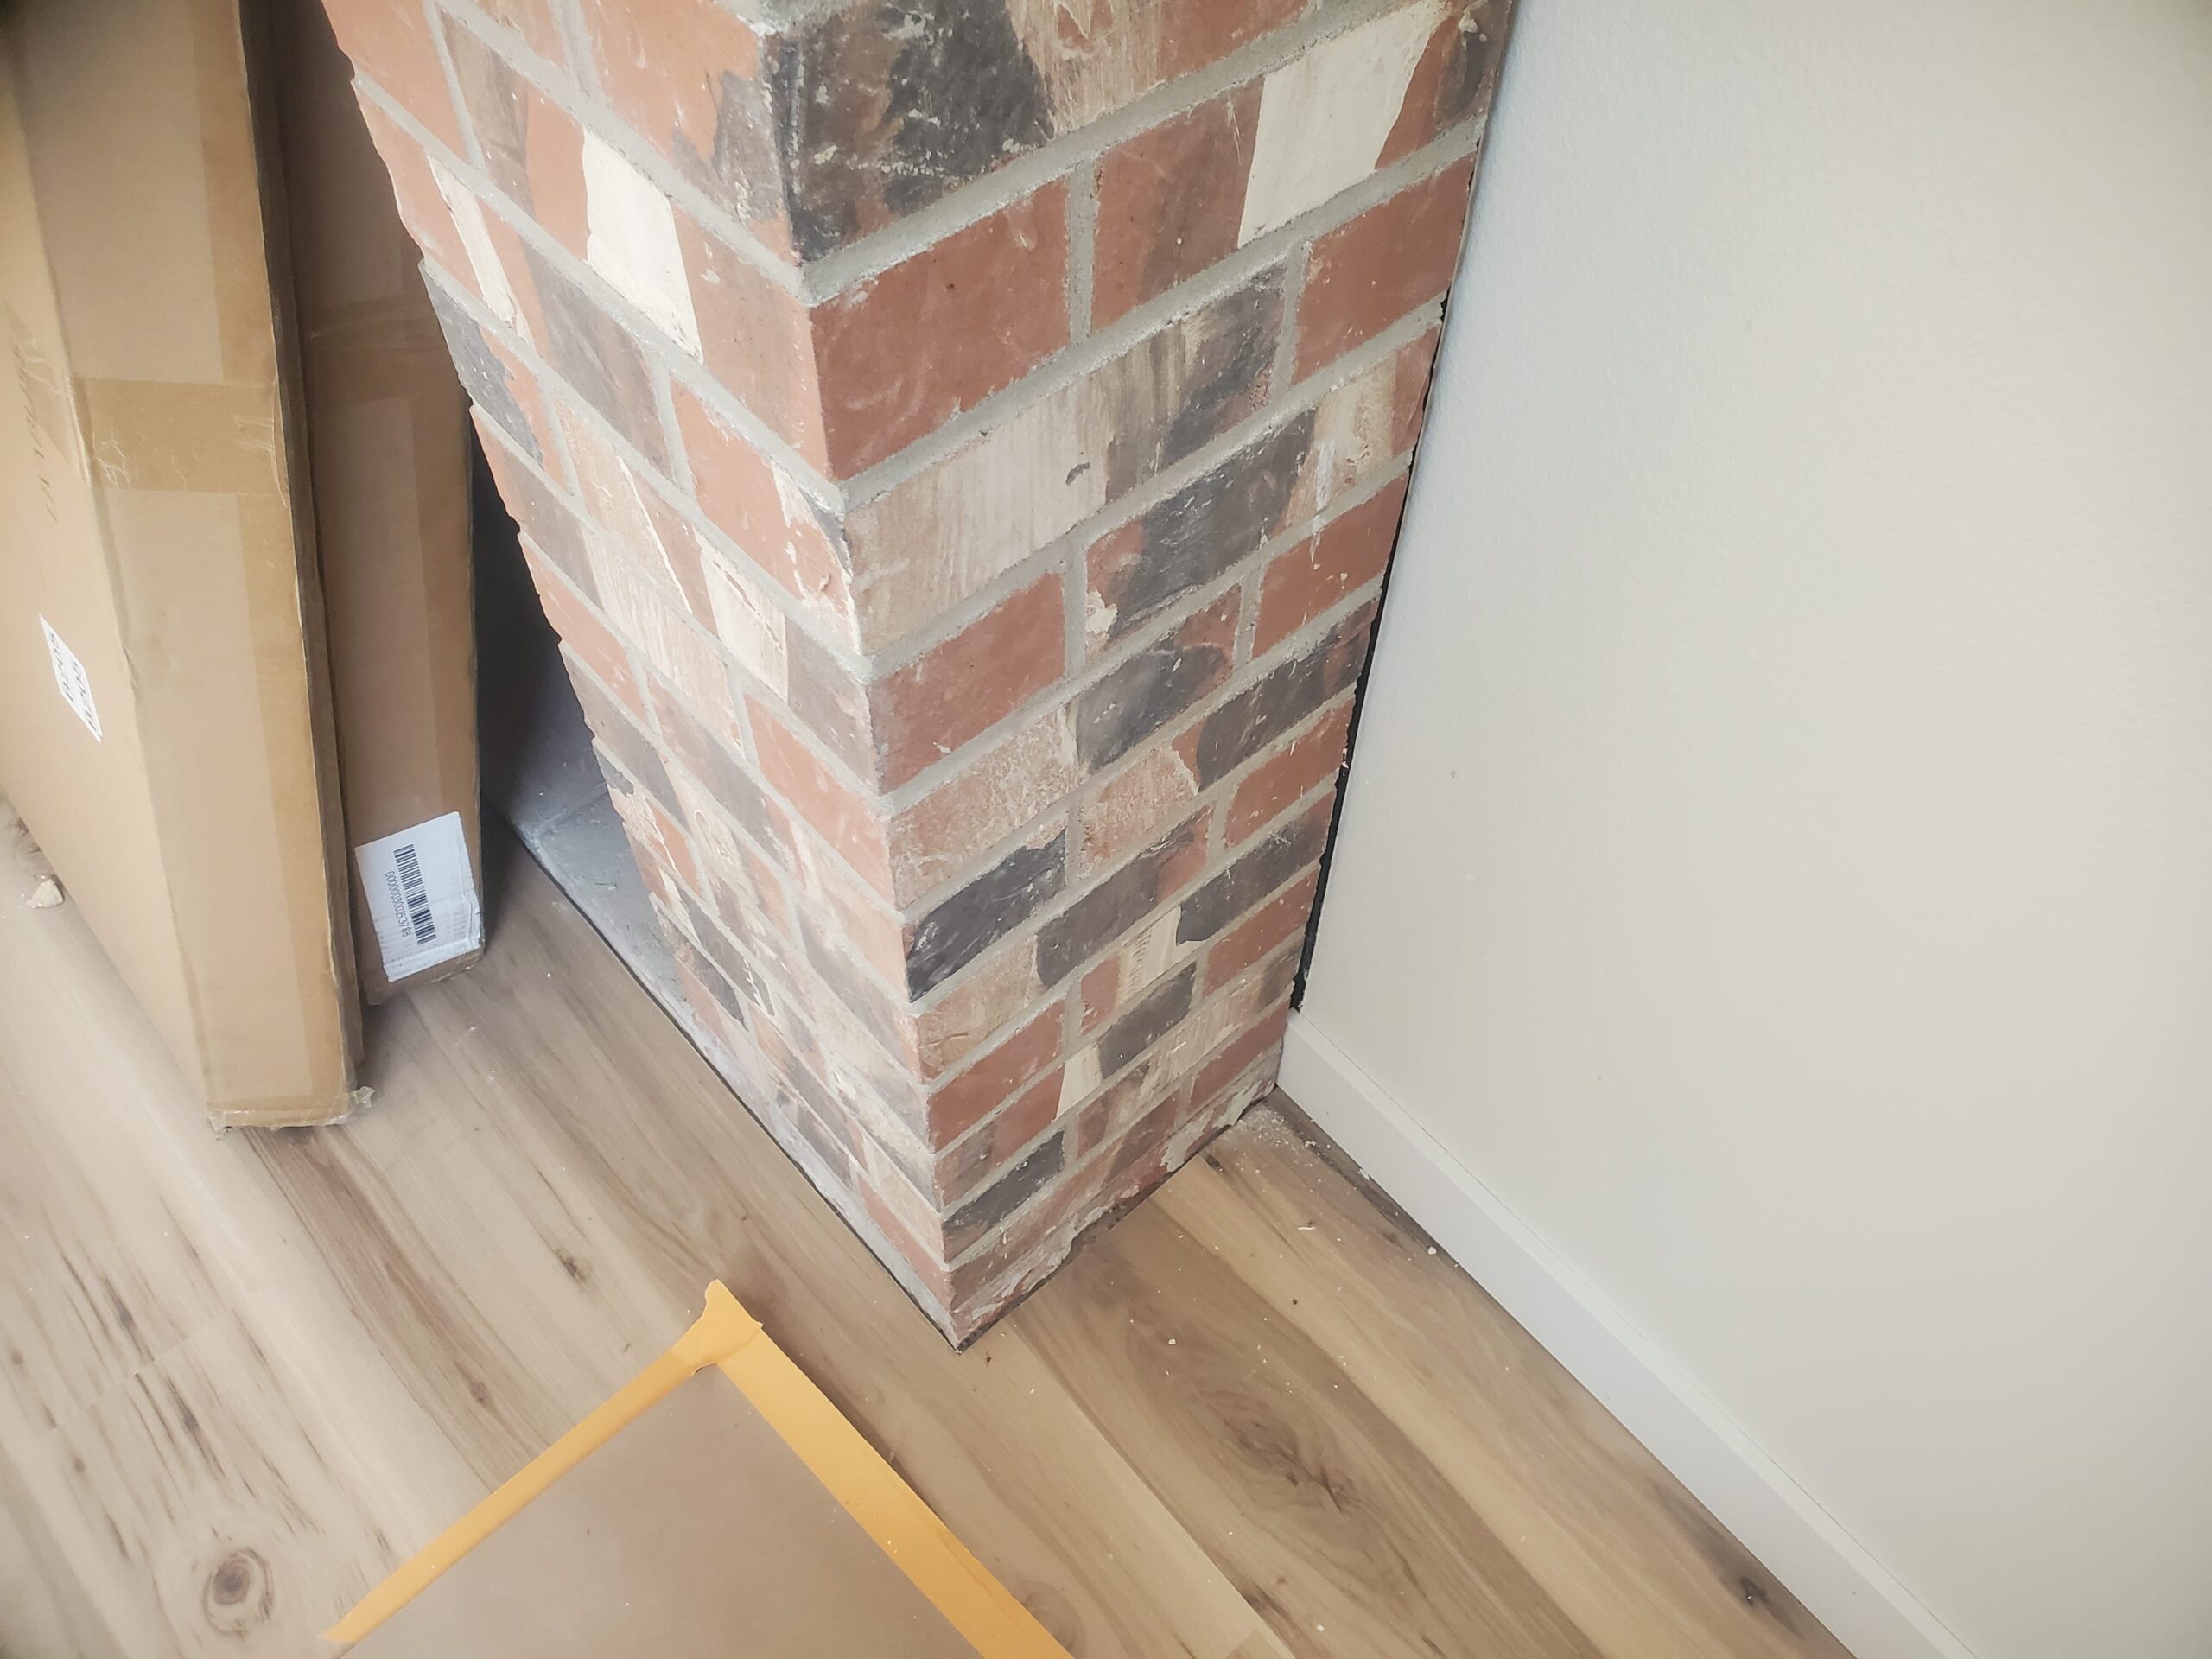
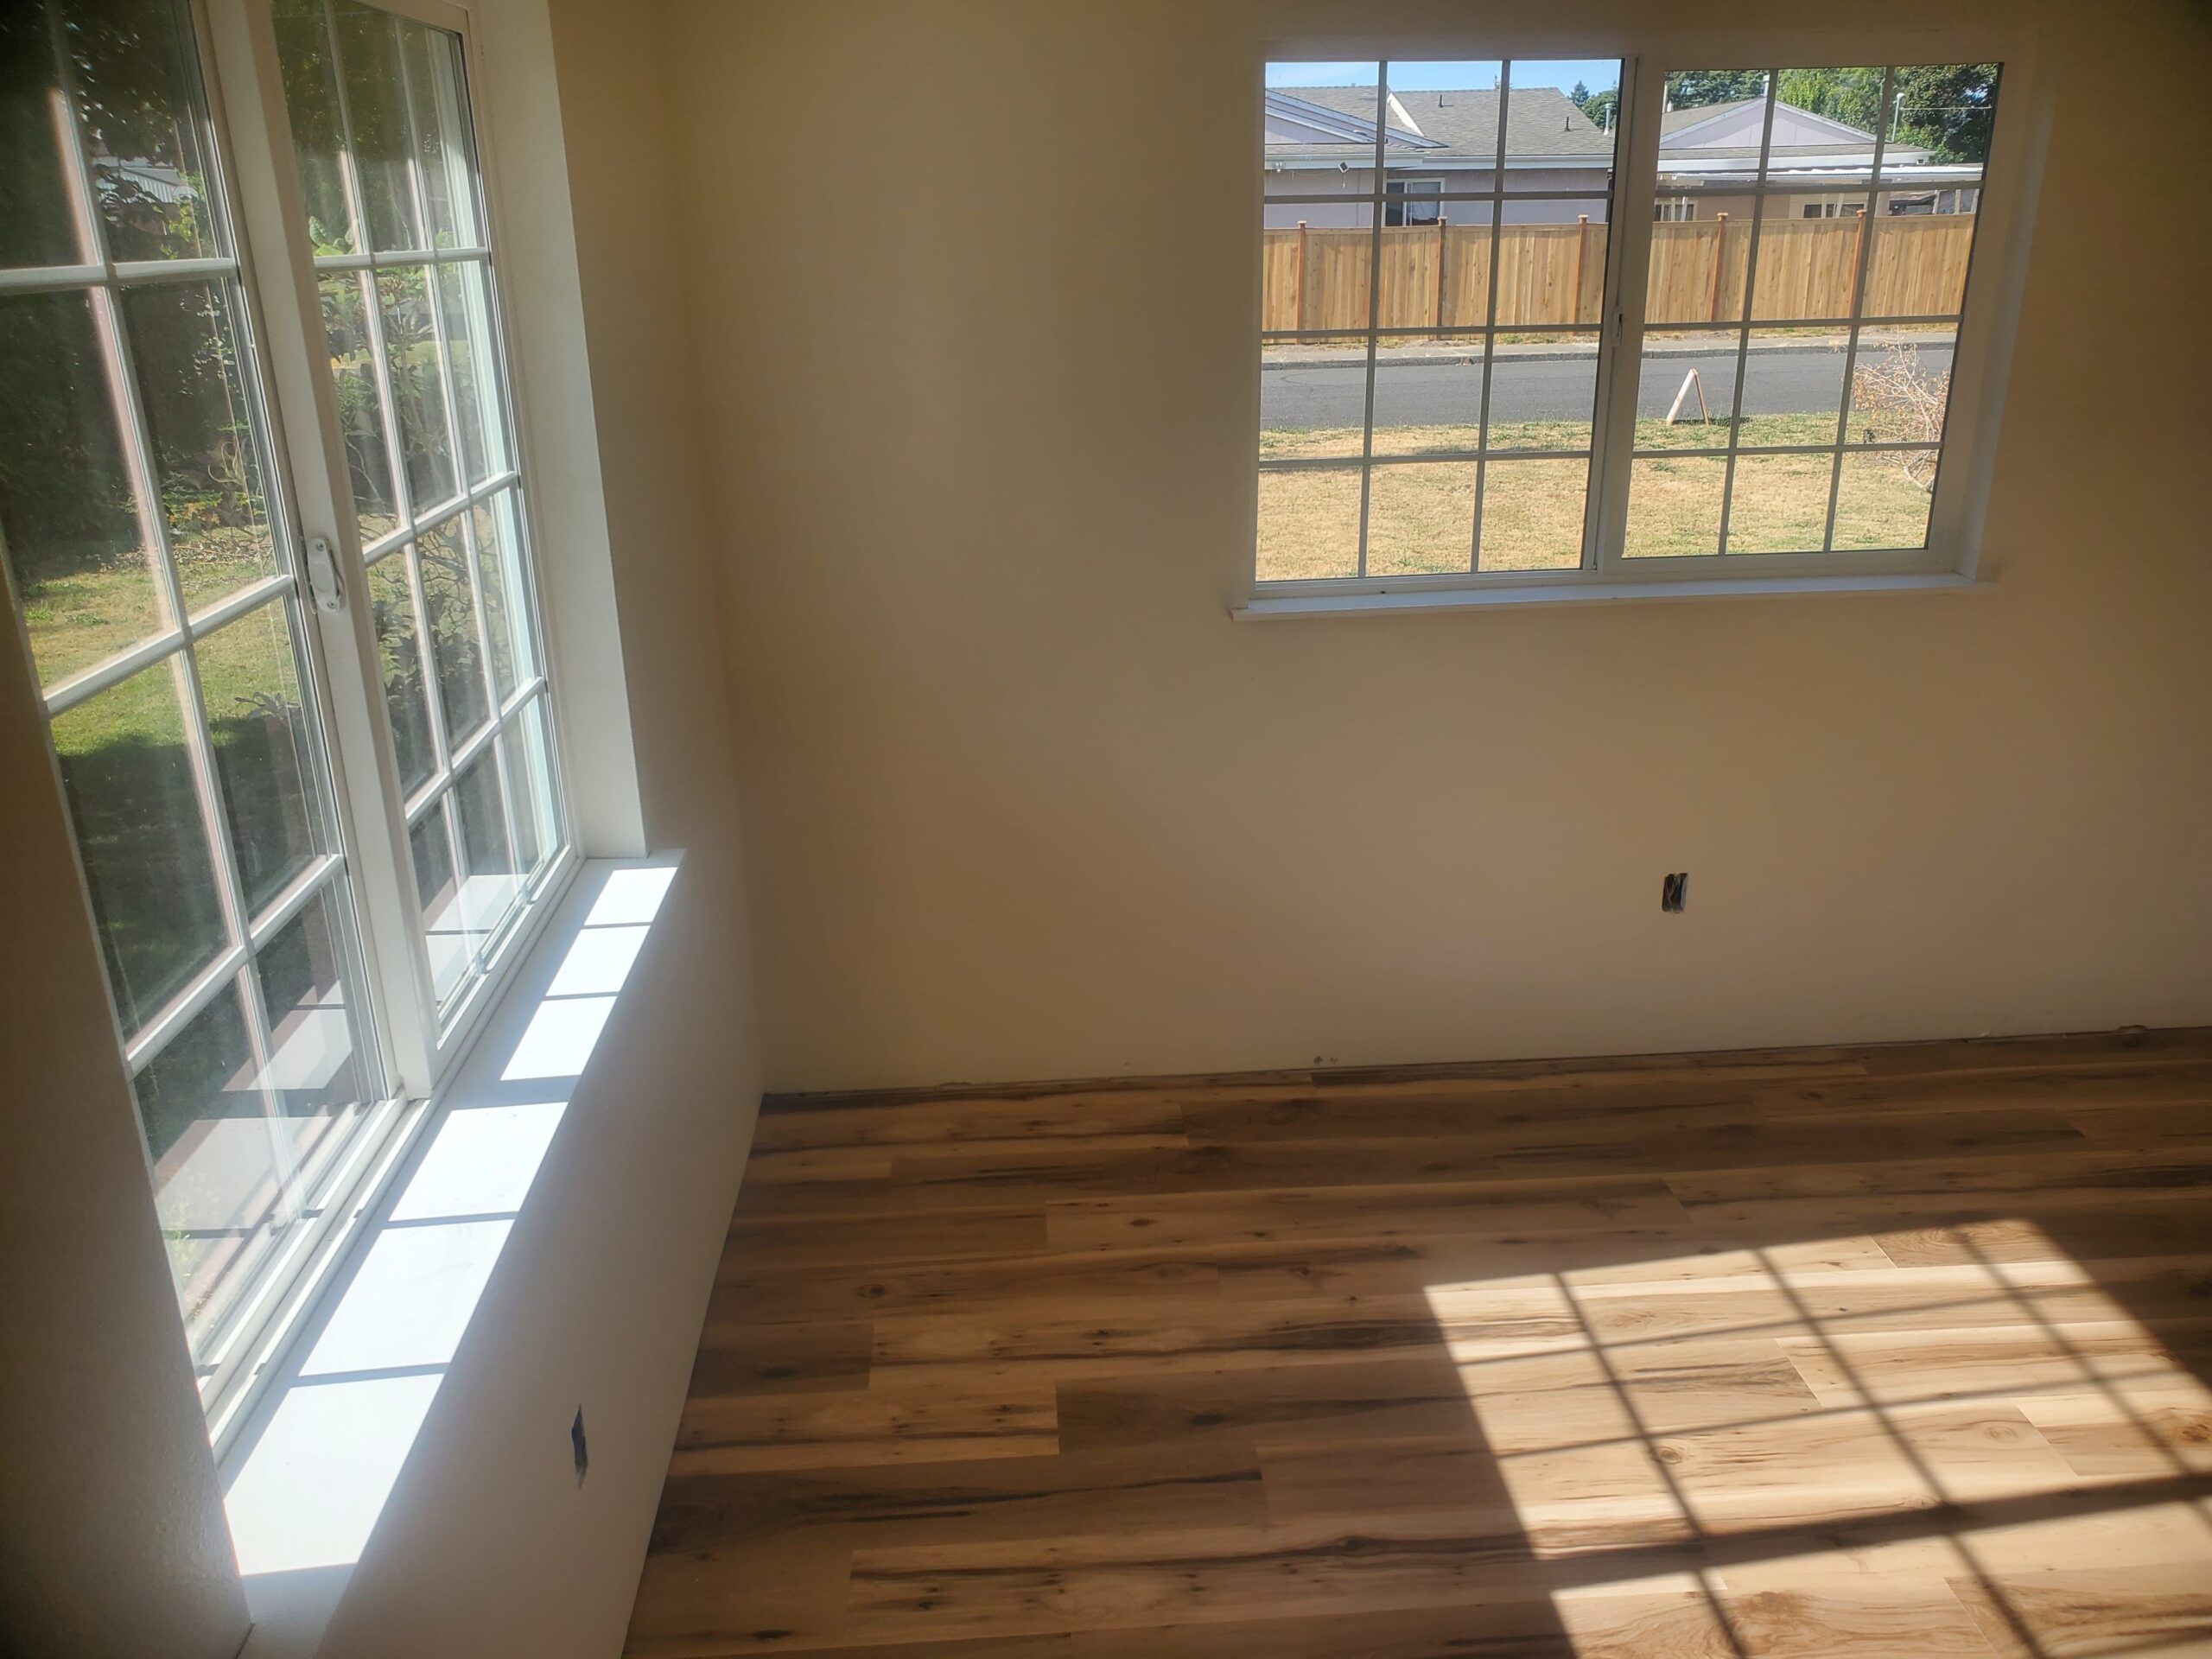
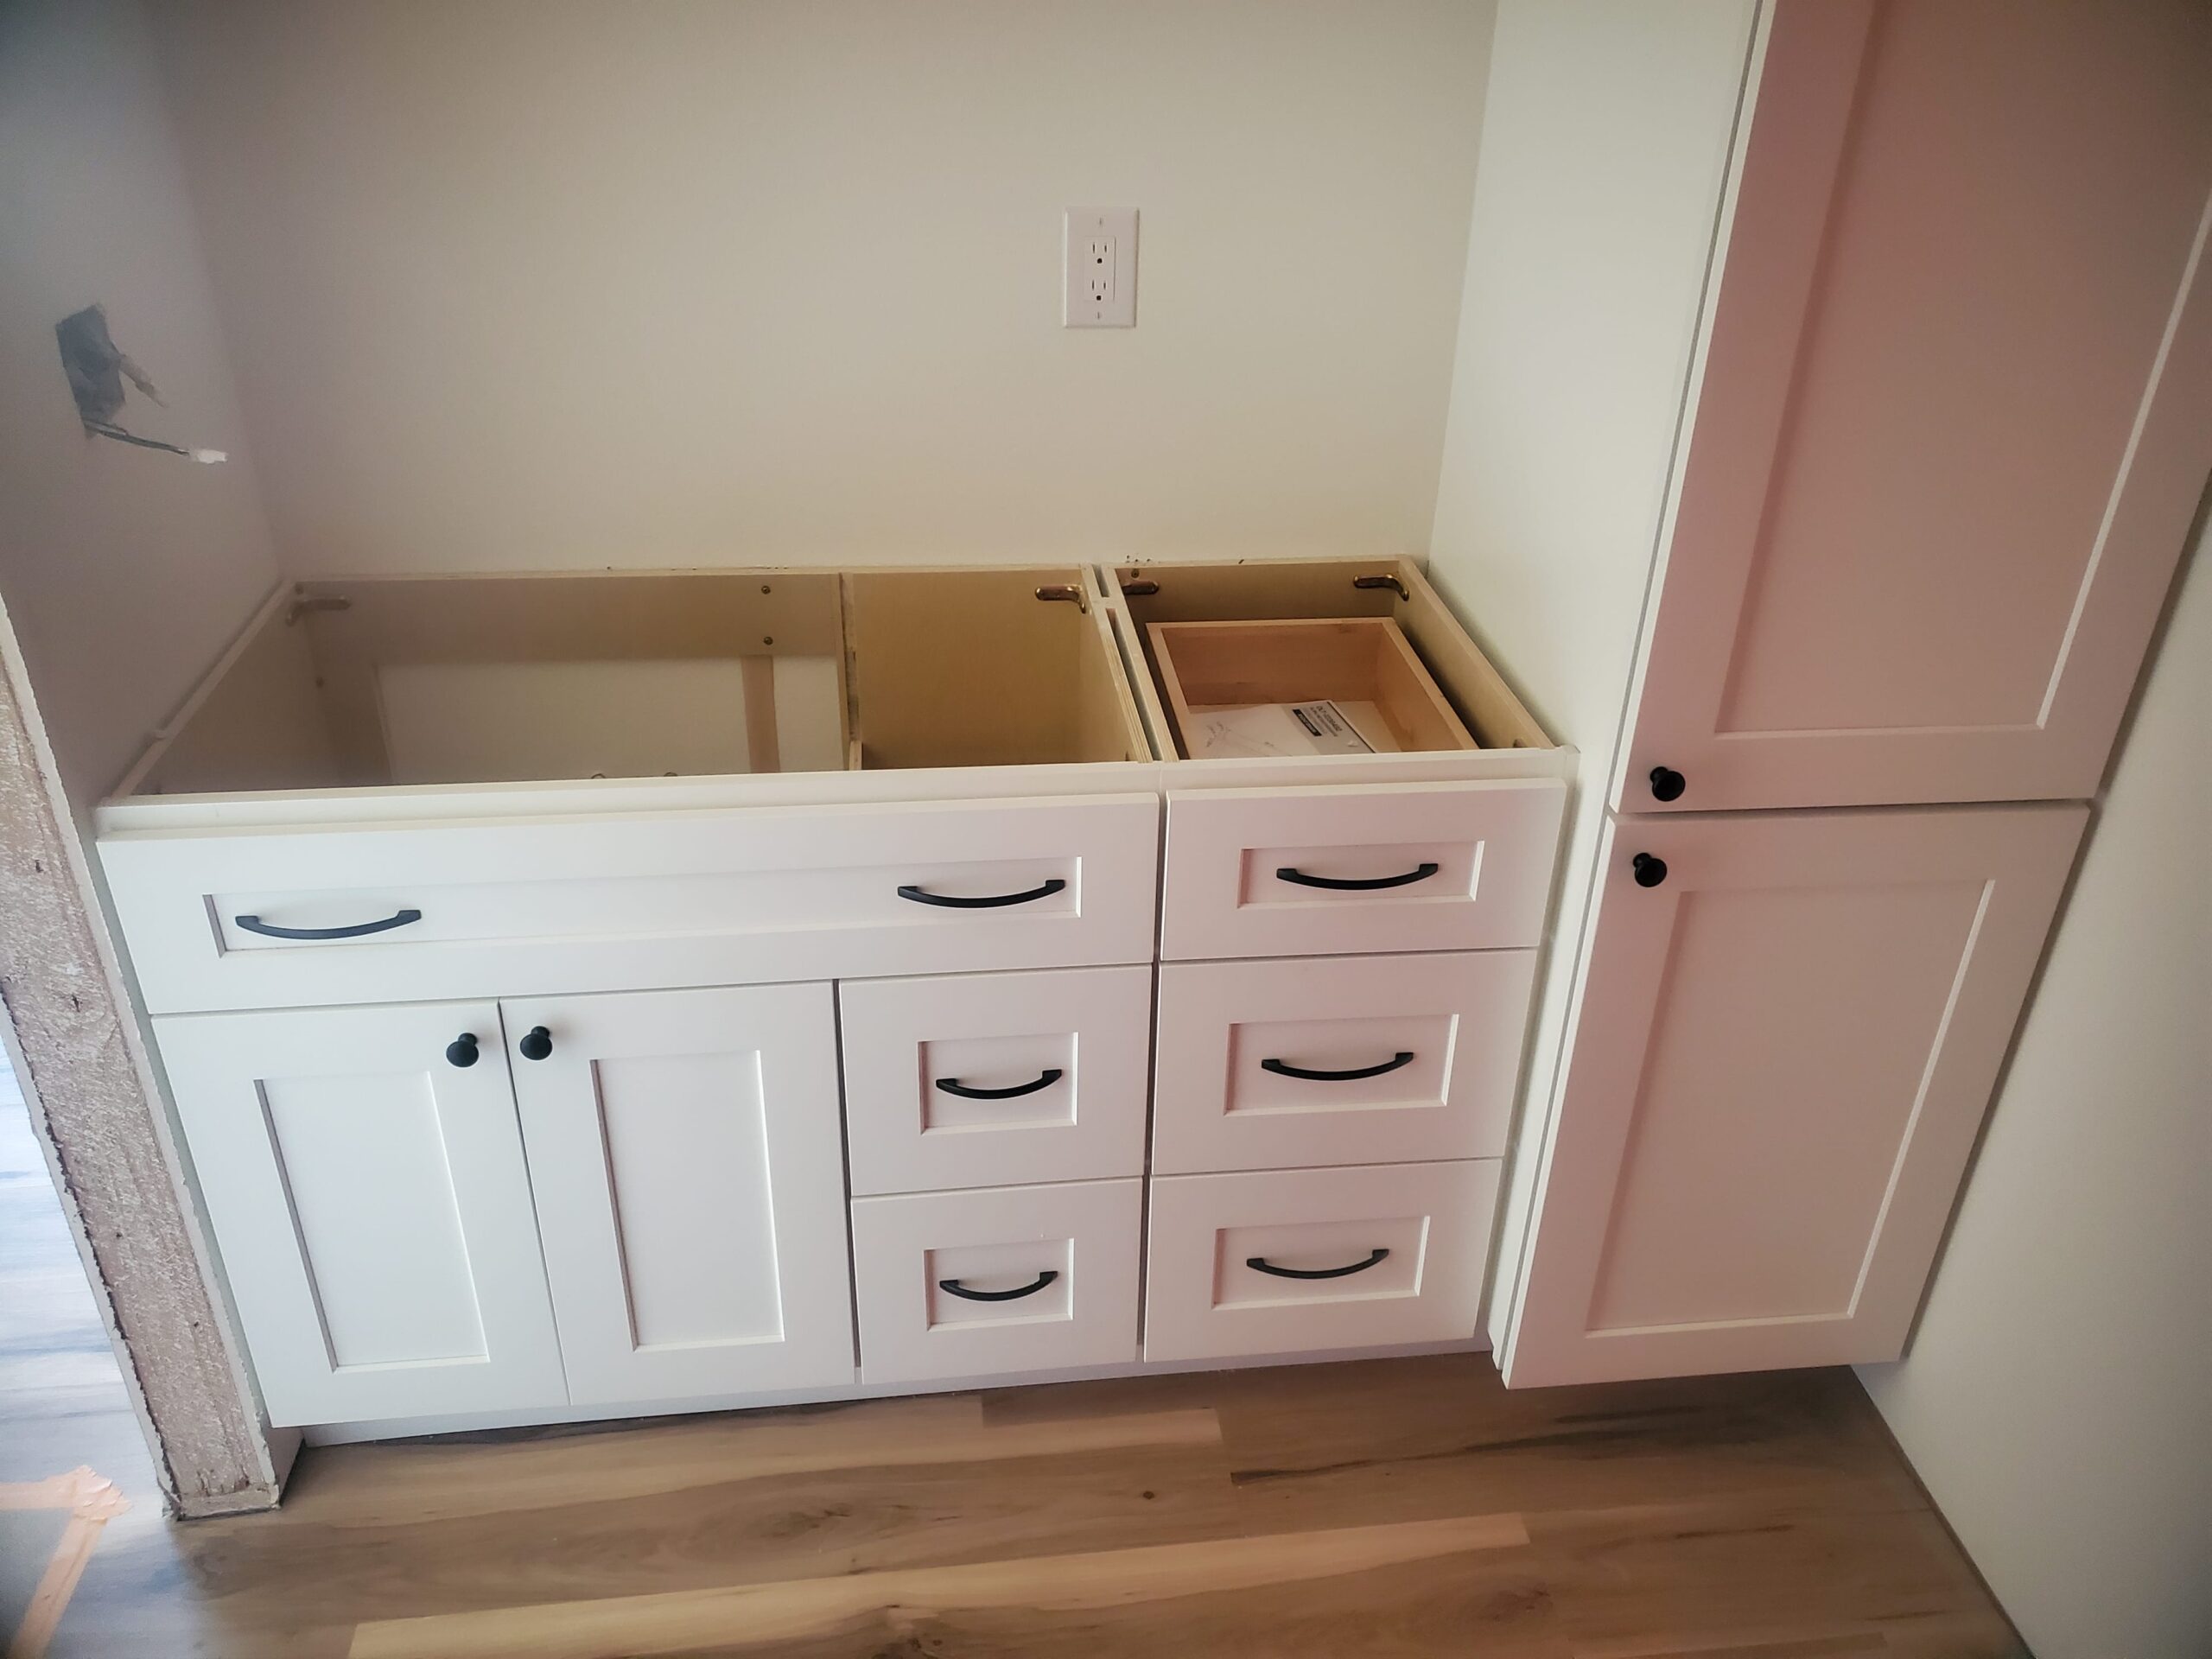
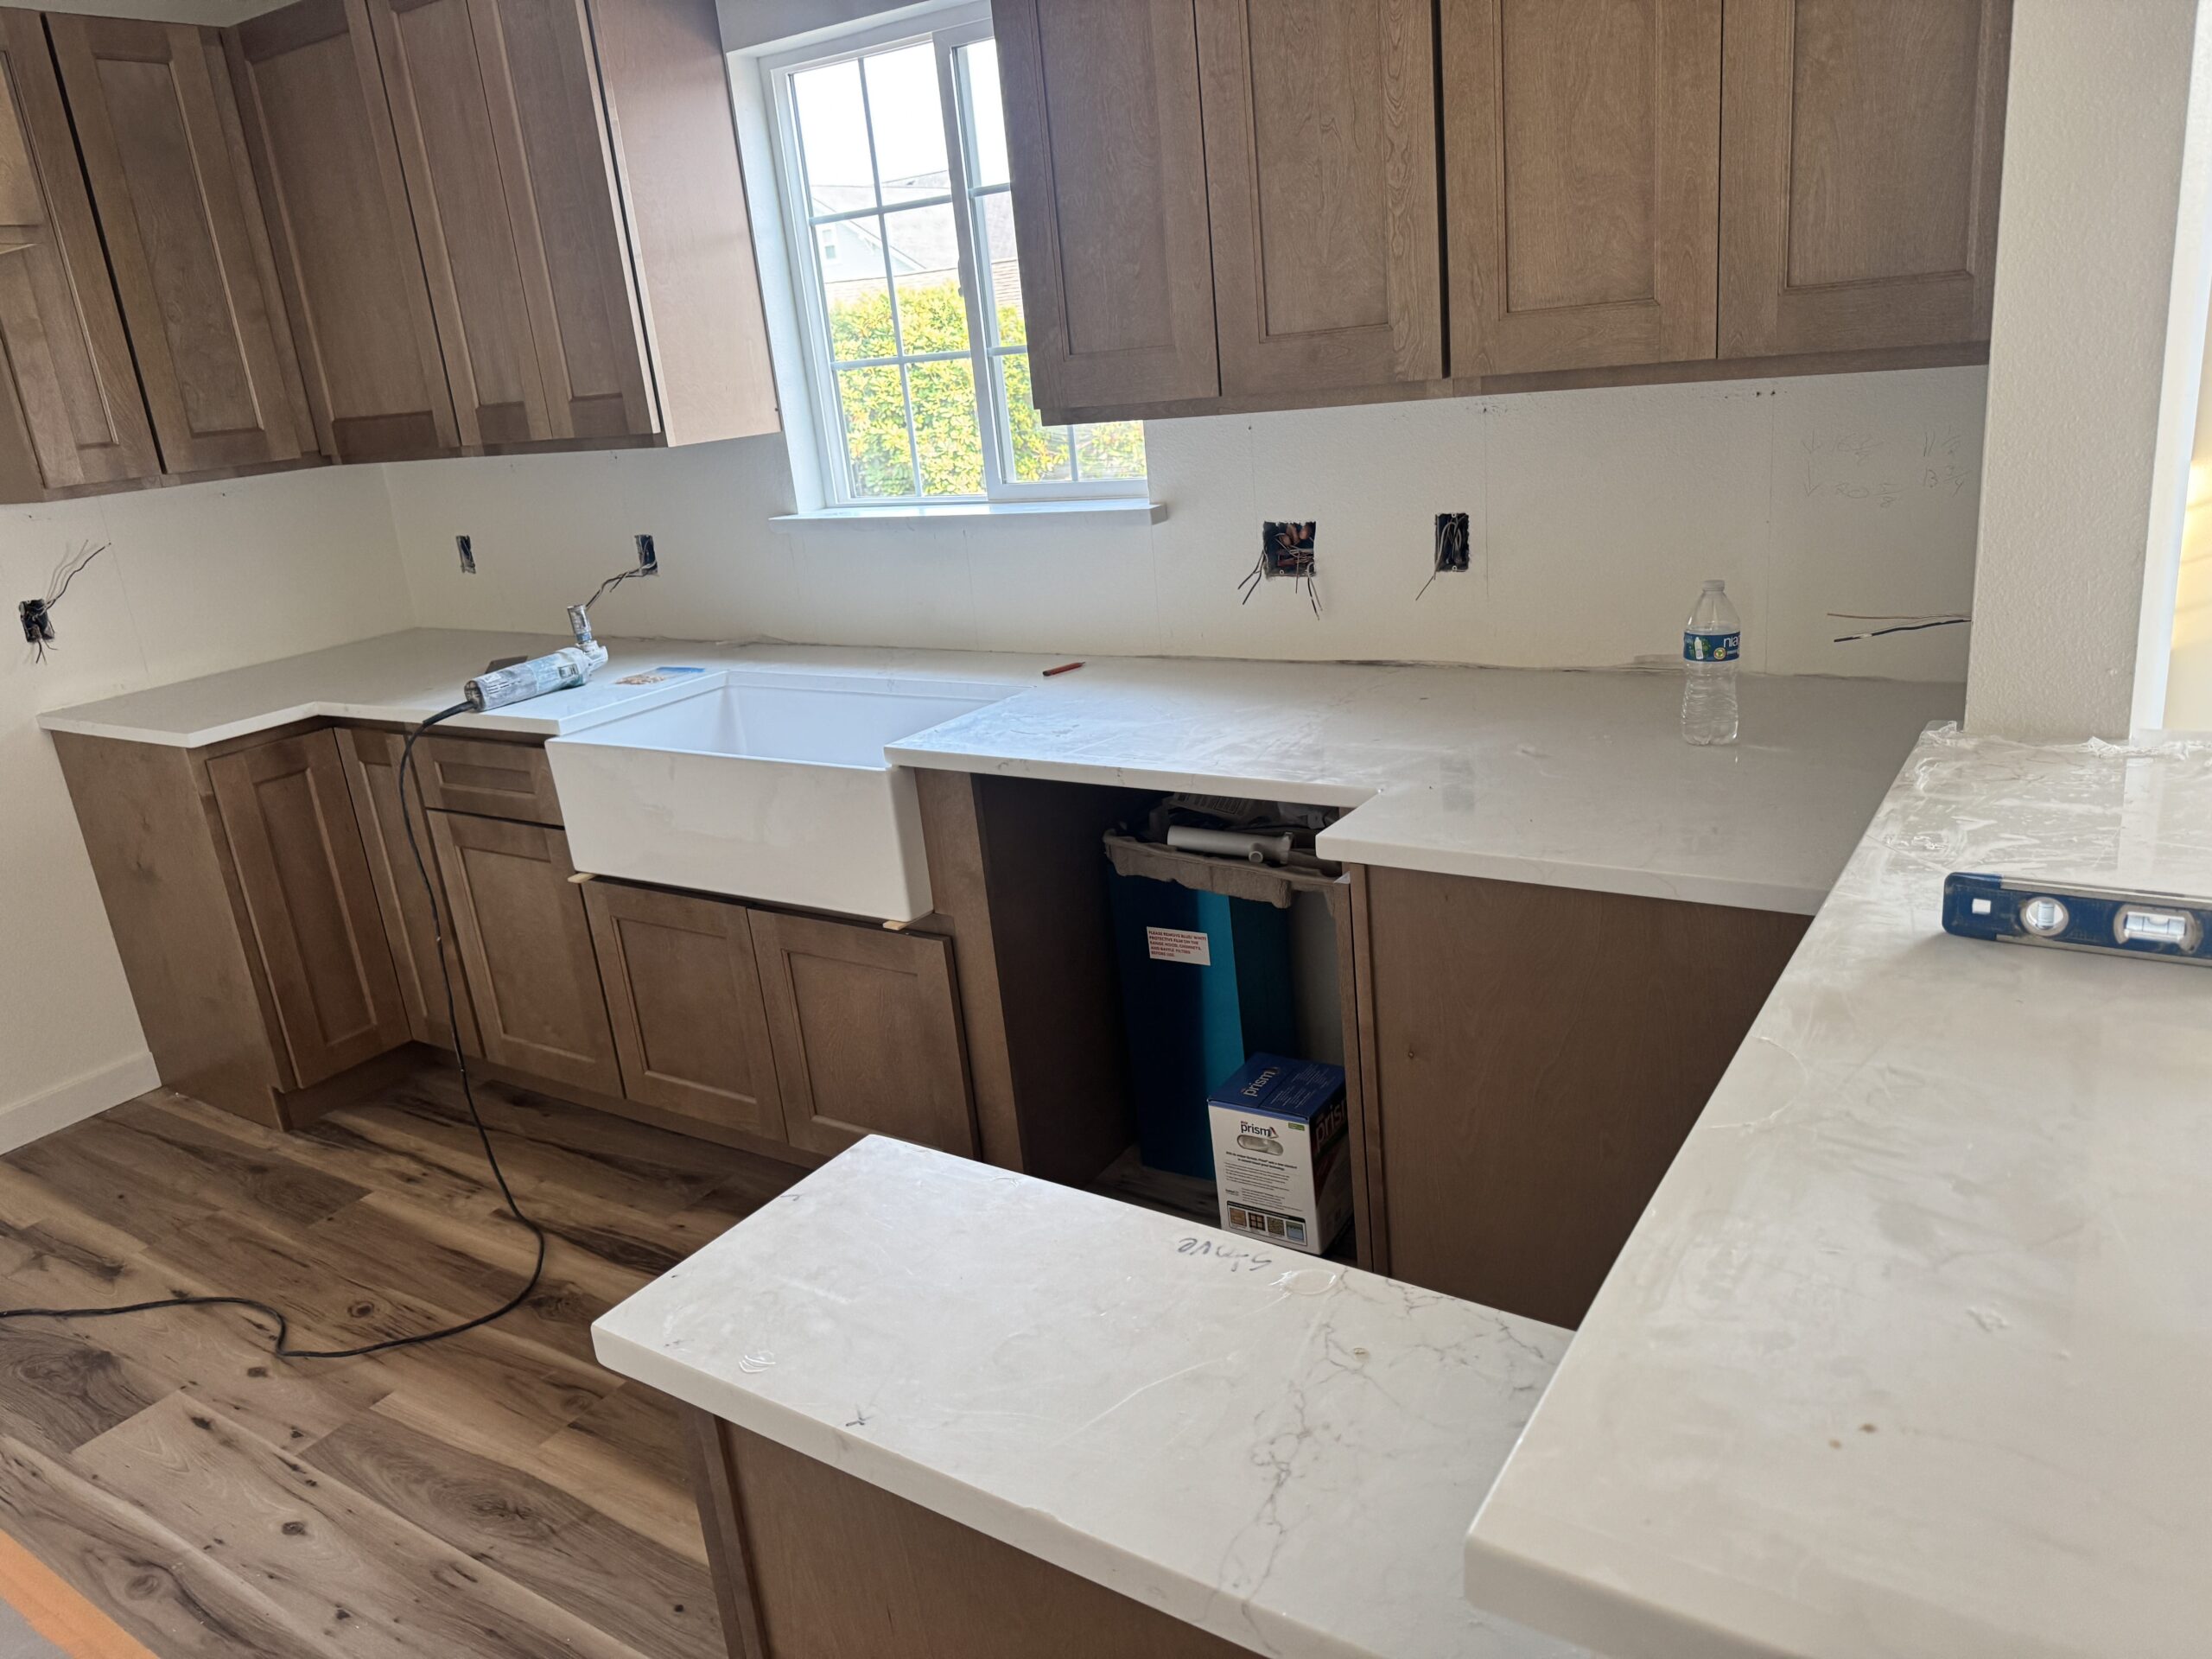
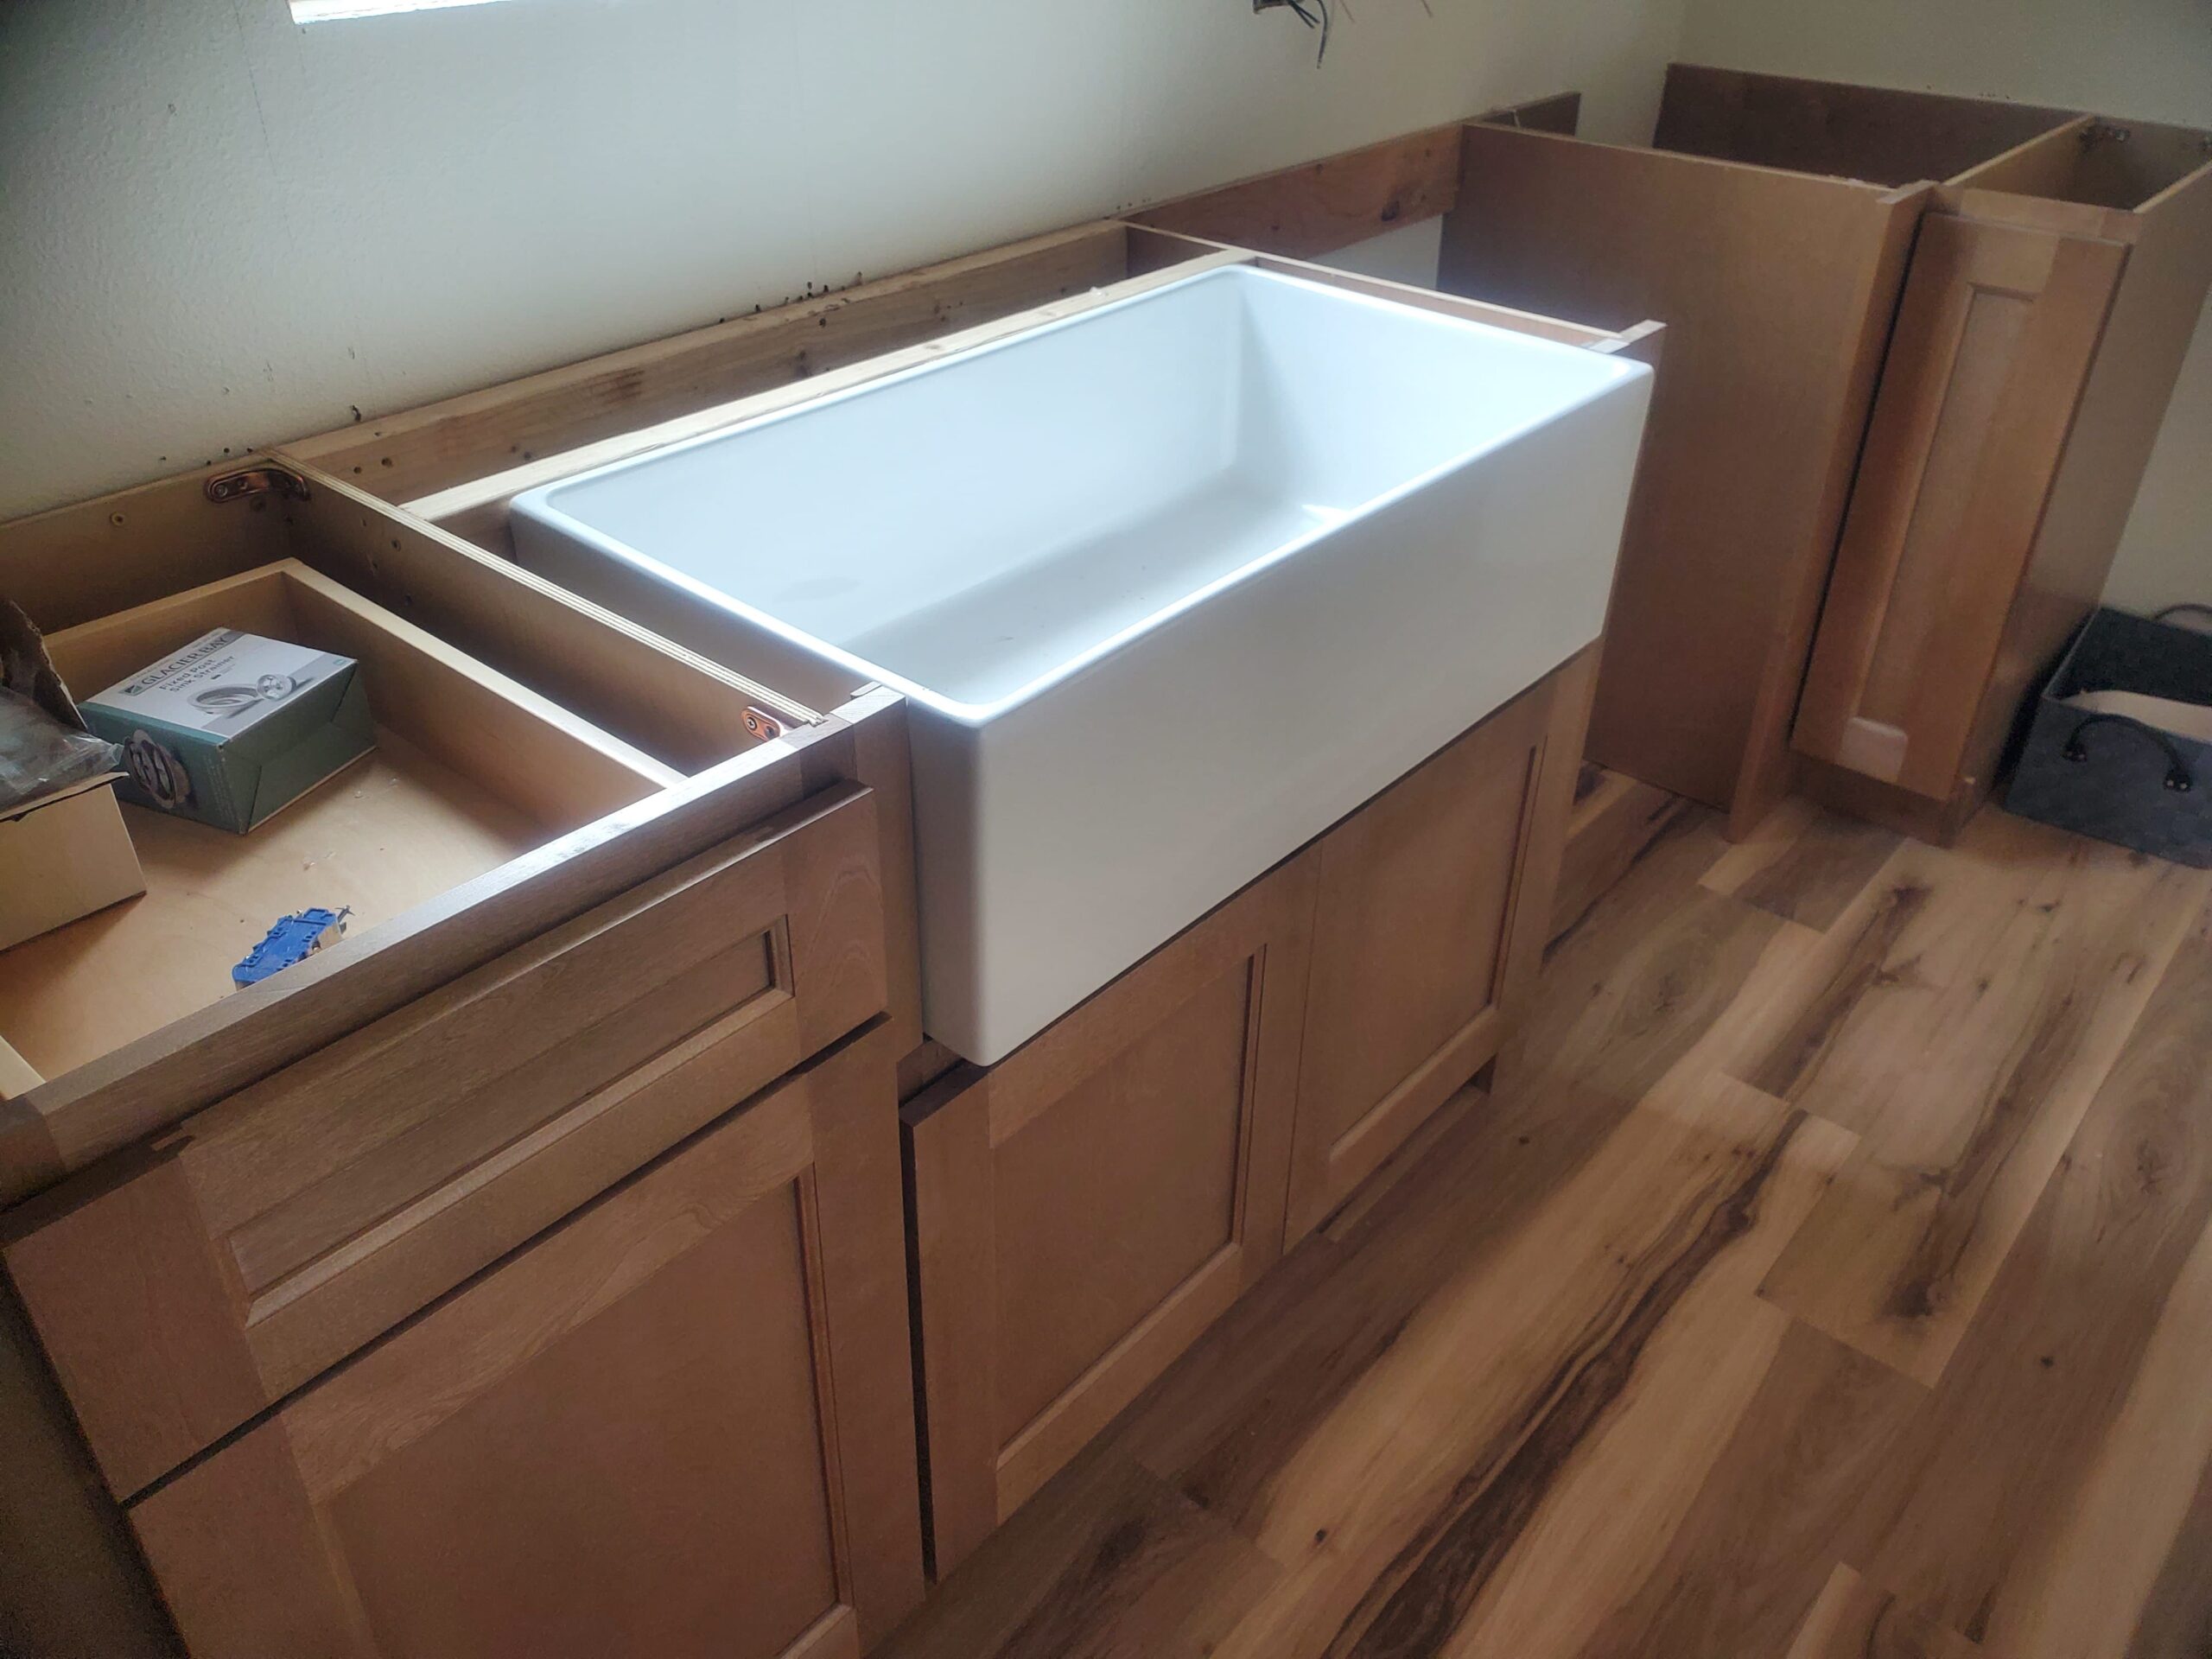
To prepare for main flooring, existing floor coverings were removed, self-leveler was poured over the rough fireplace hearth, and base cabinets were positioned in the kitchen and bathroom to guide flooring cuts. Main flooring installation started over the July 4 weekend, and after securing an additional 40 square feet of planking, installation wrapped up cleanly.
Phase 2: Material Sourcing & Rough-Ins (July 5 – July 14)
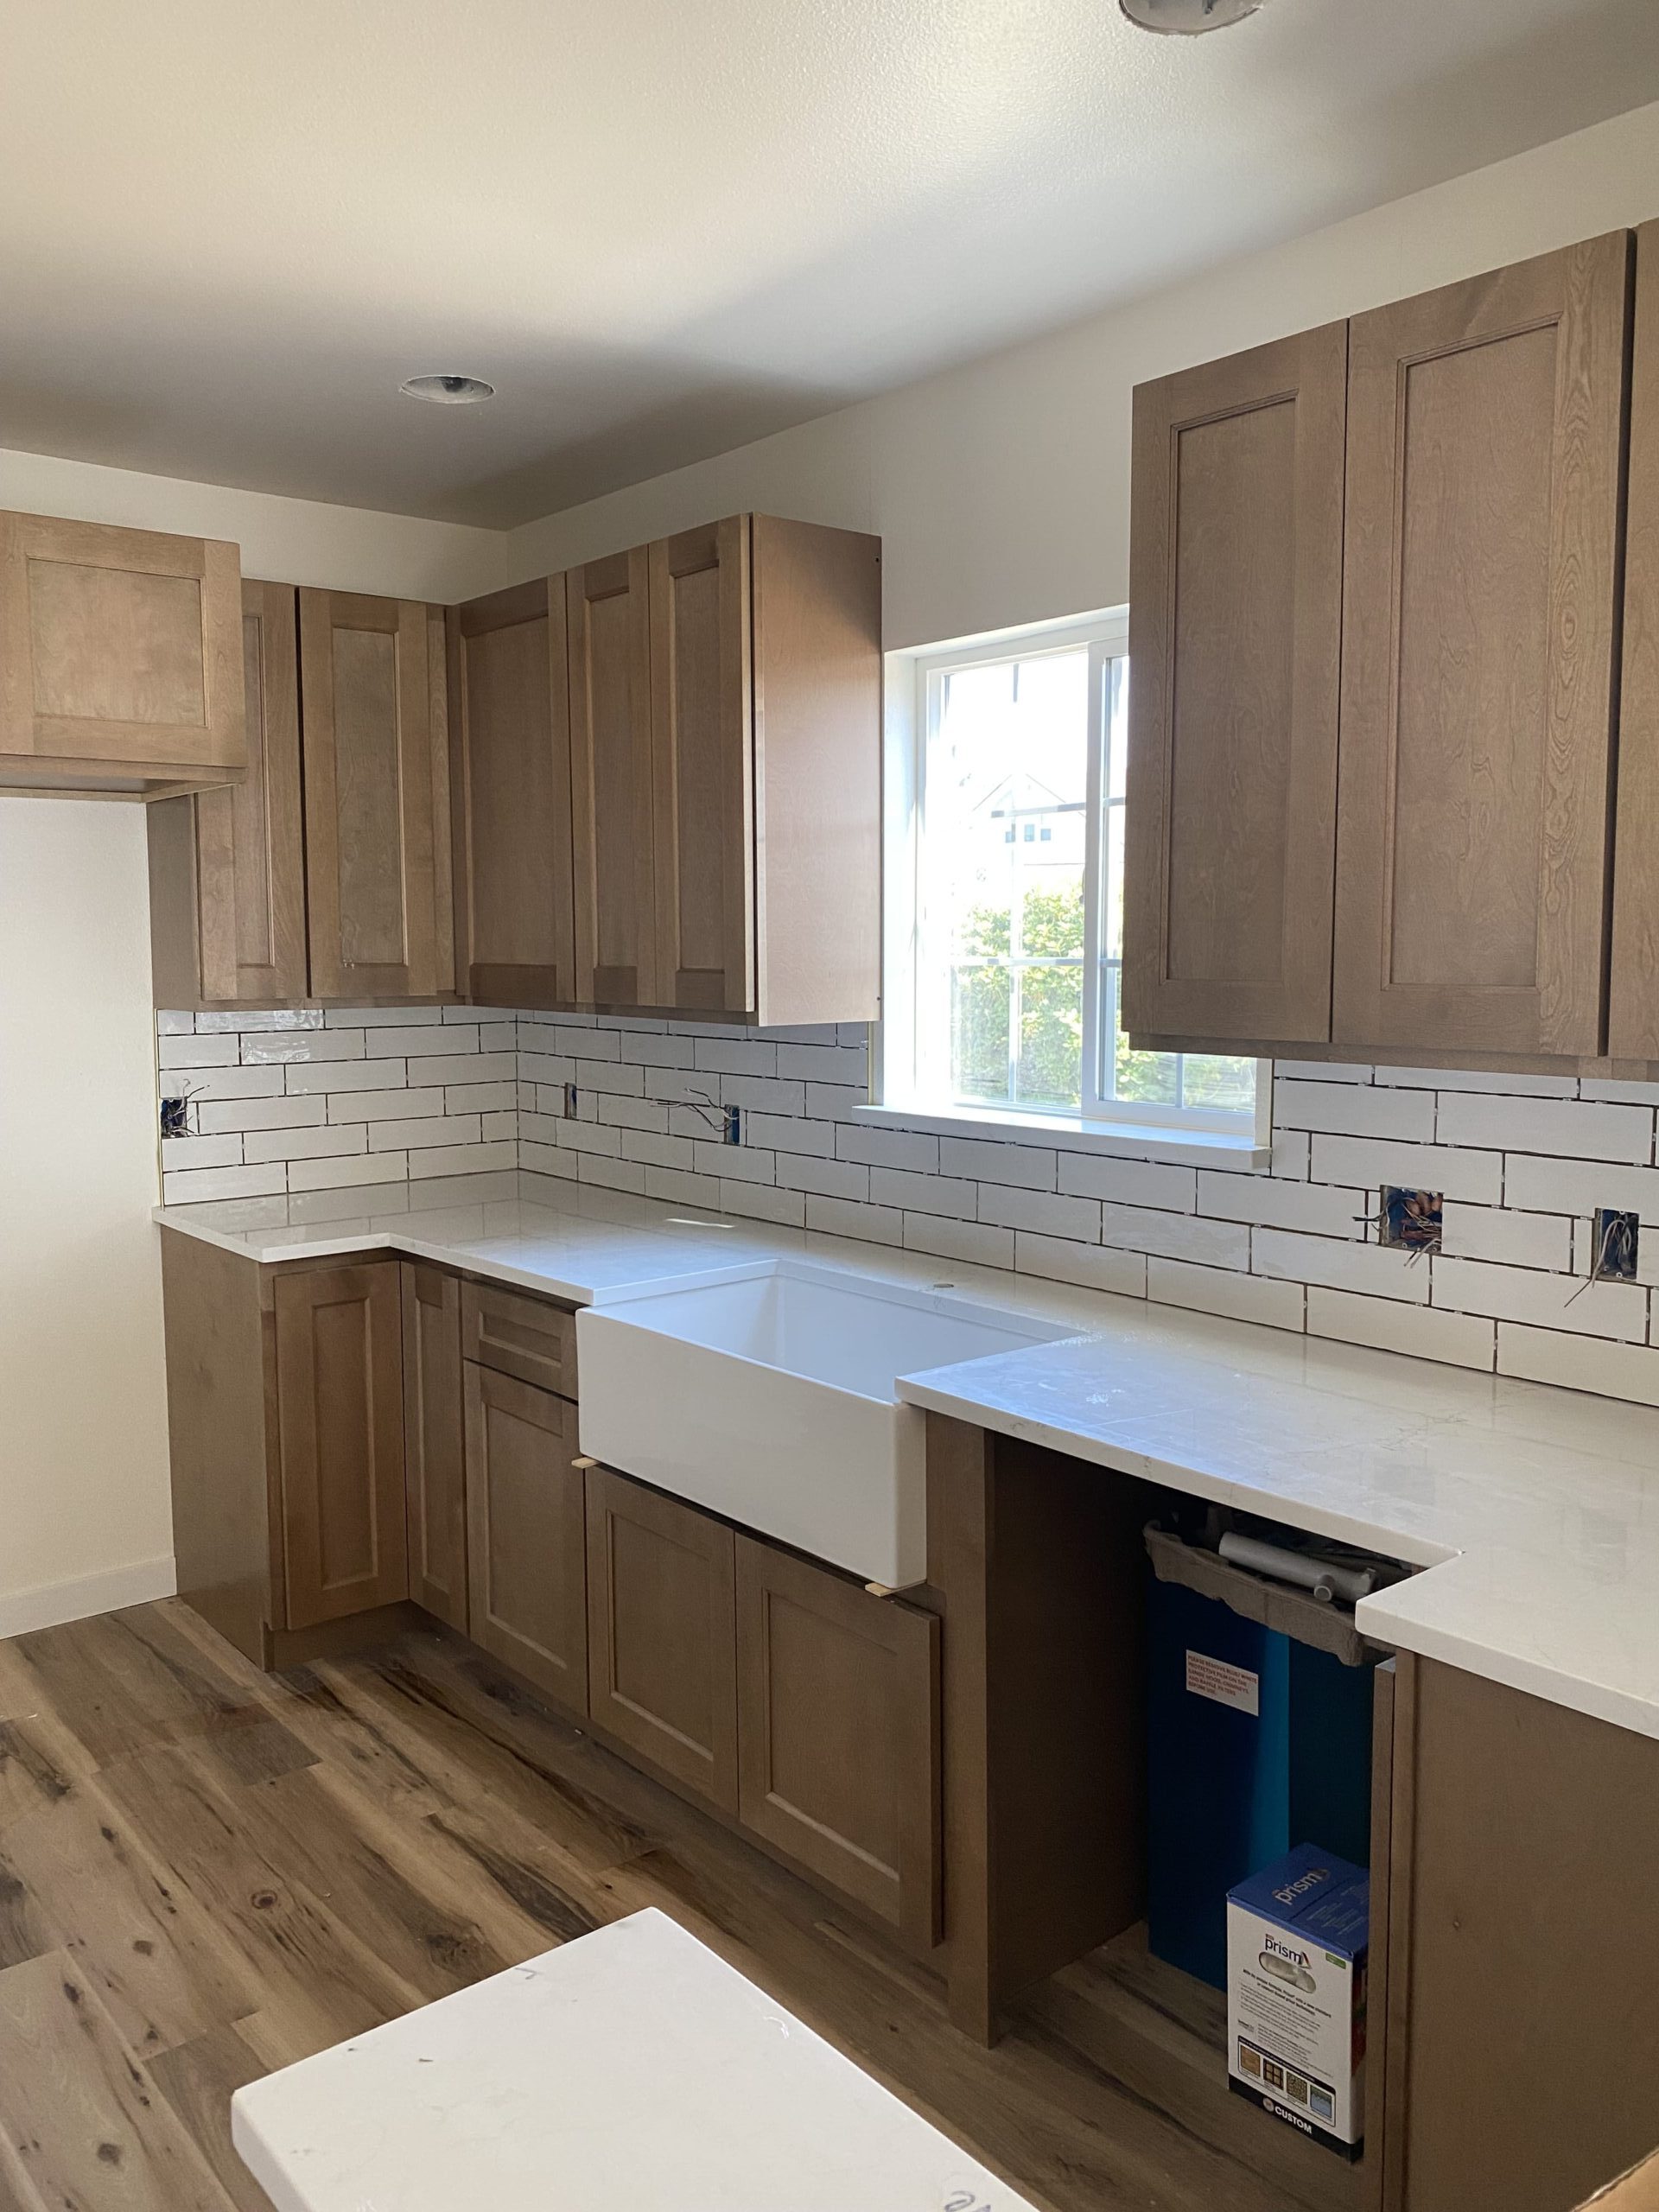
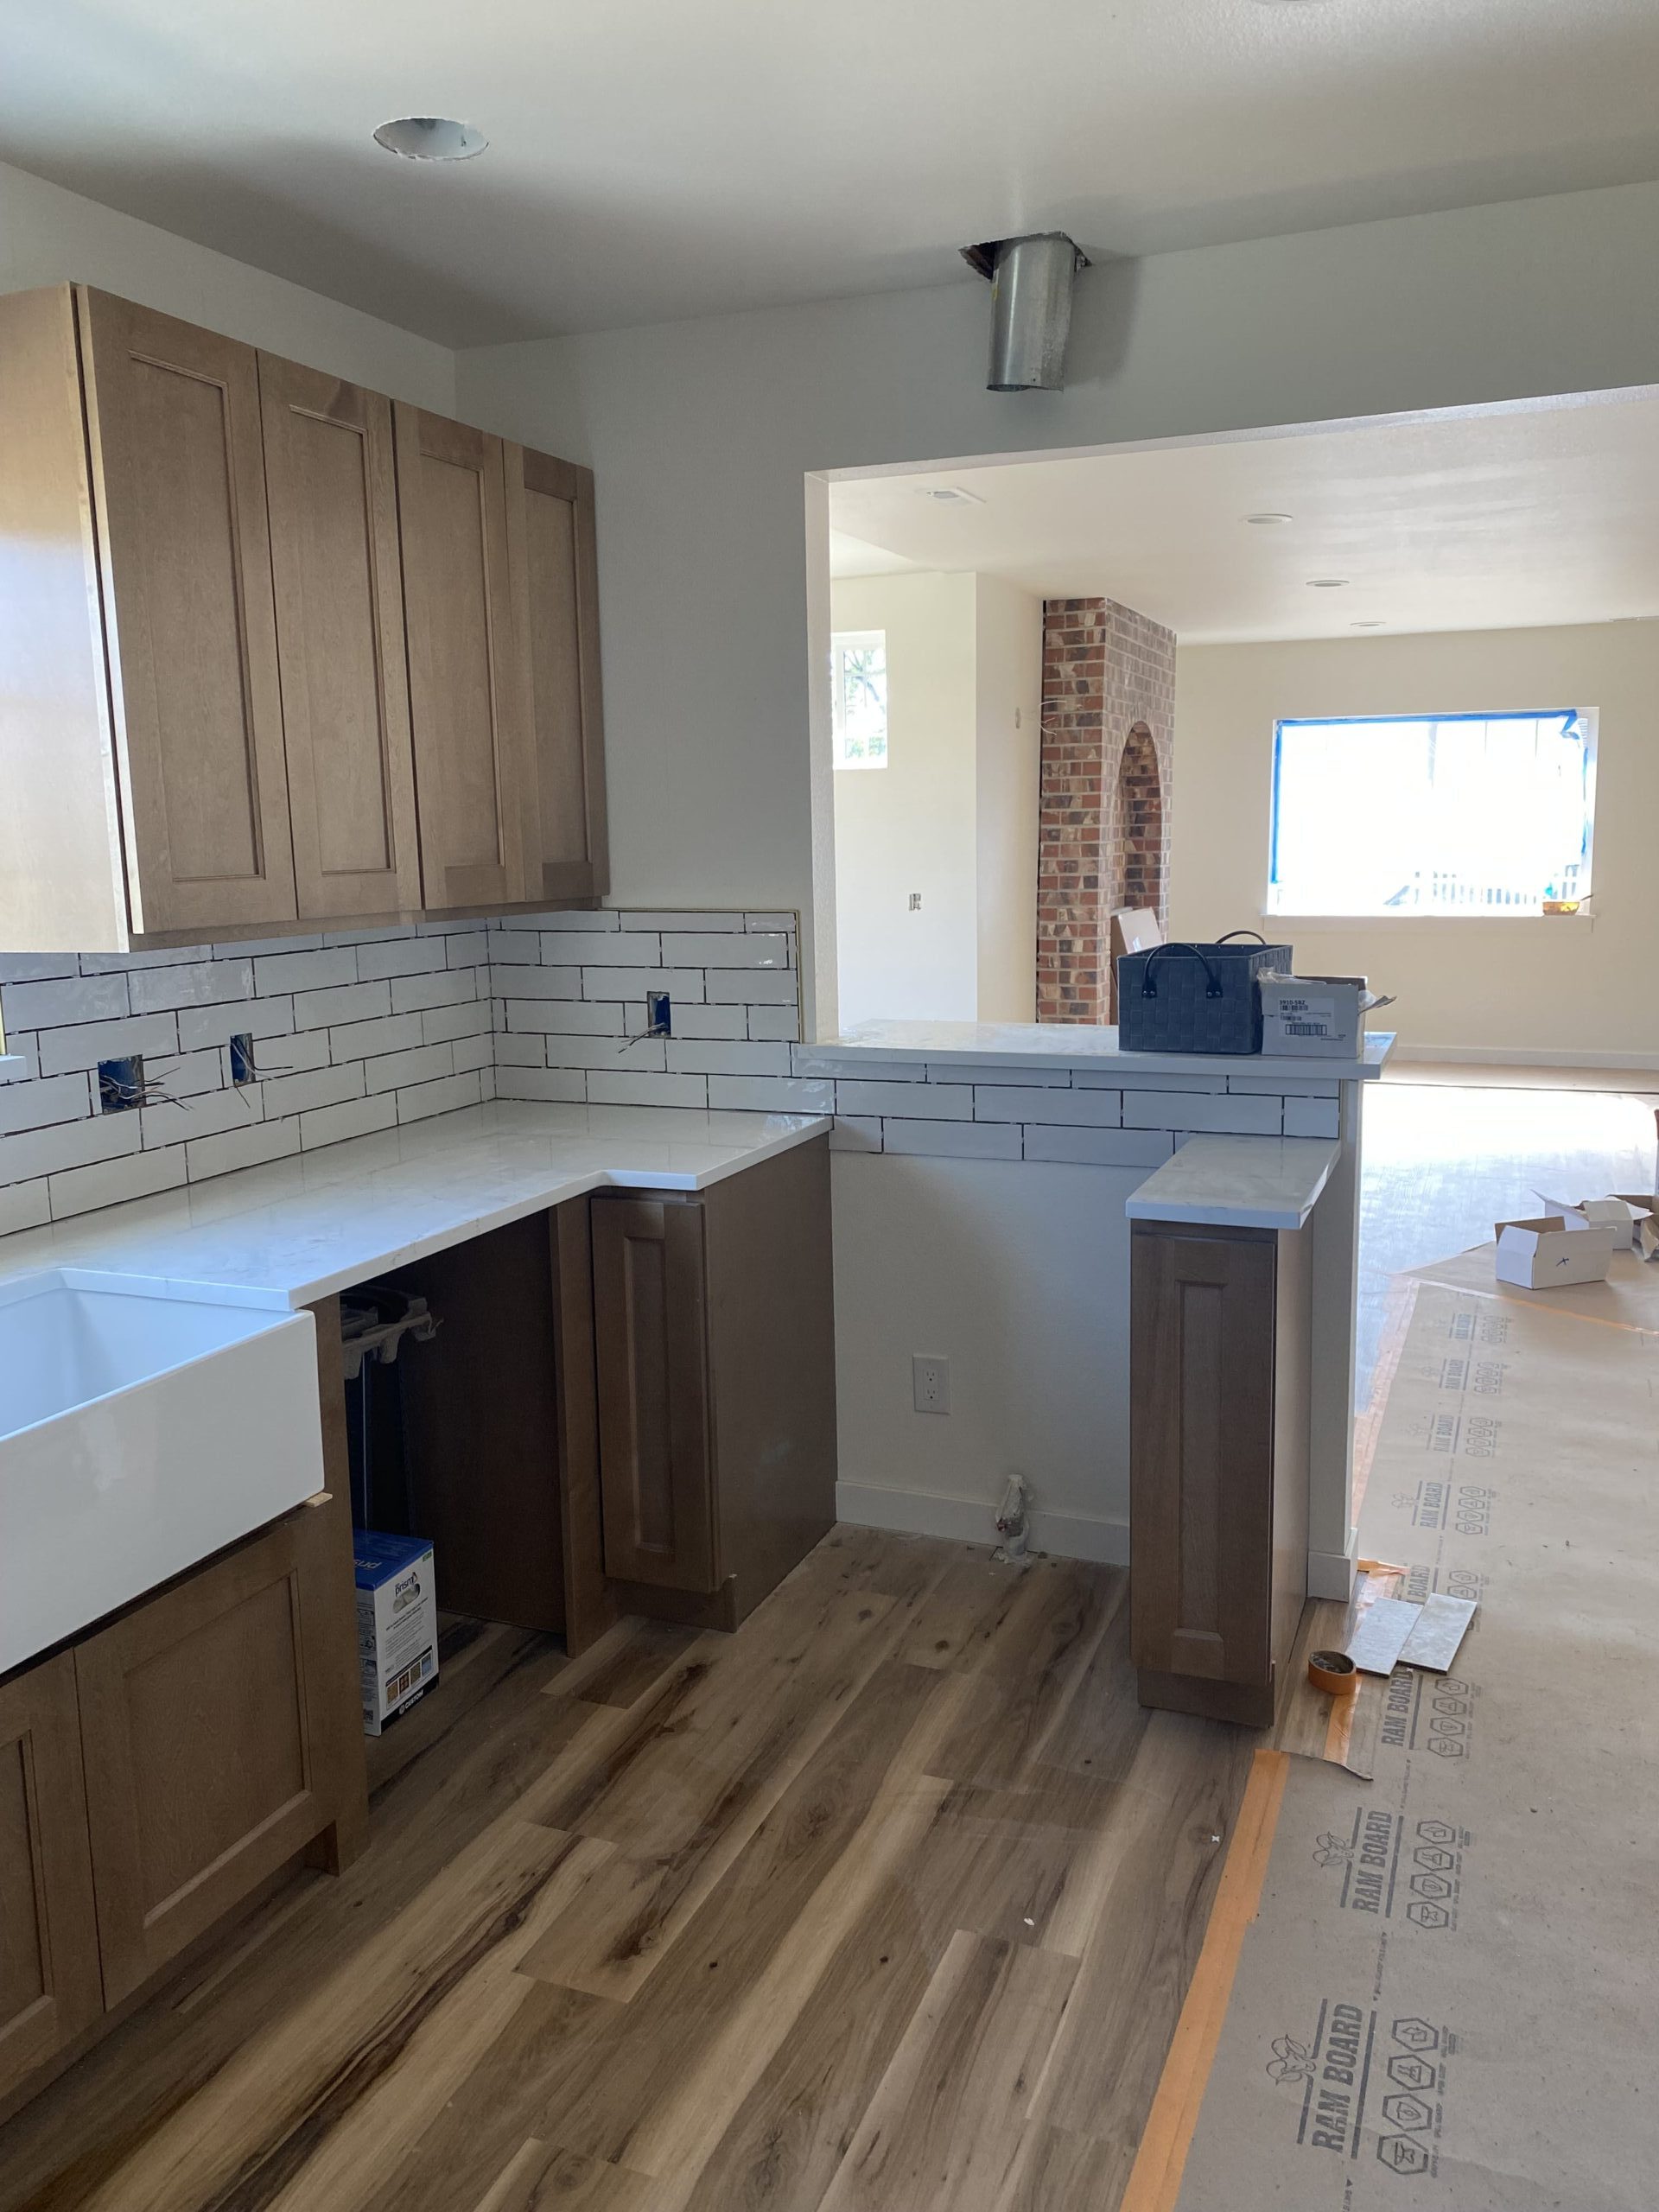
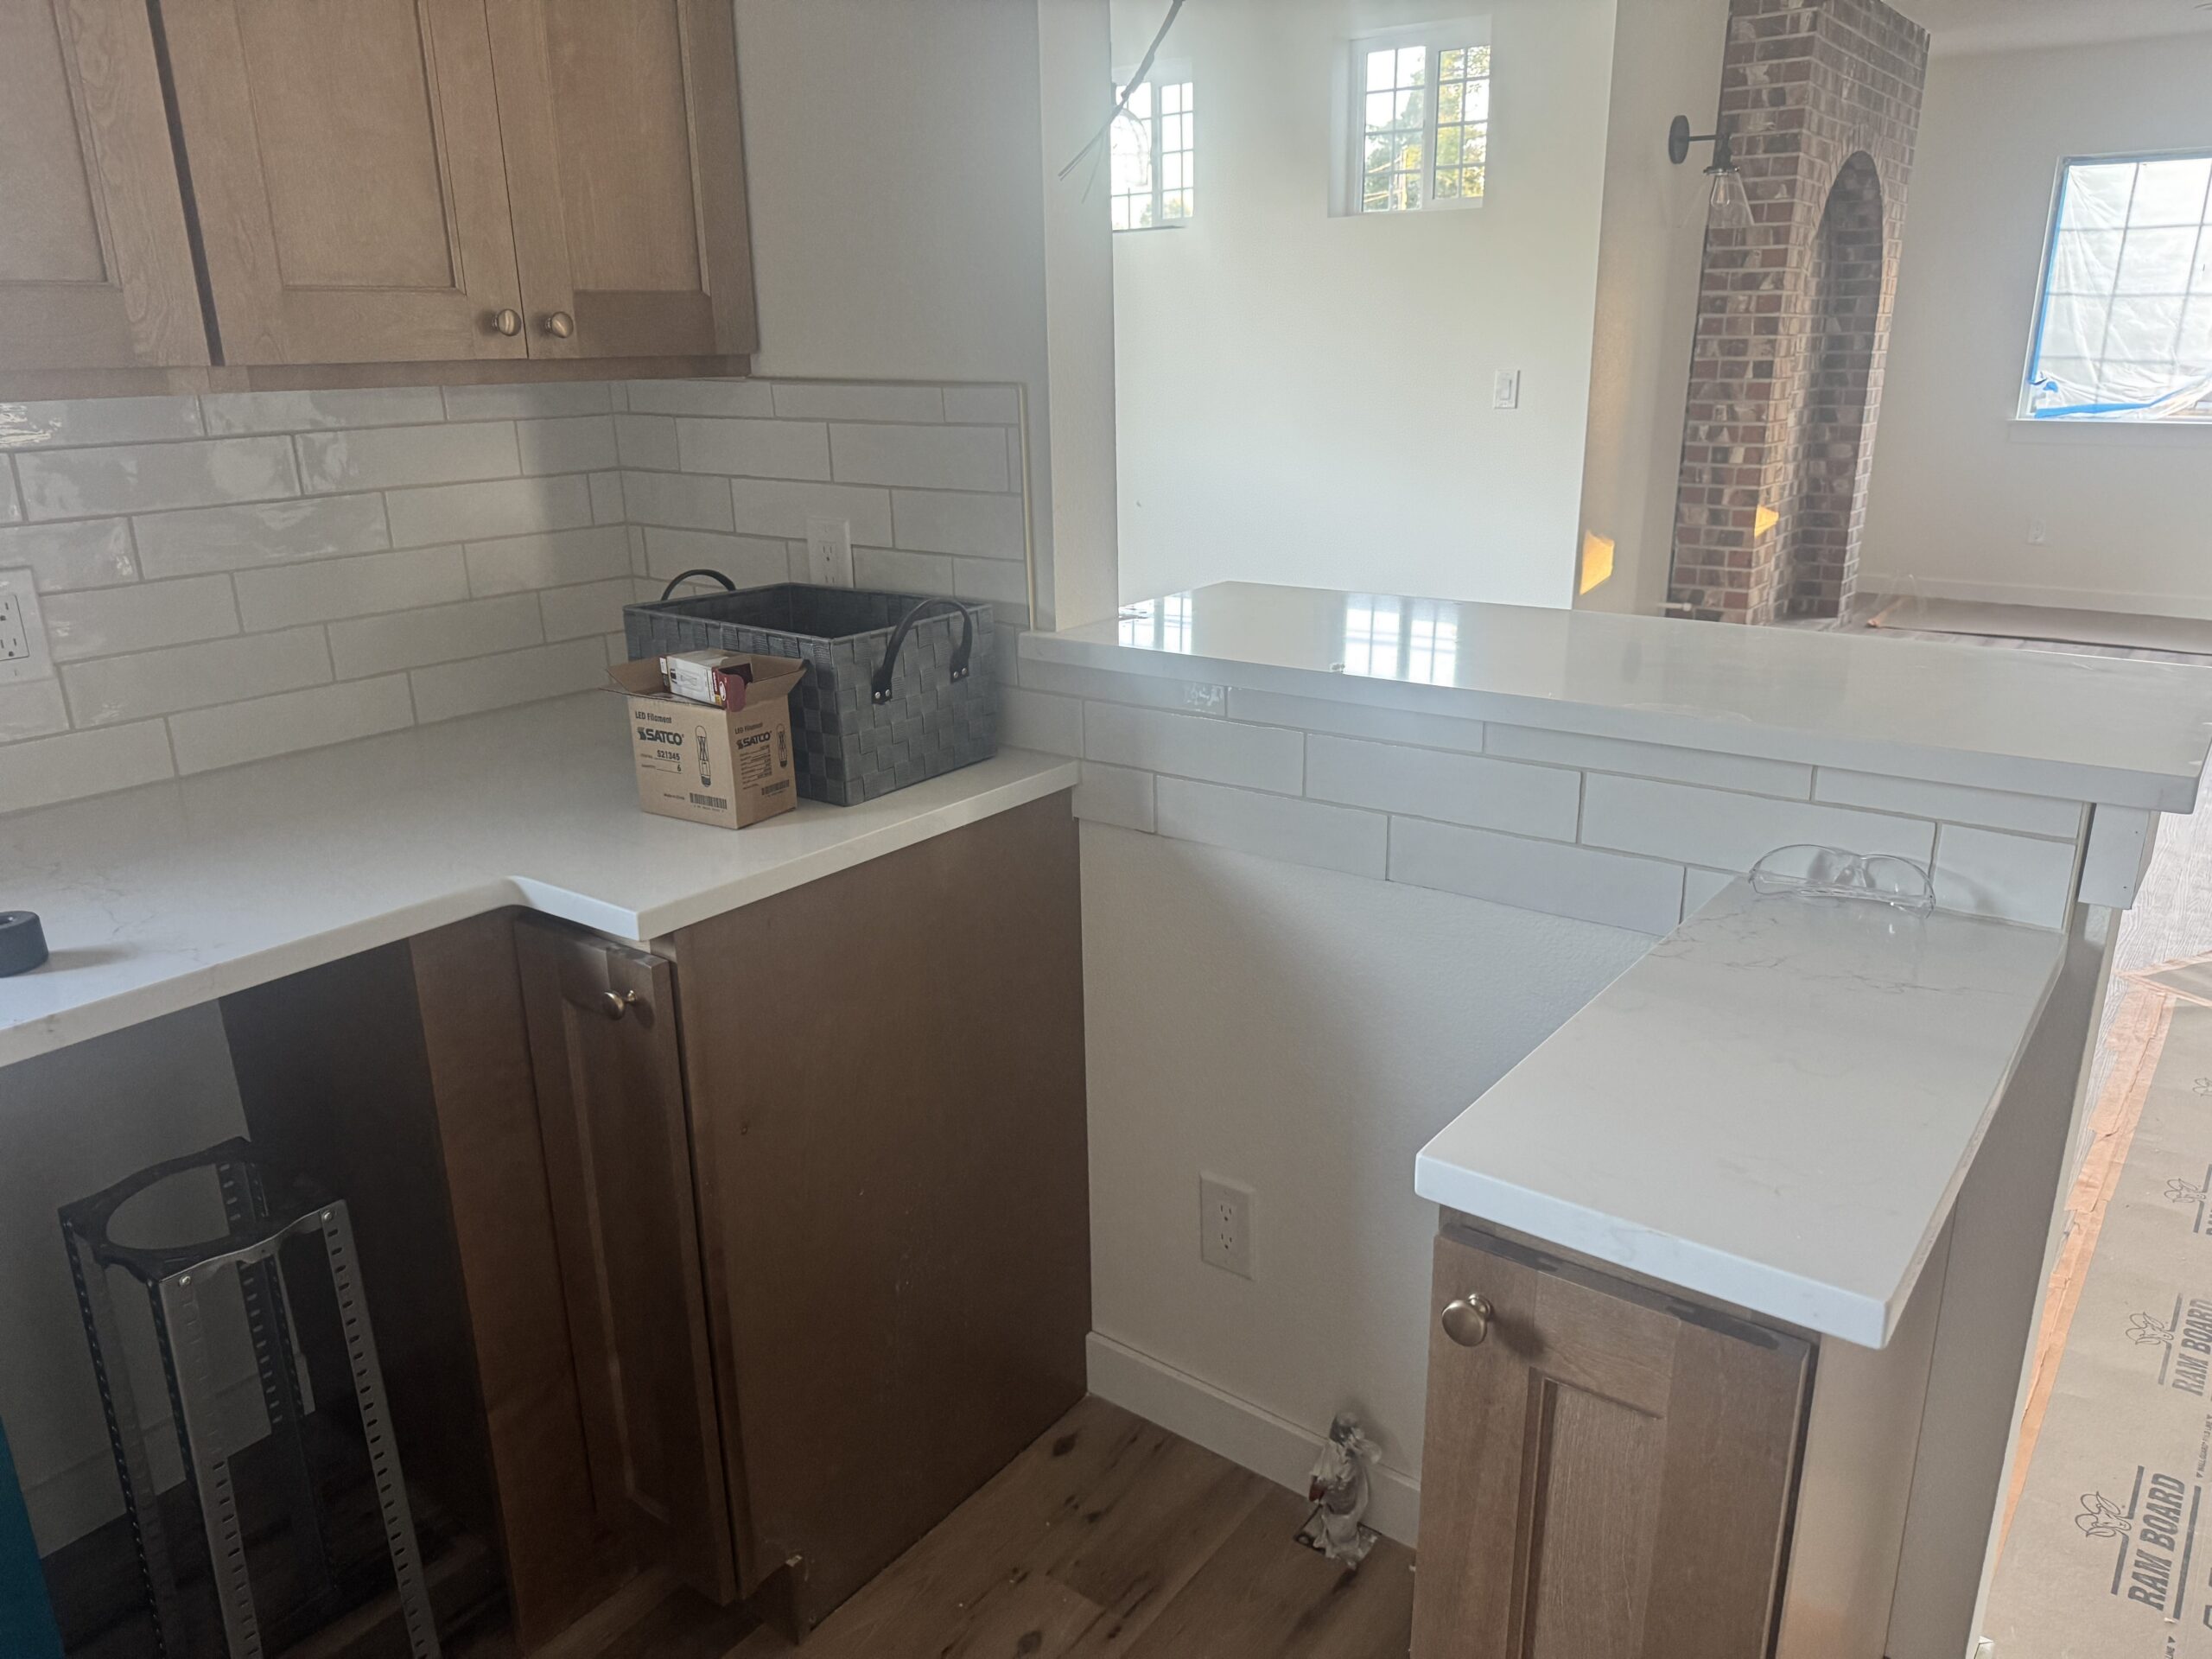
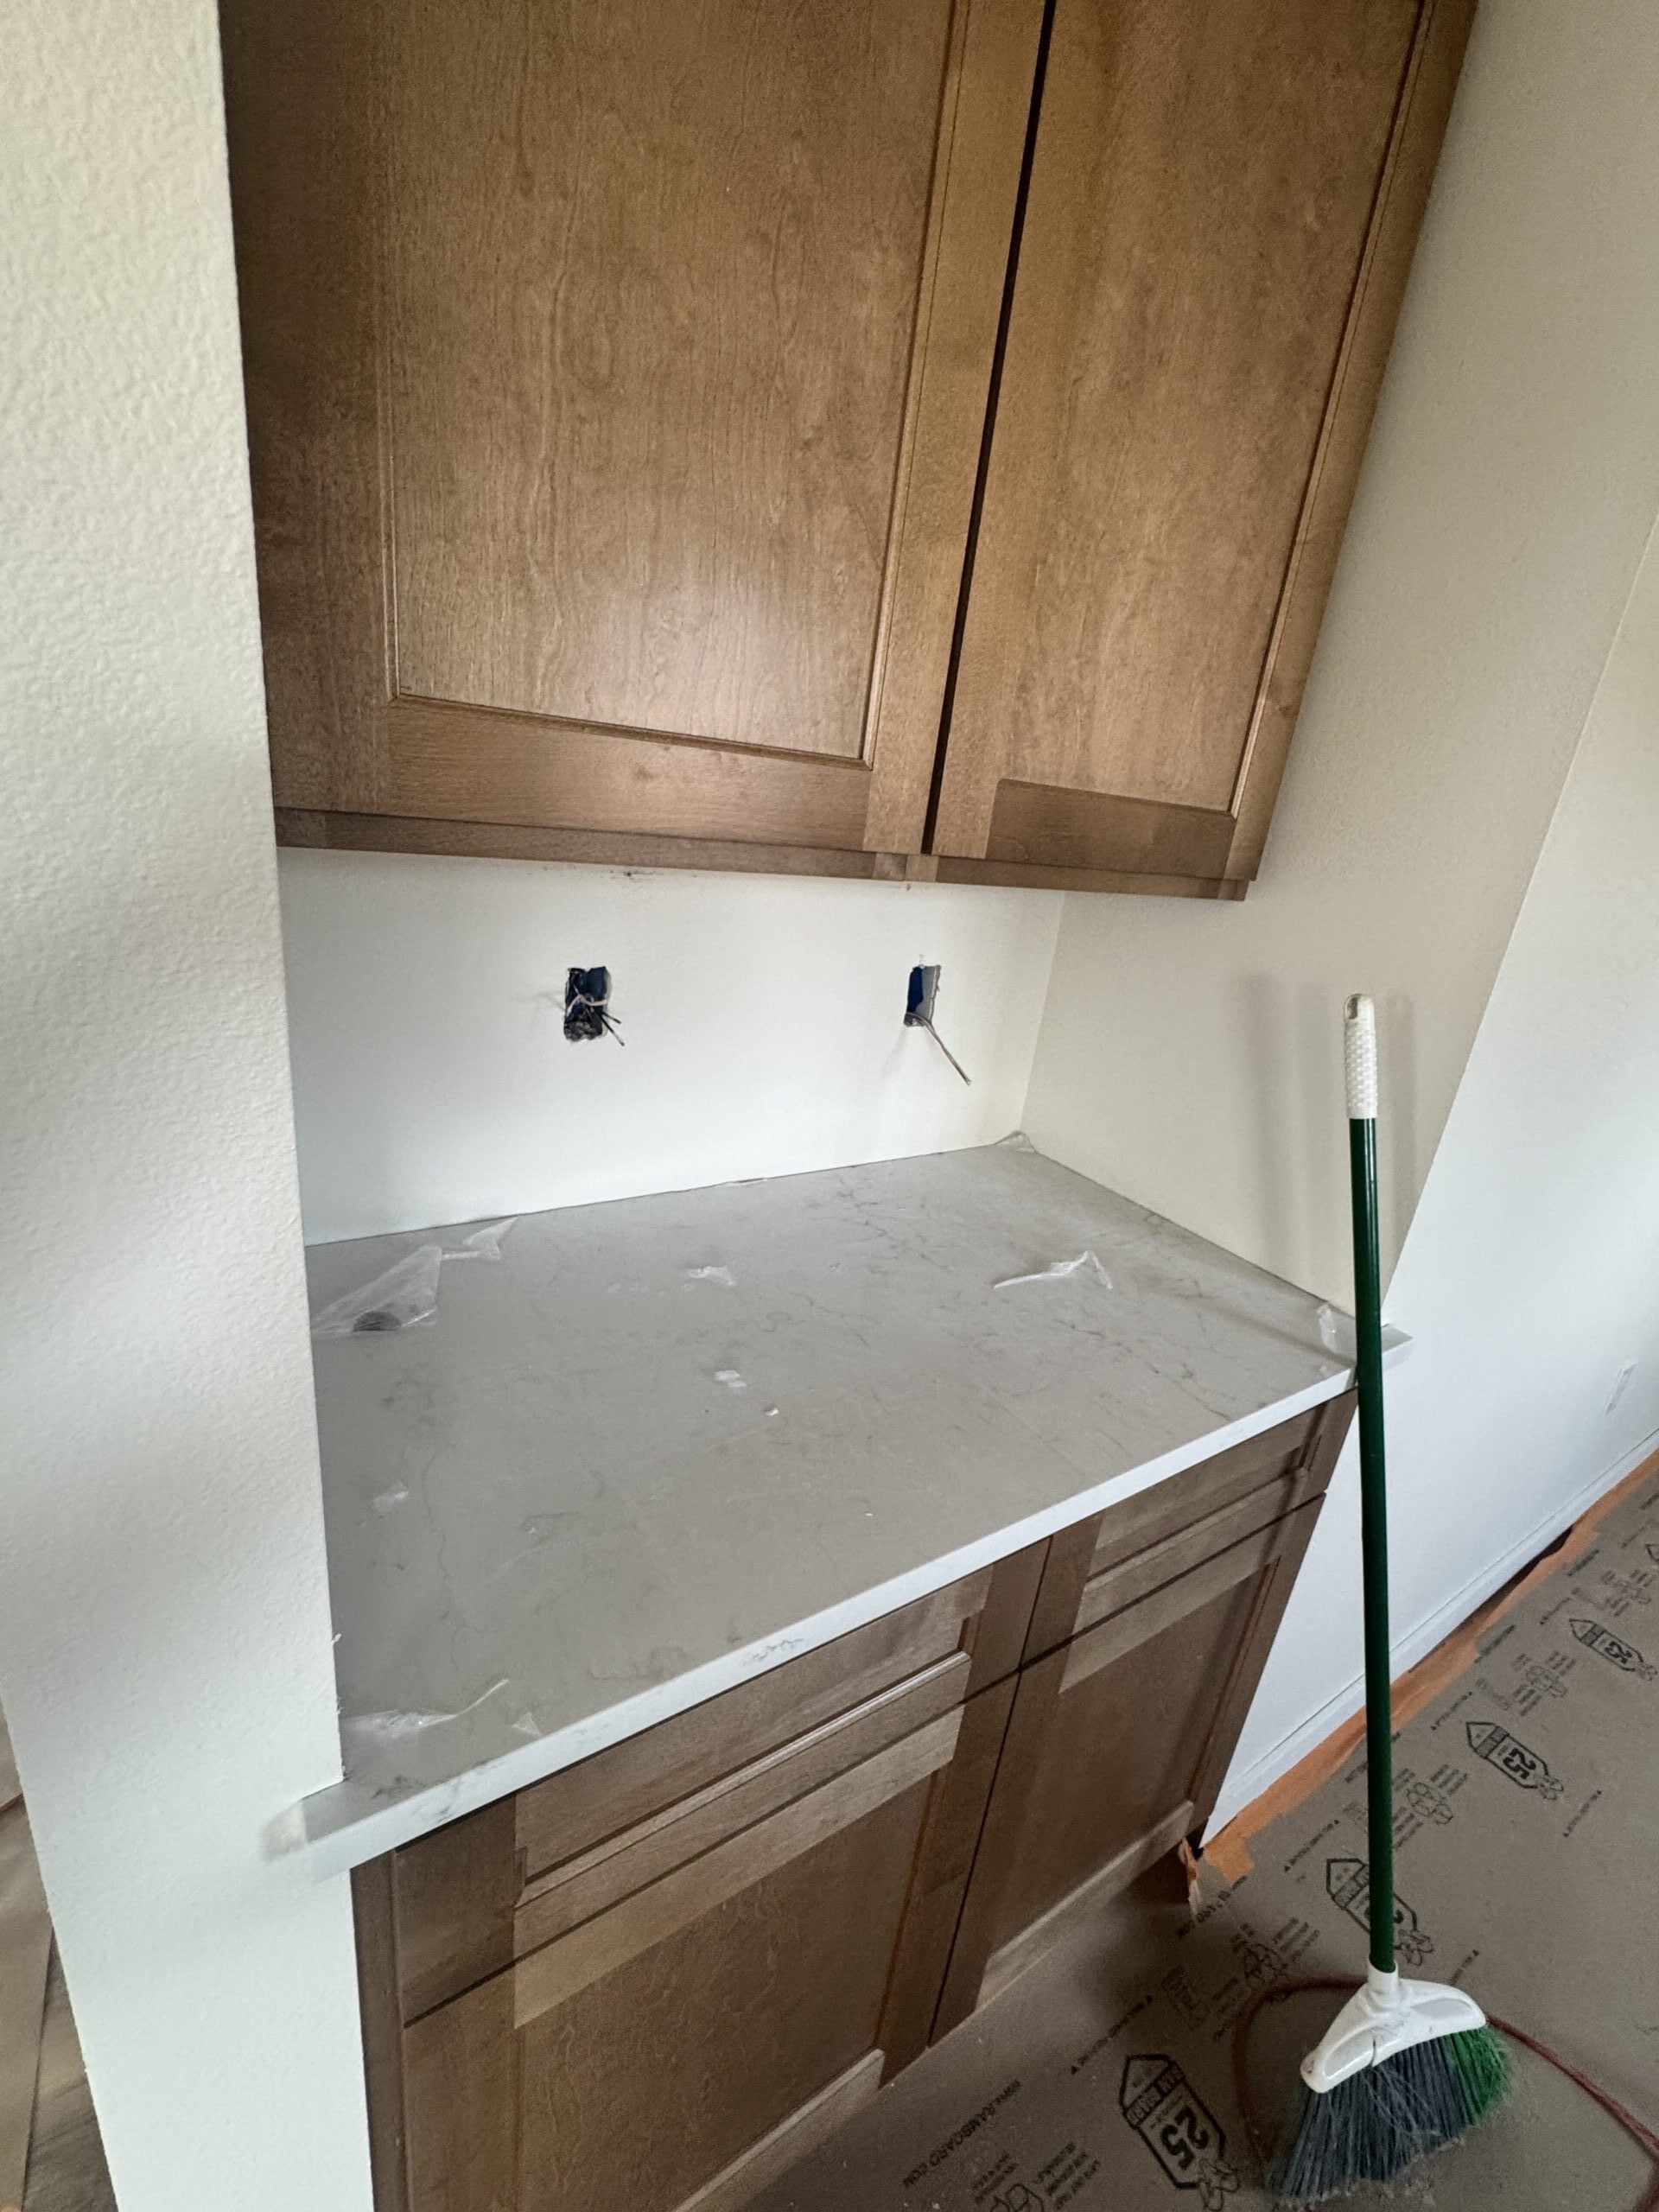
Early July was dedicated to sourcing fixtures and finishes. The team selected WA Marble countertops (Magnifico for the kitchen and Rainer for the bathrooms), ordered a farmhouse sink, picked out tile extending to the ceiling in the bathrooms, and sourced interior doors and trim.
Trade work accelerated mid-month:
- Mechanics adjusted cabinet clearances for appliances.
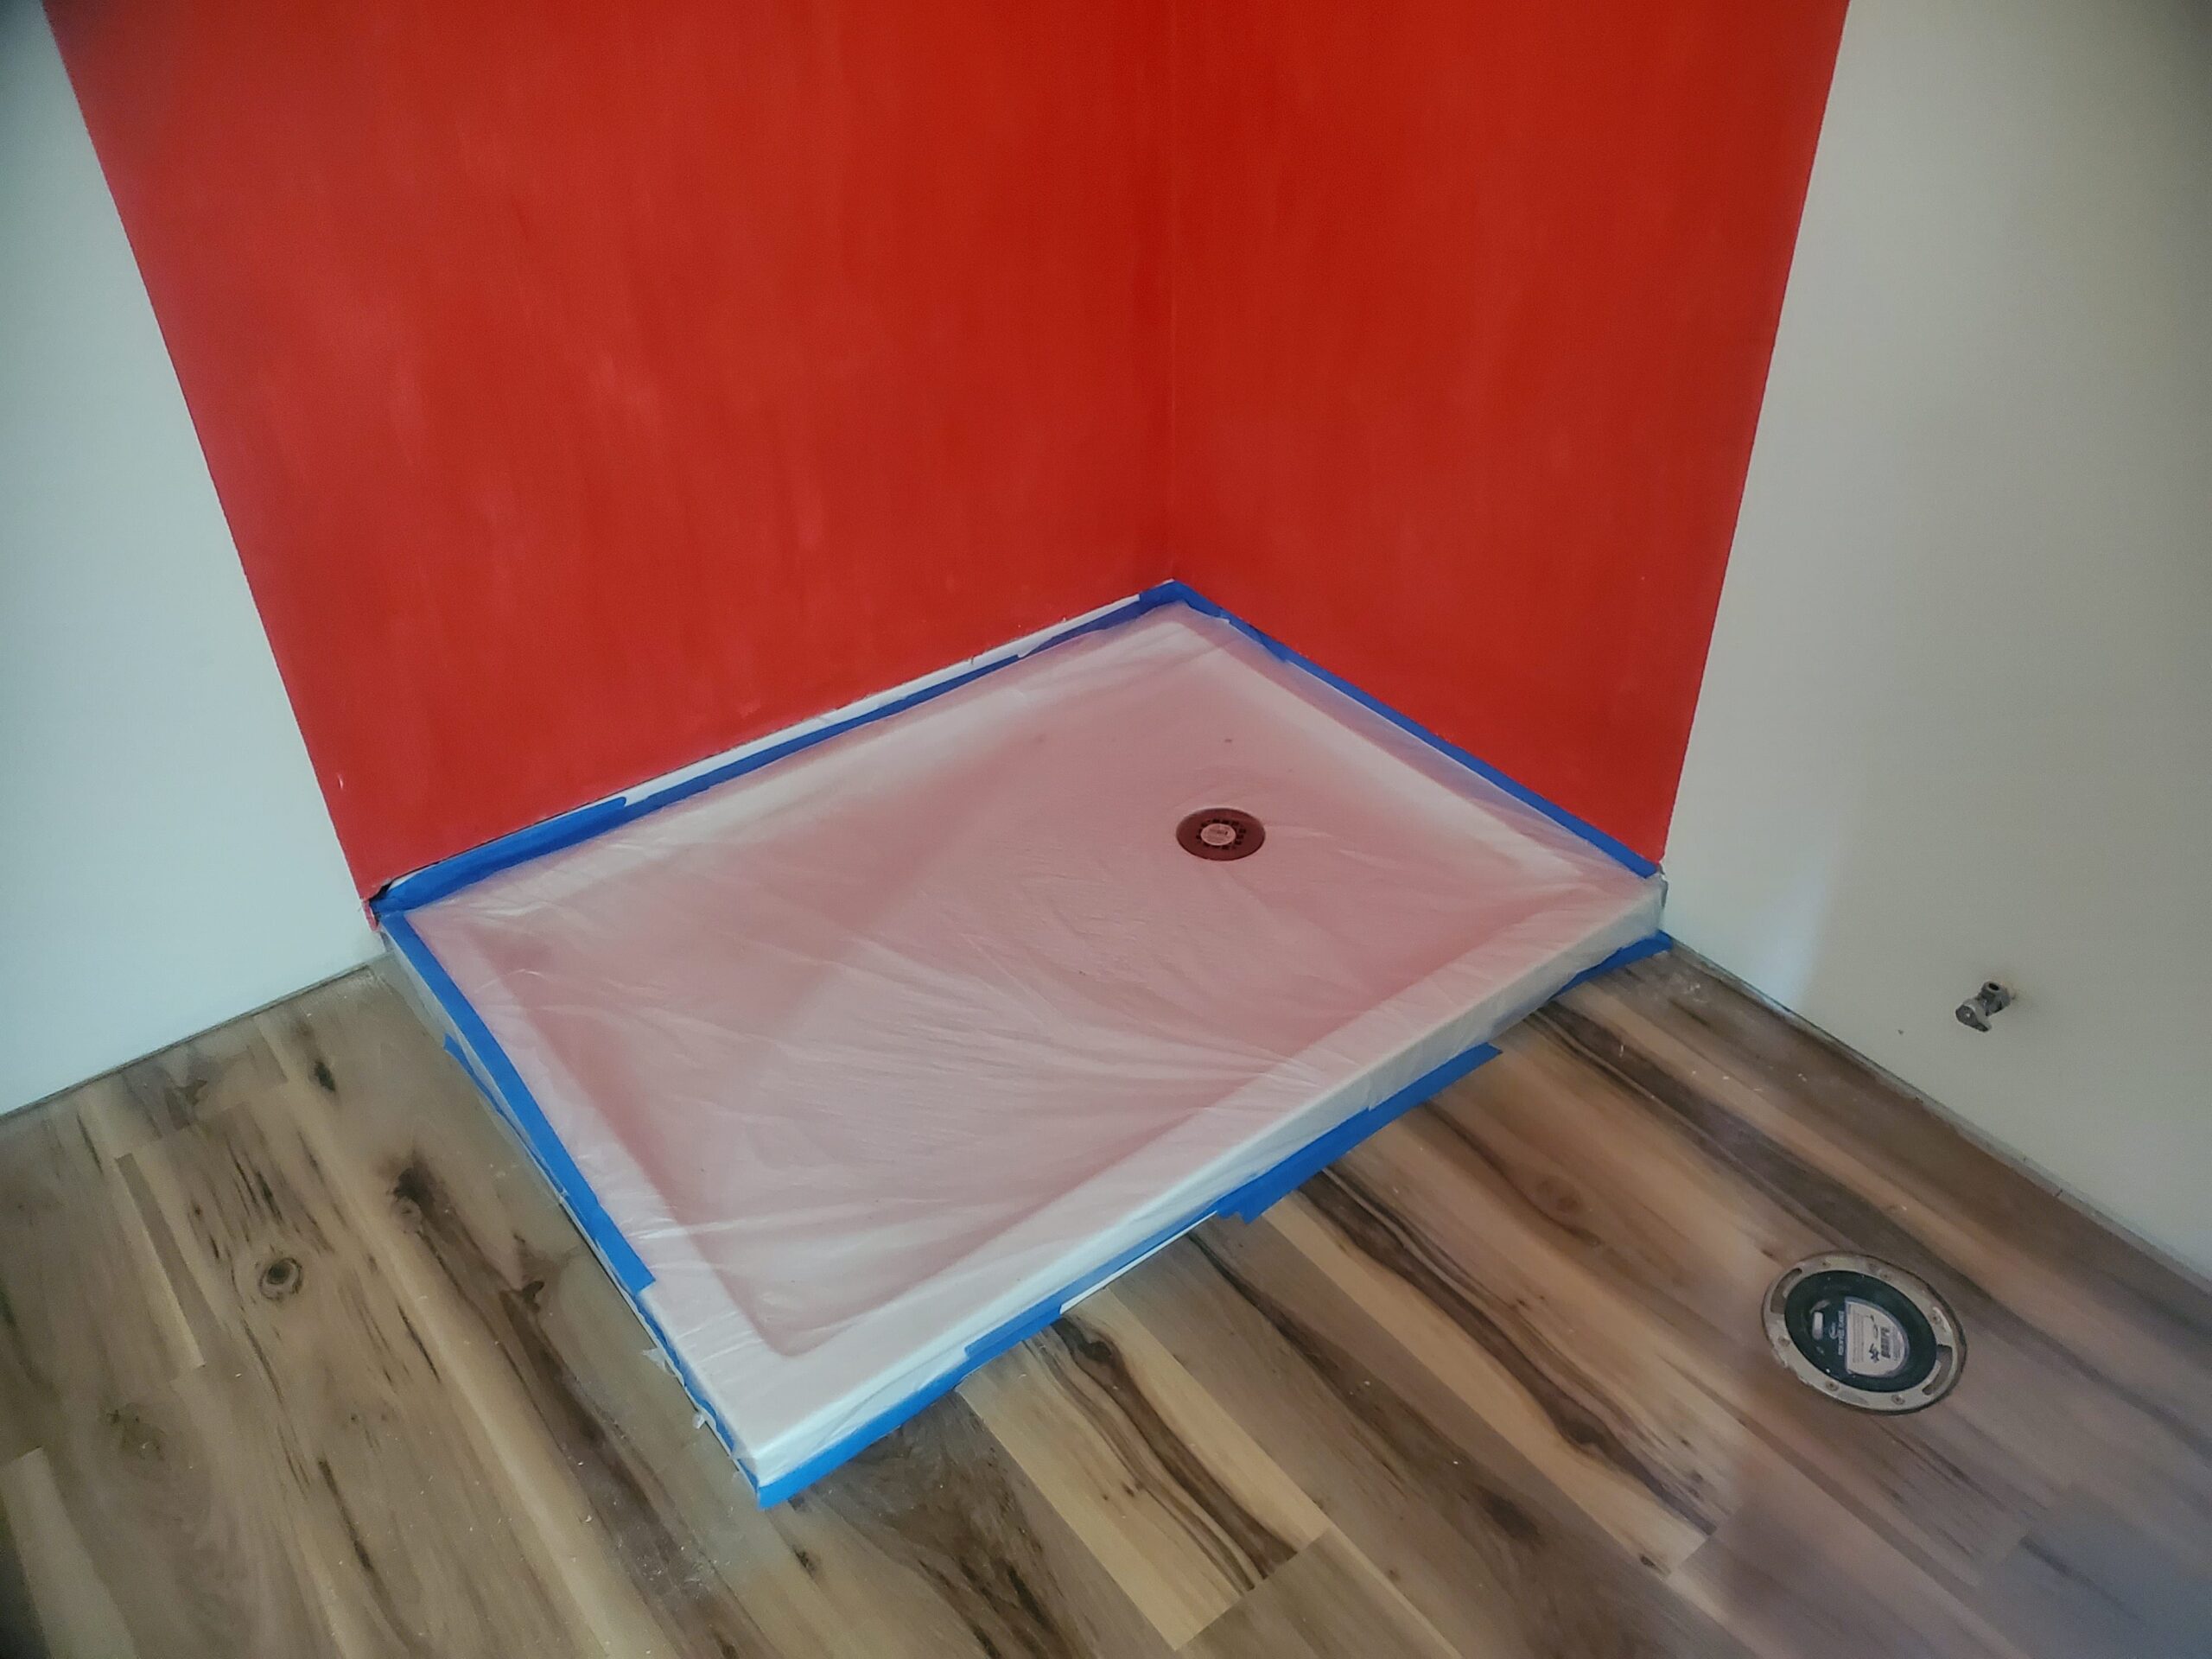
- Master shower drains were moved to fit the new pan.
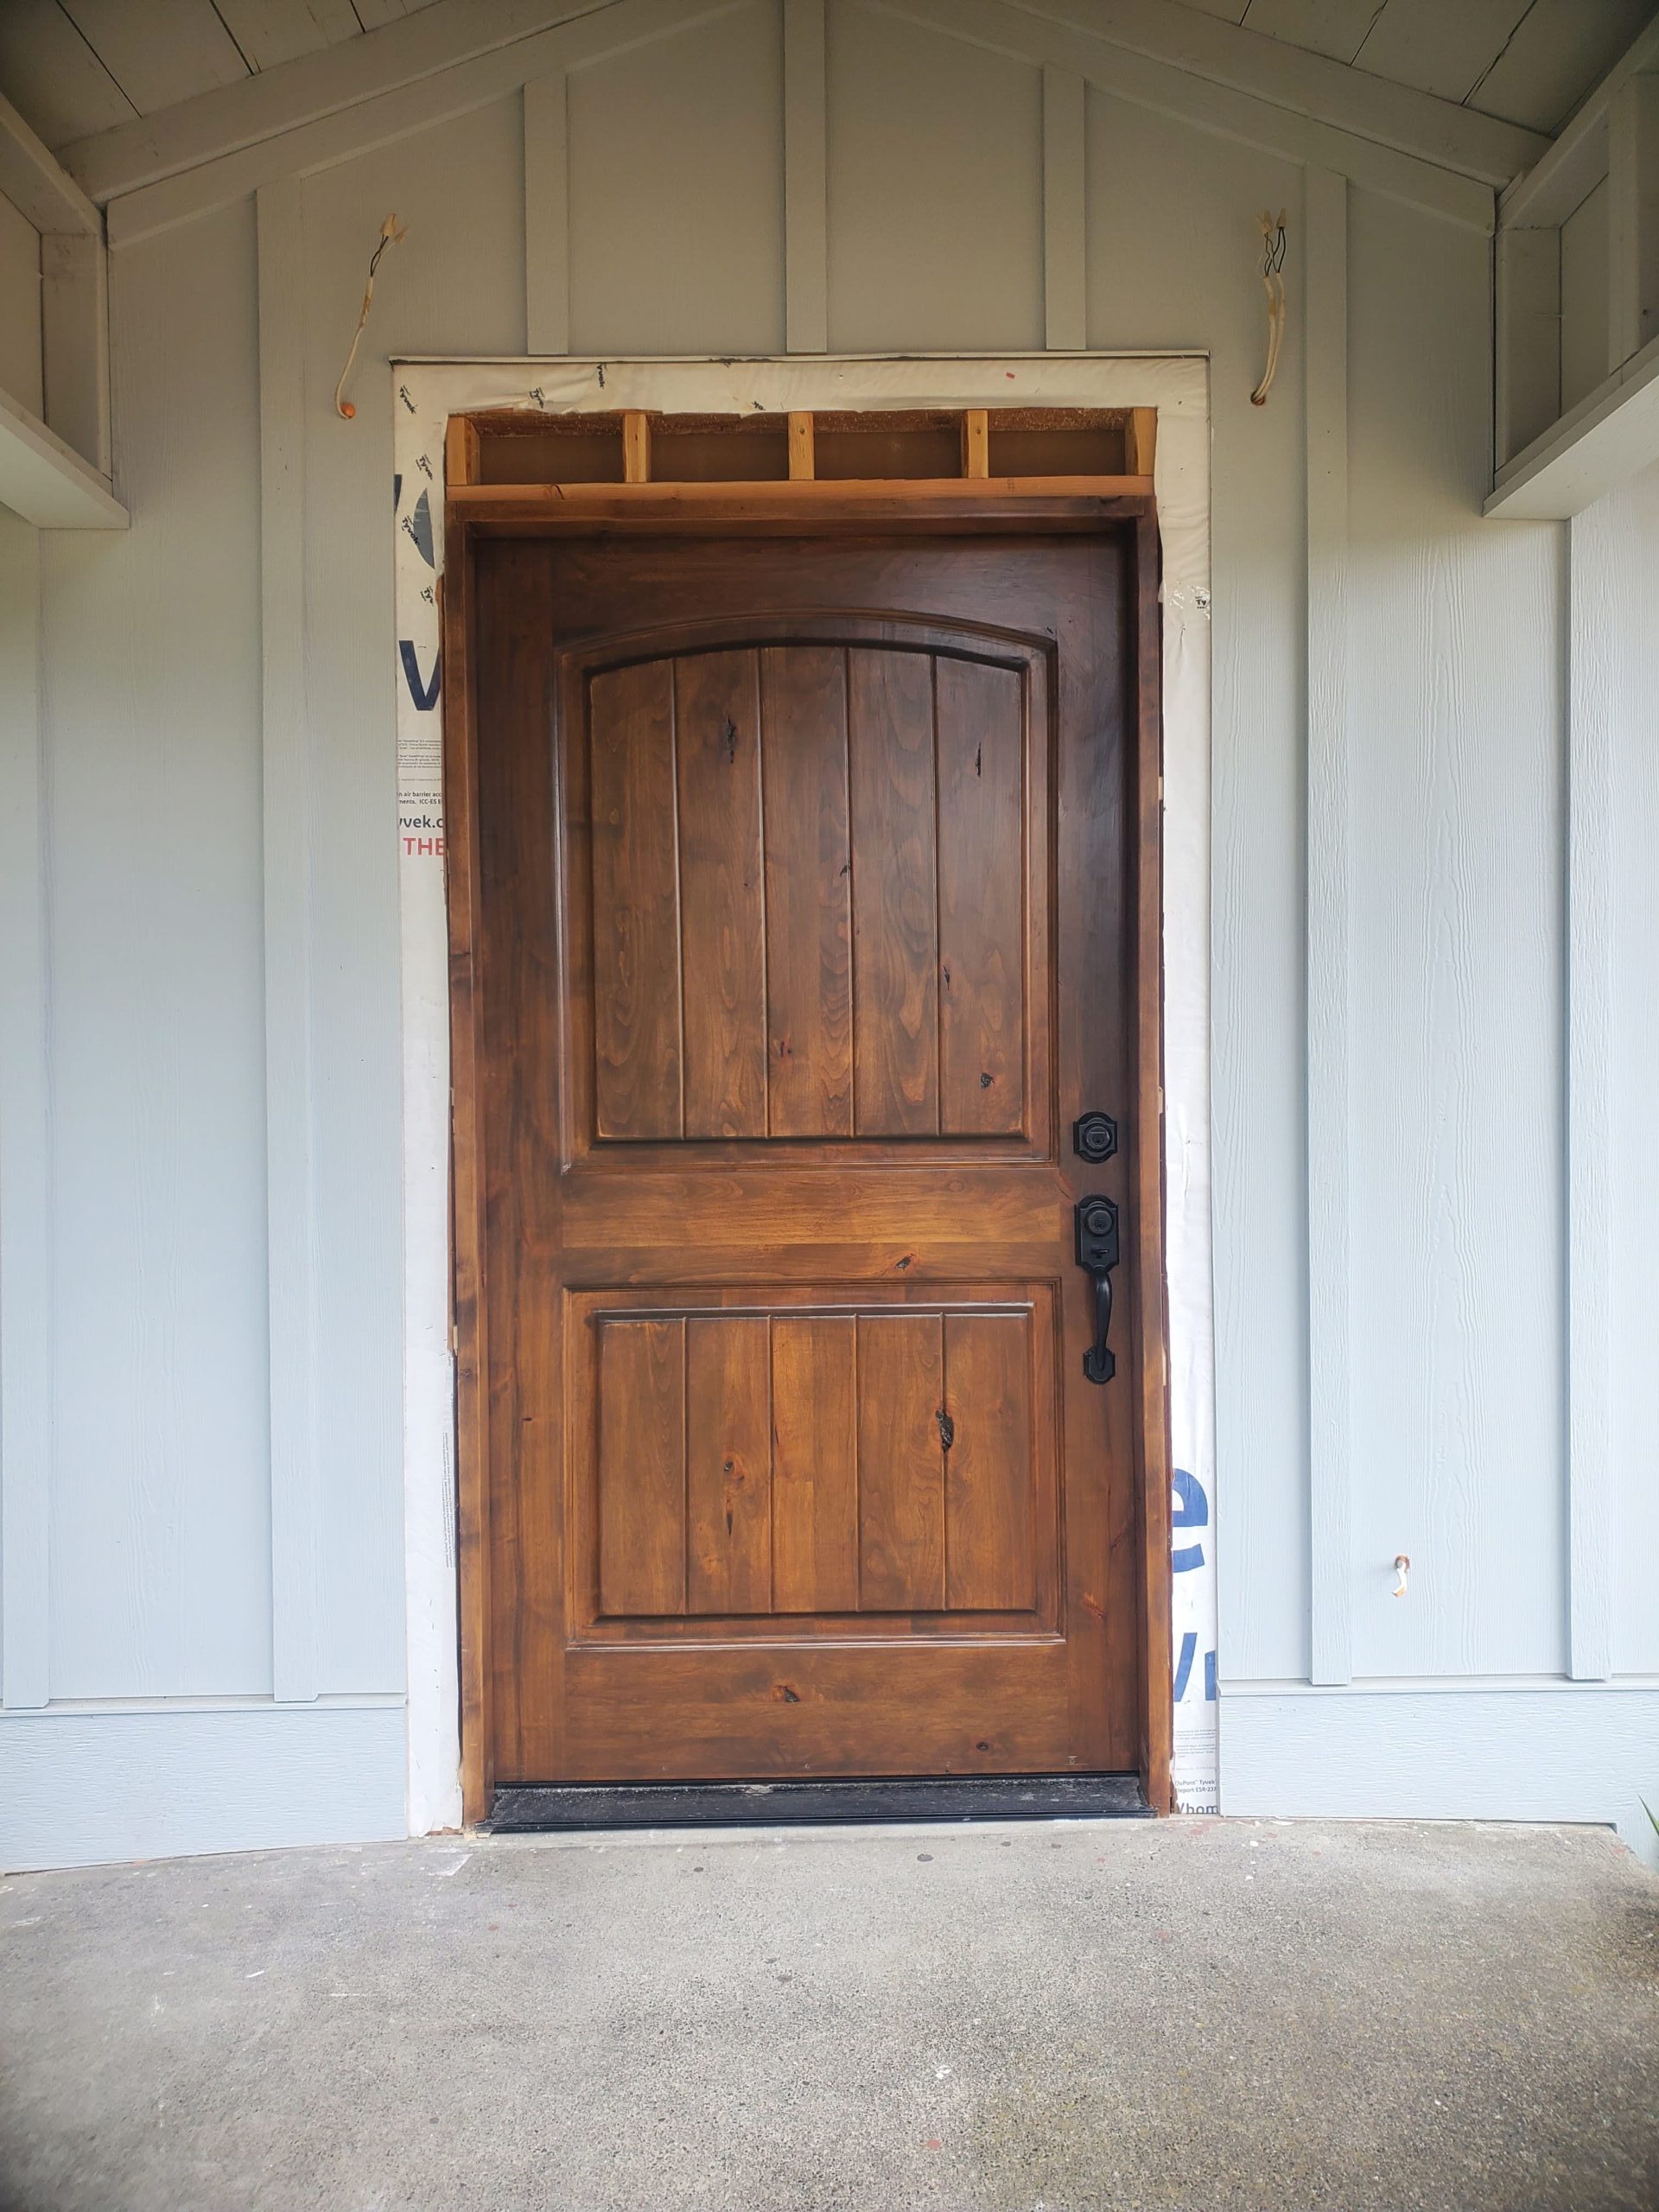
- Subcontractors sealed exterior doors with multi-coat protective finishes.
- Electricians began wiring the main panel.
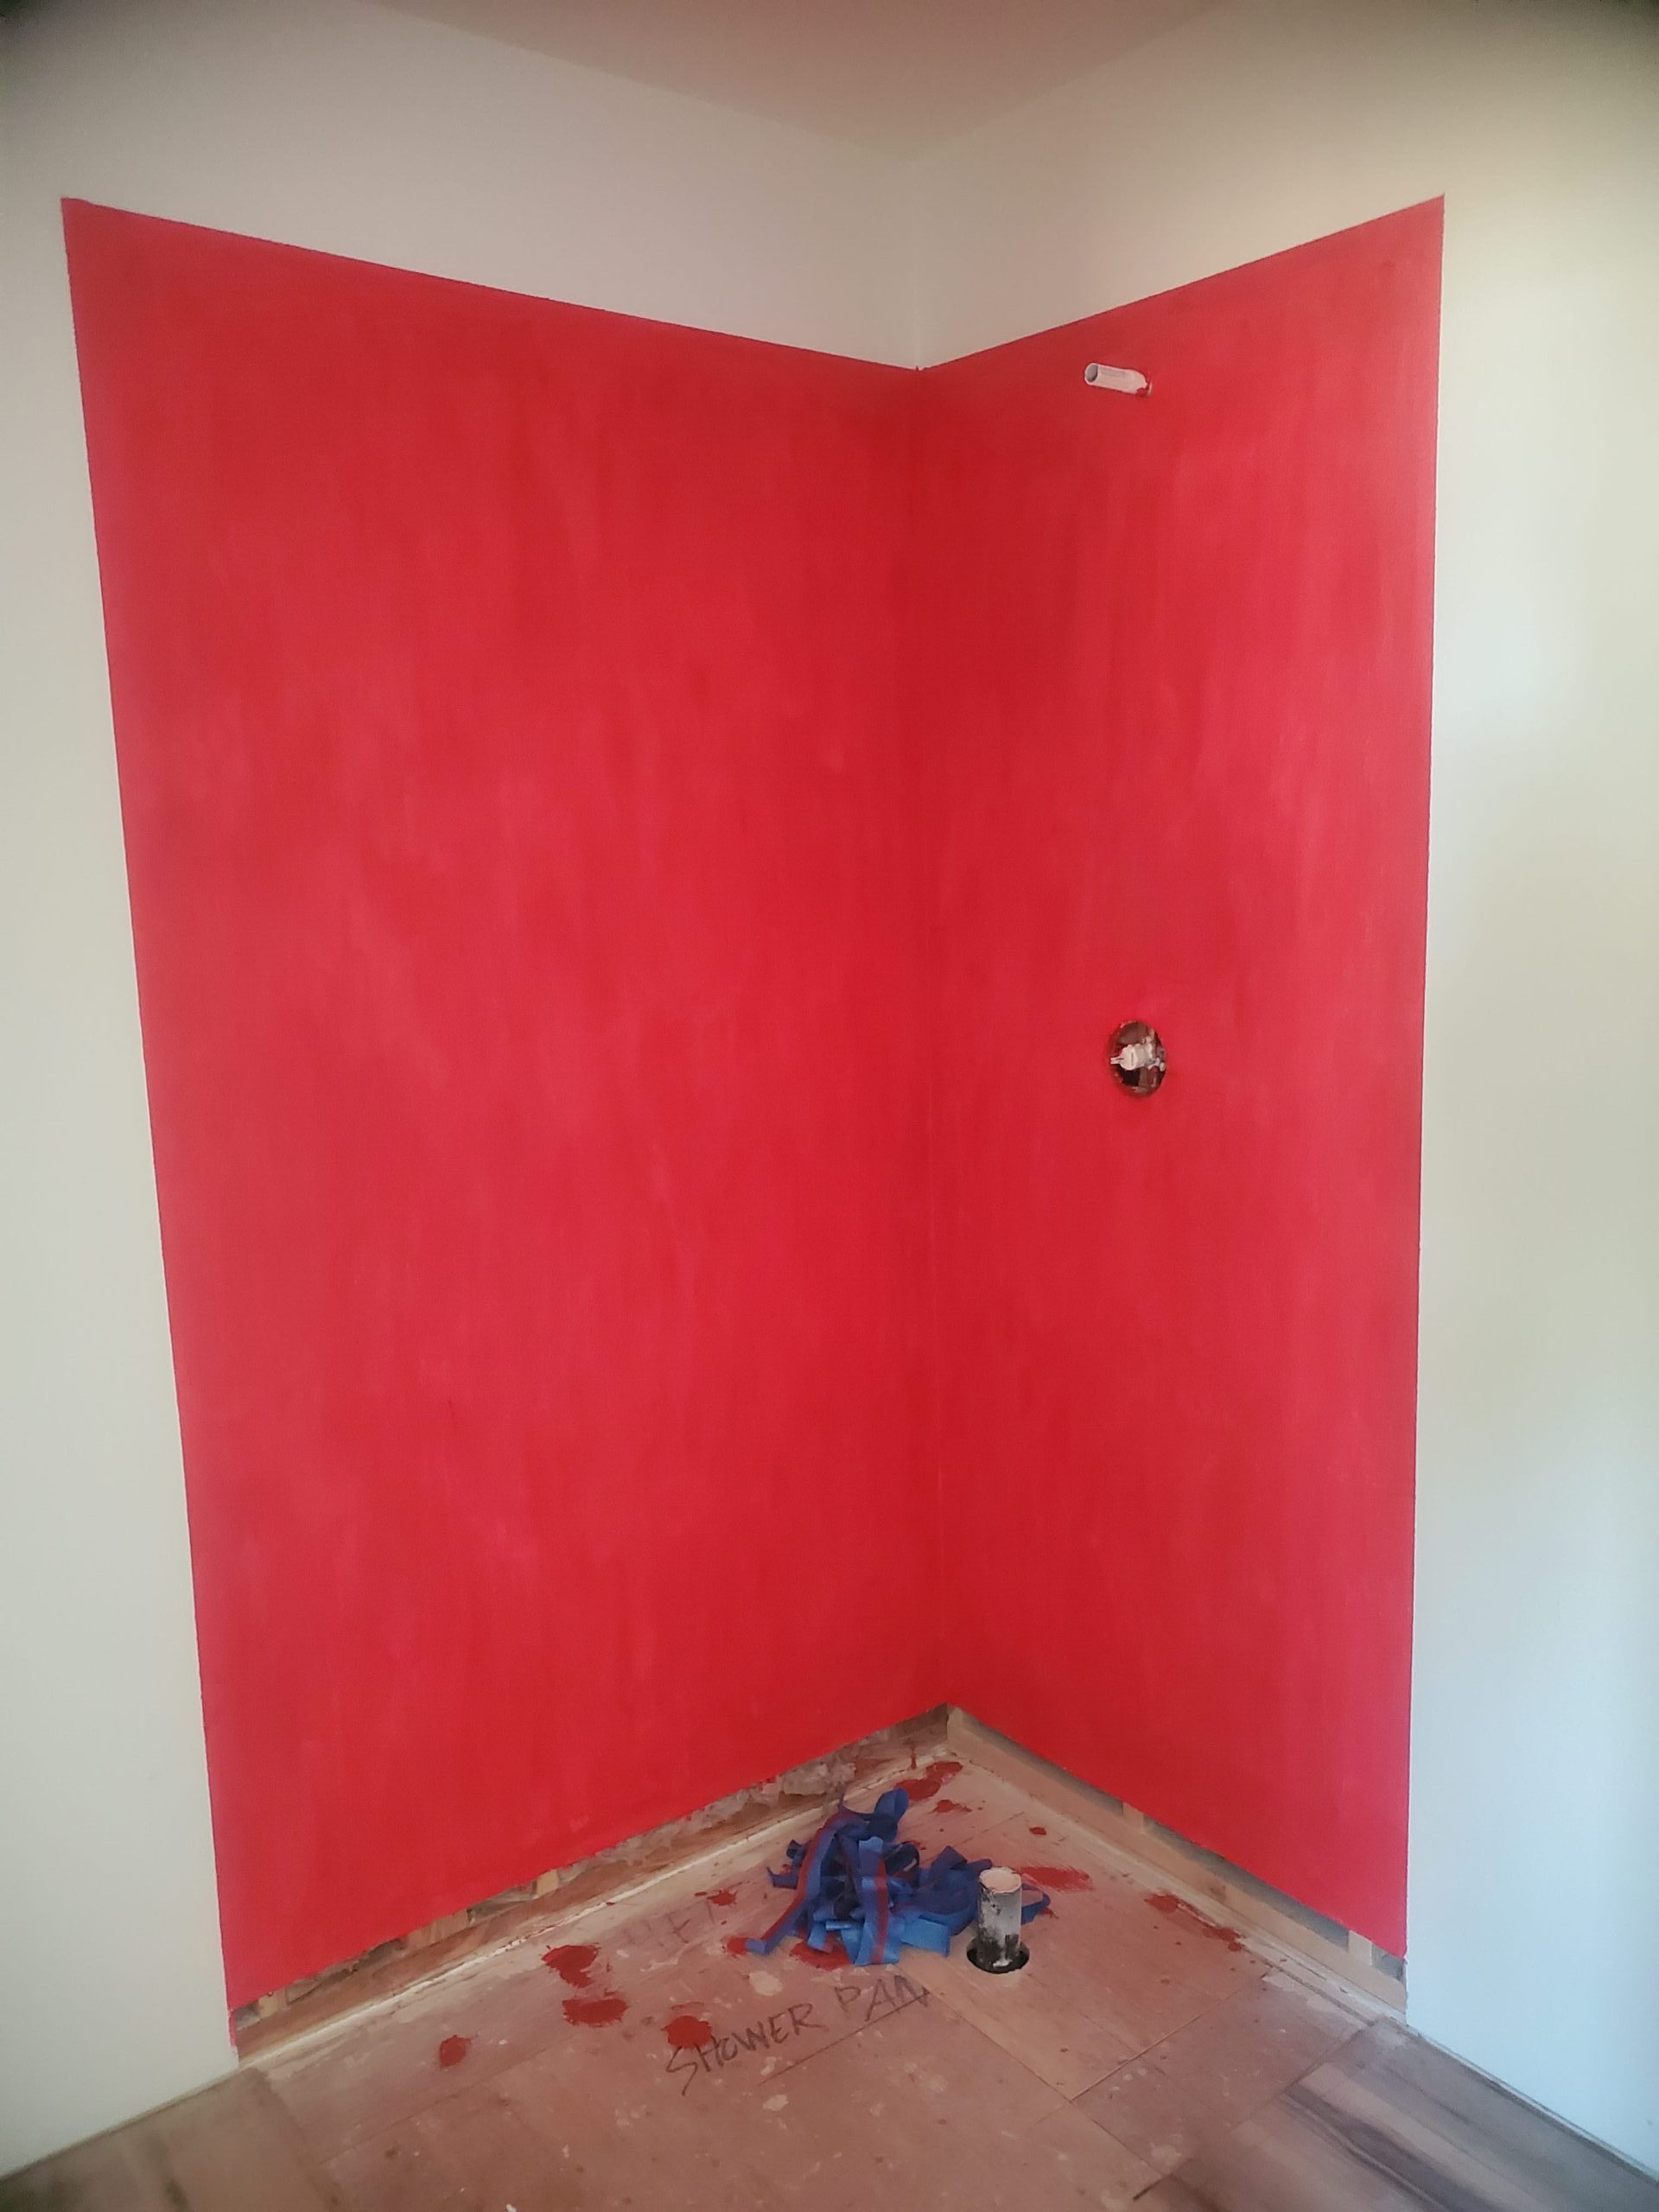
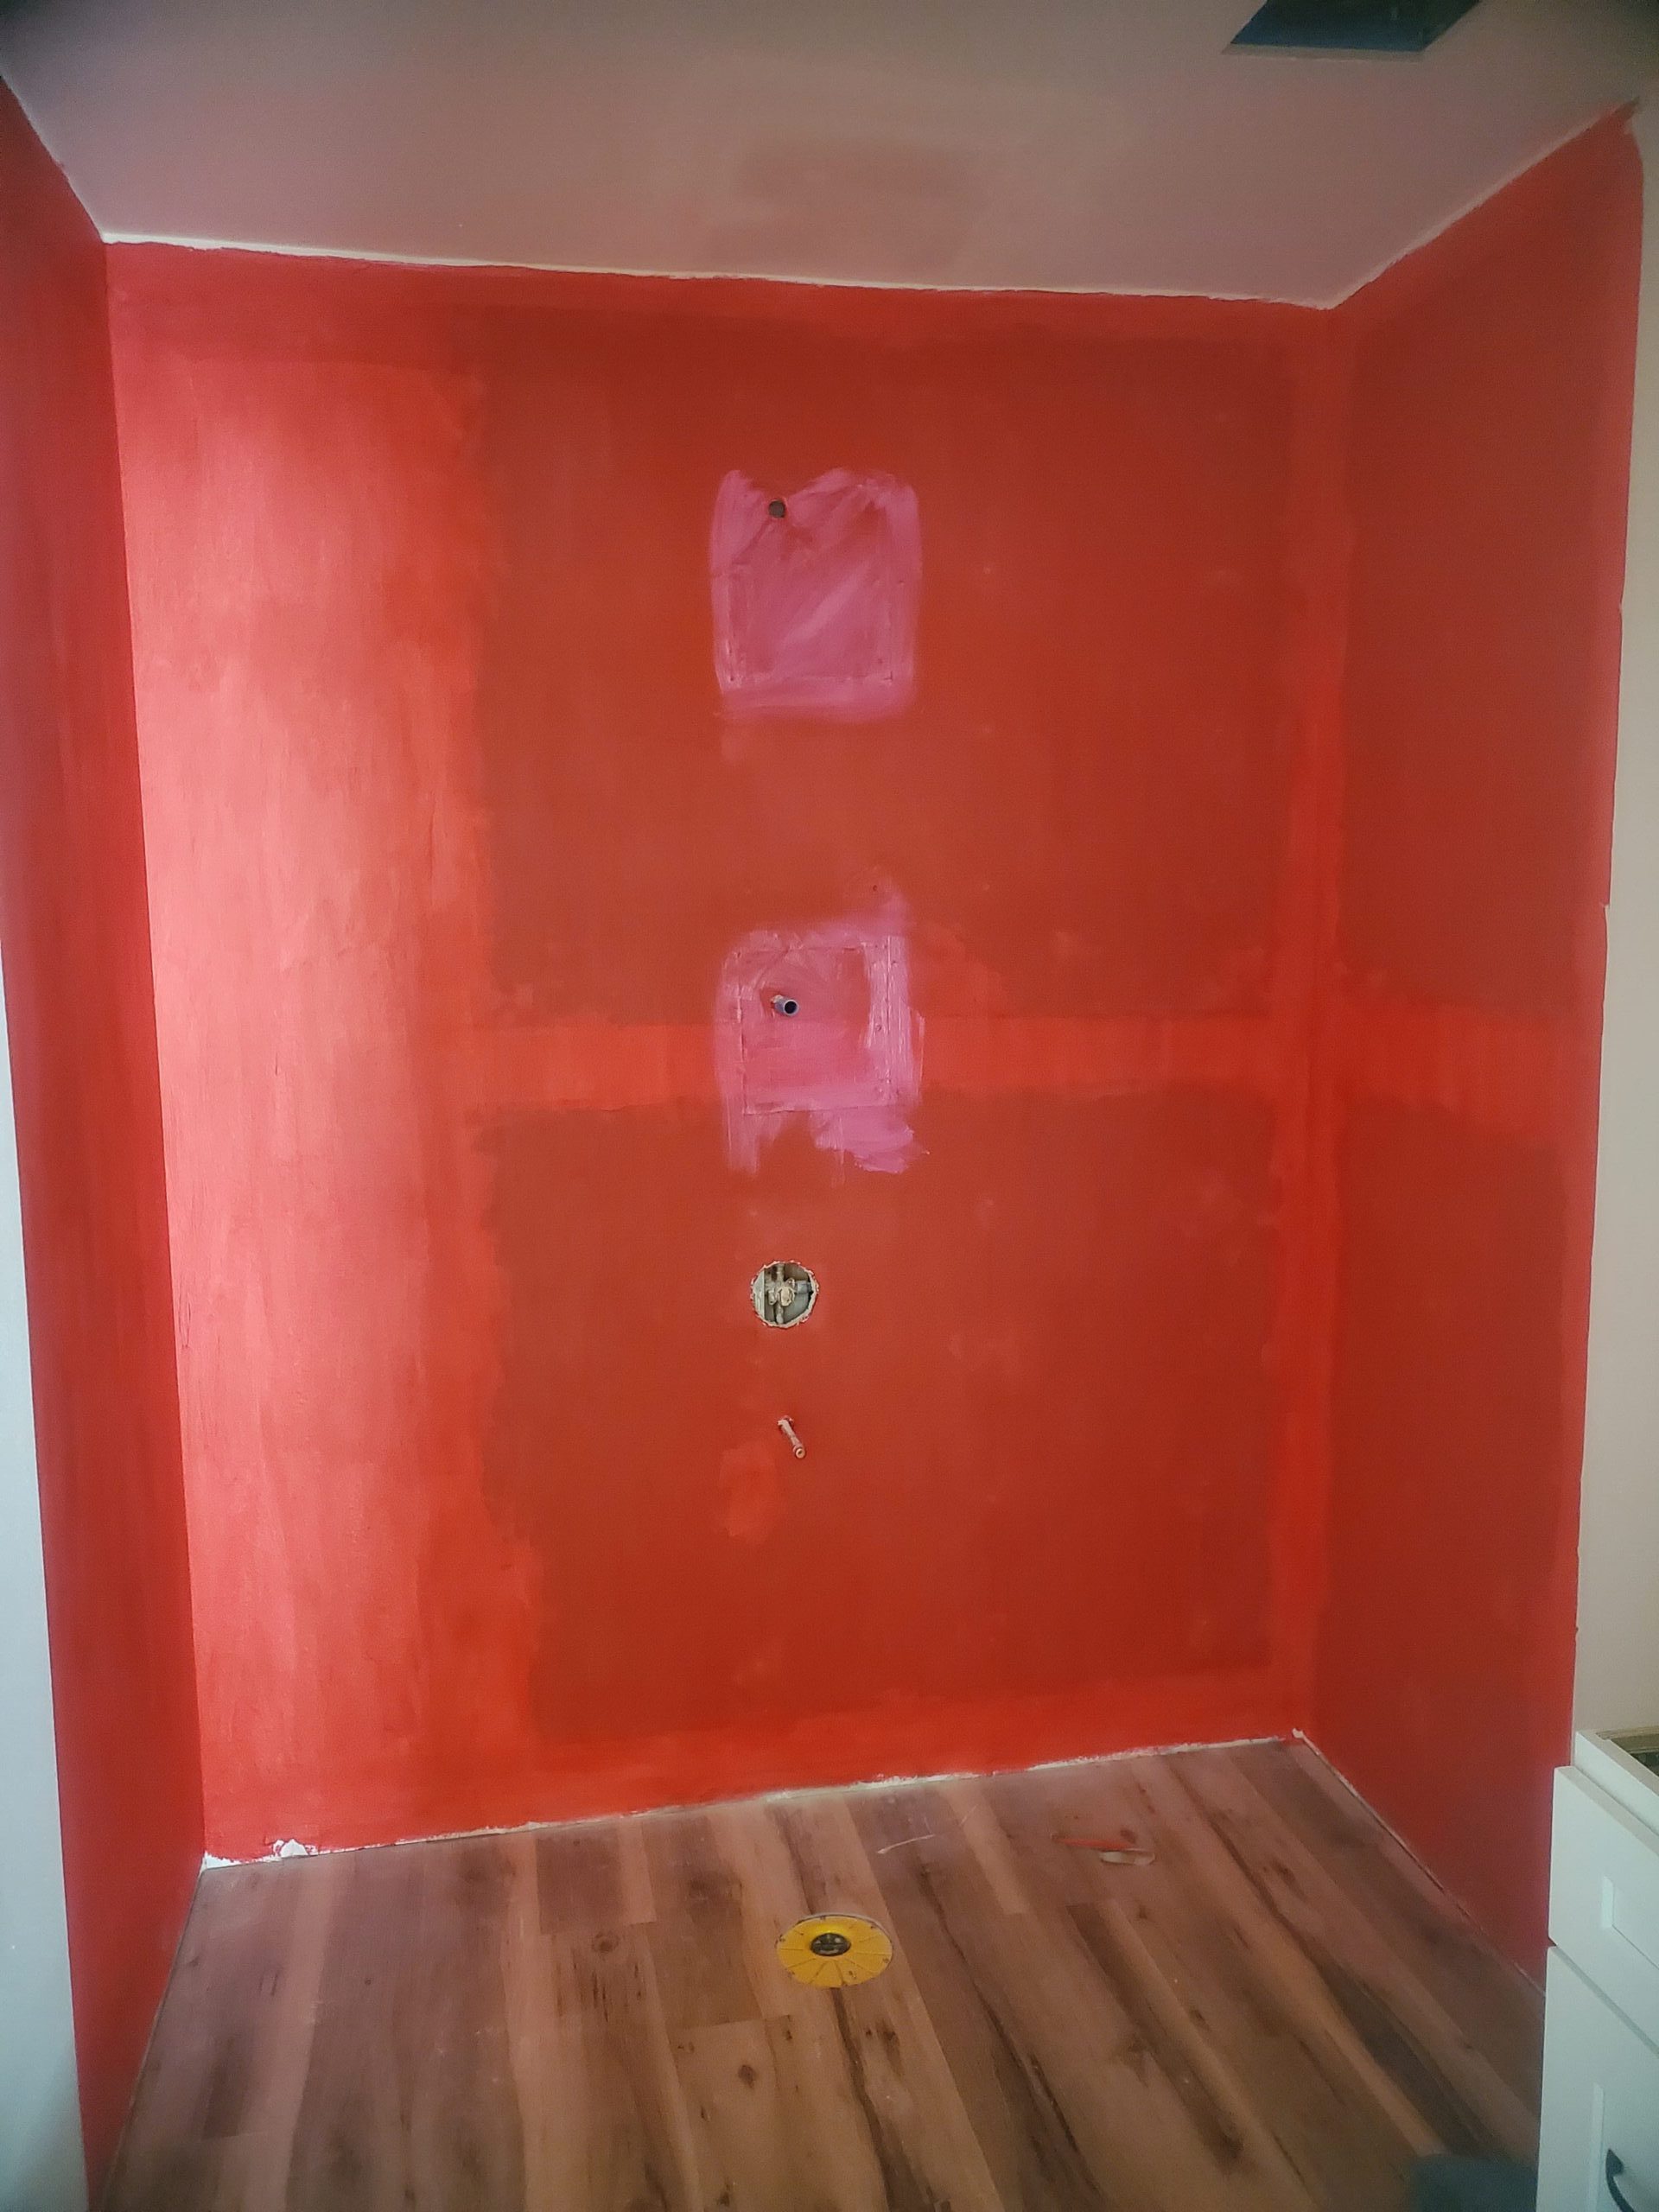
- Waterproofing coats were applied across all bath walls.
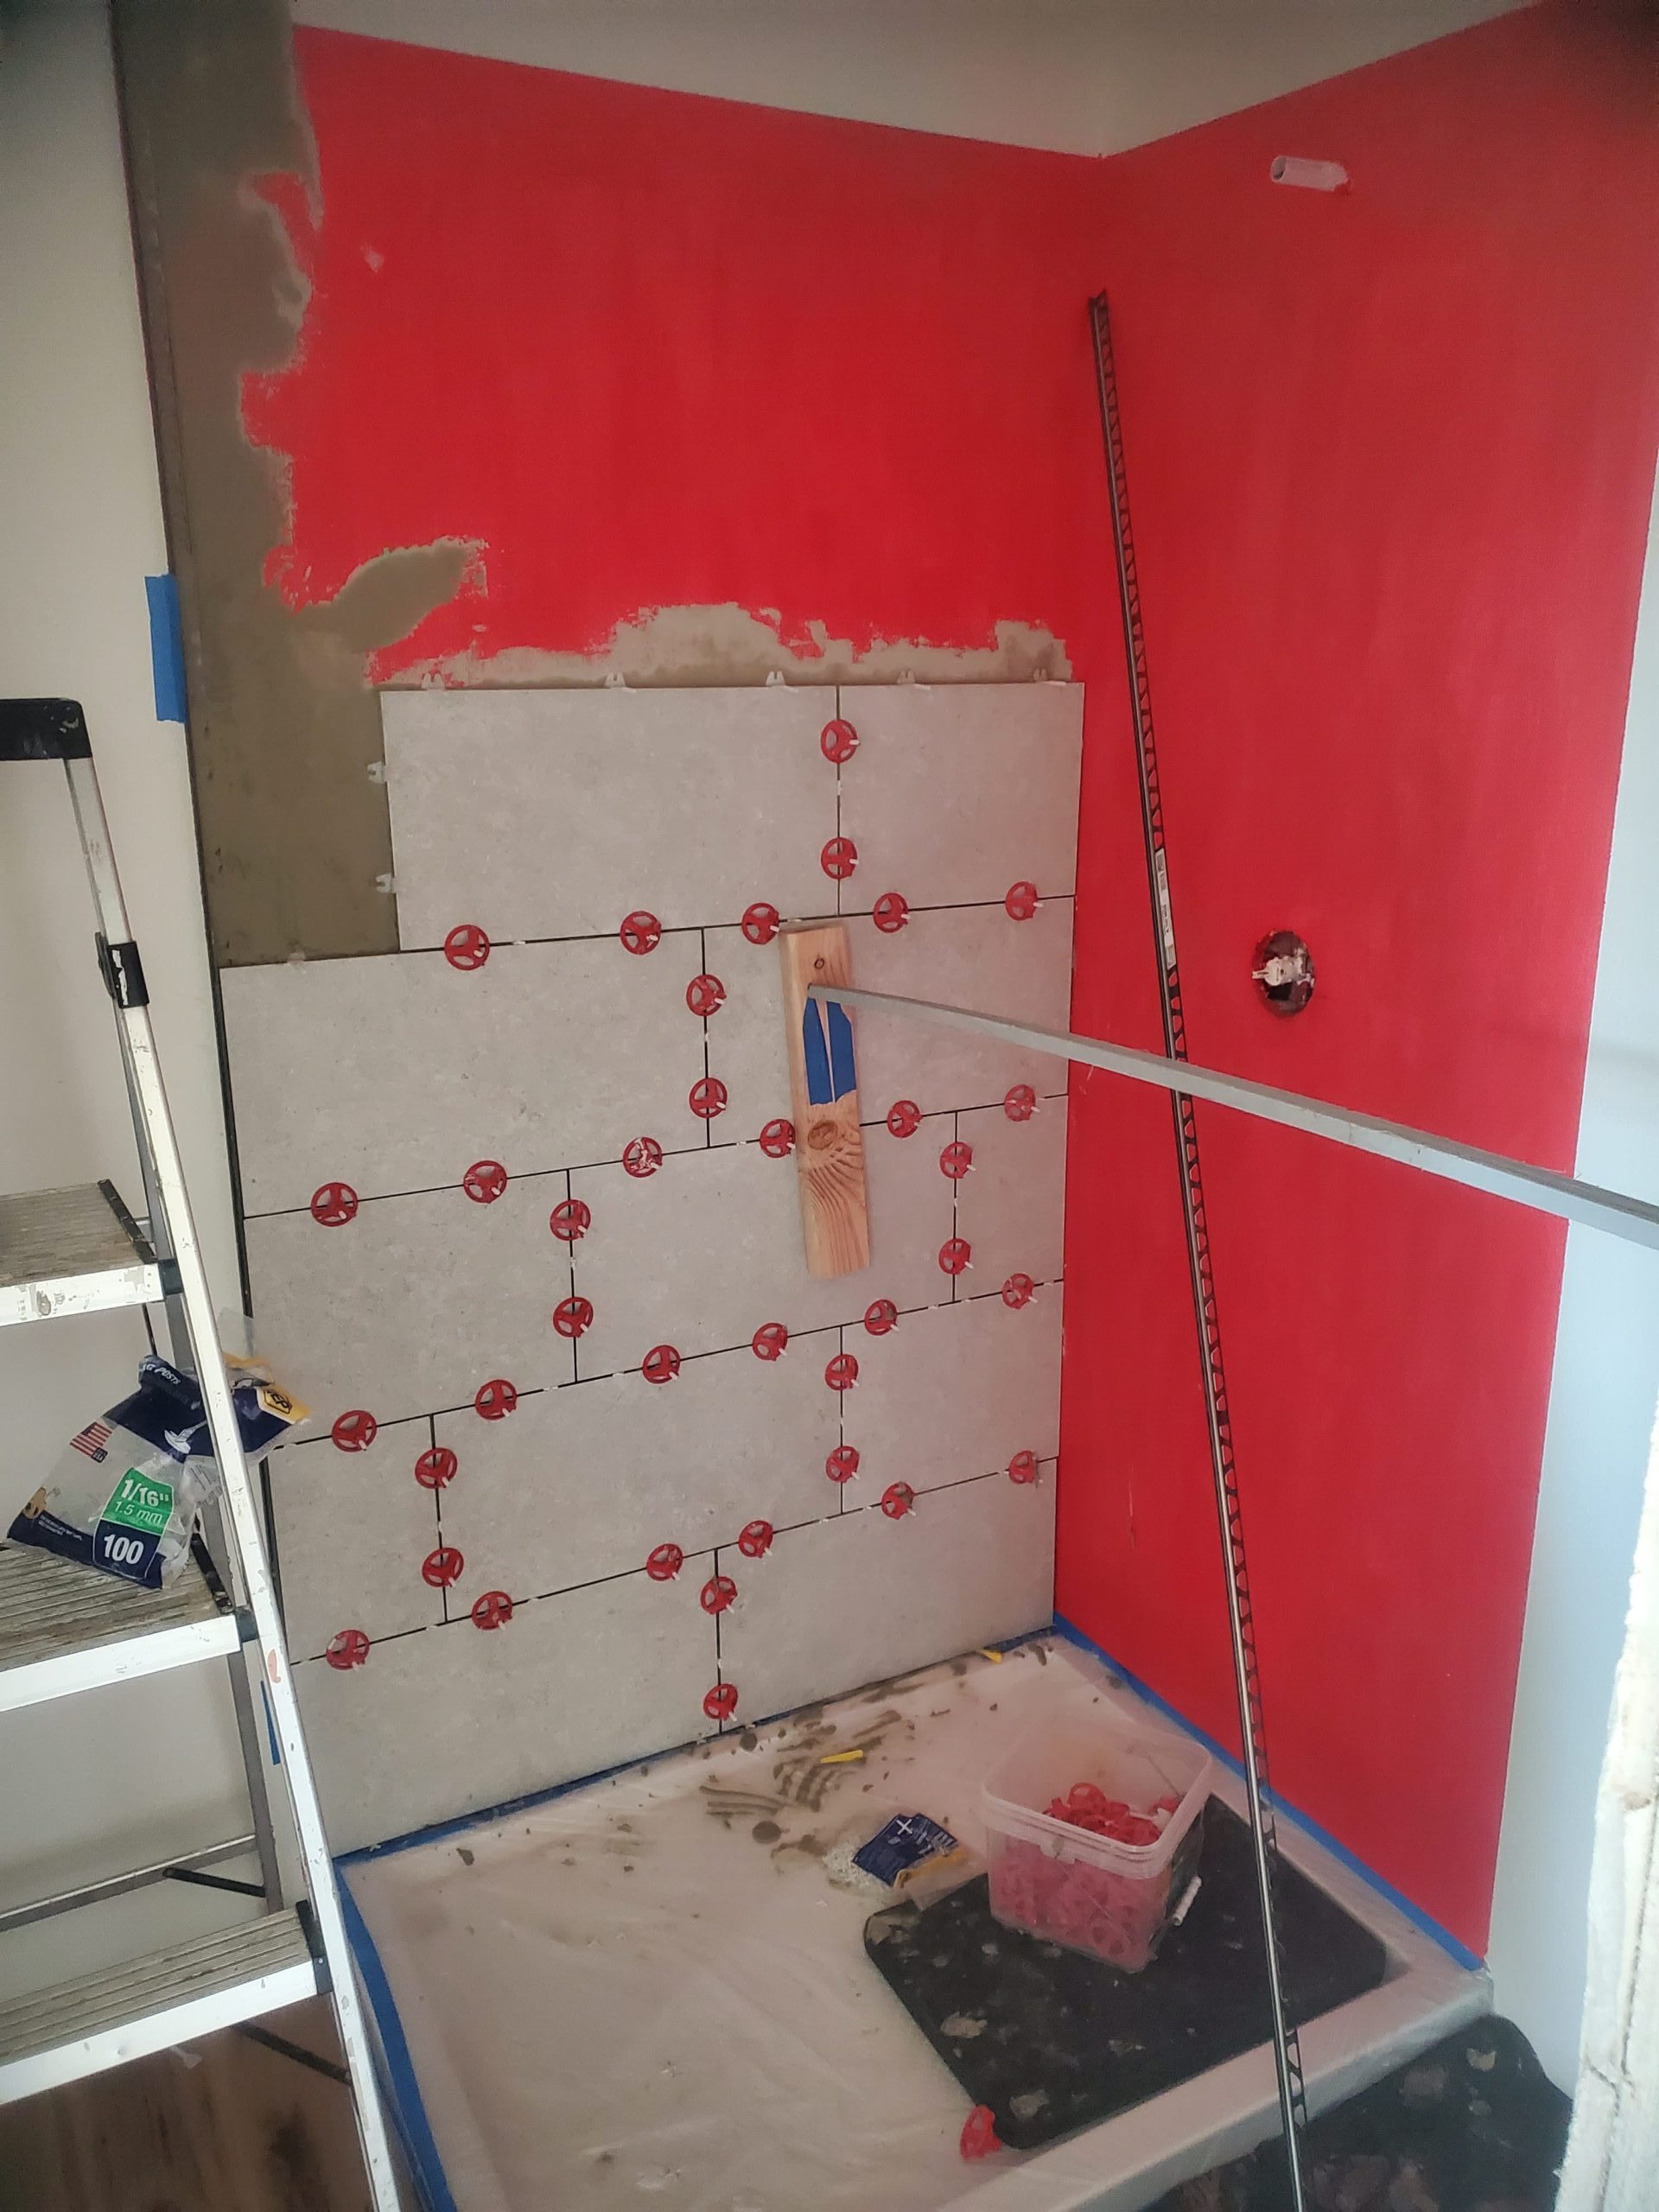
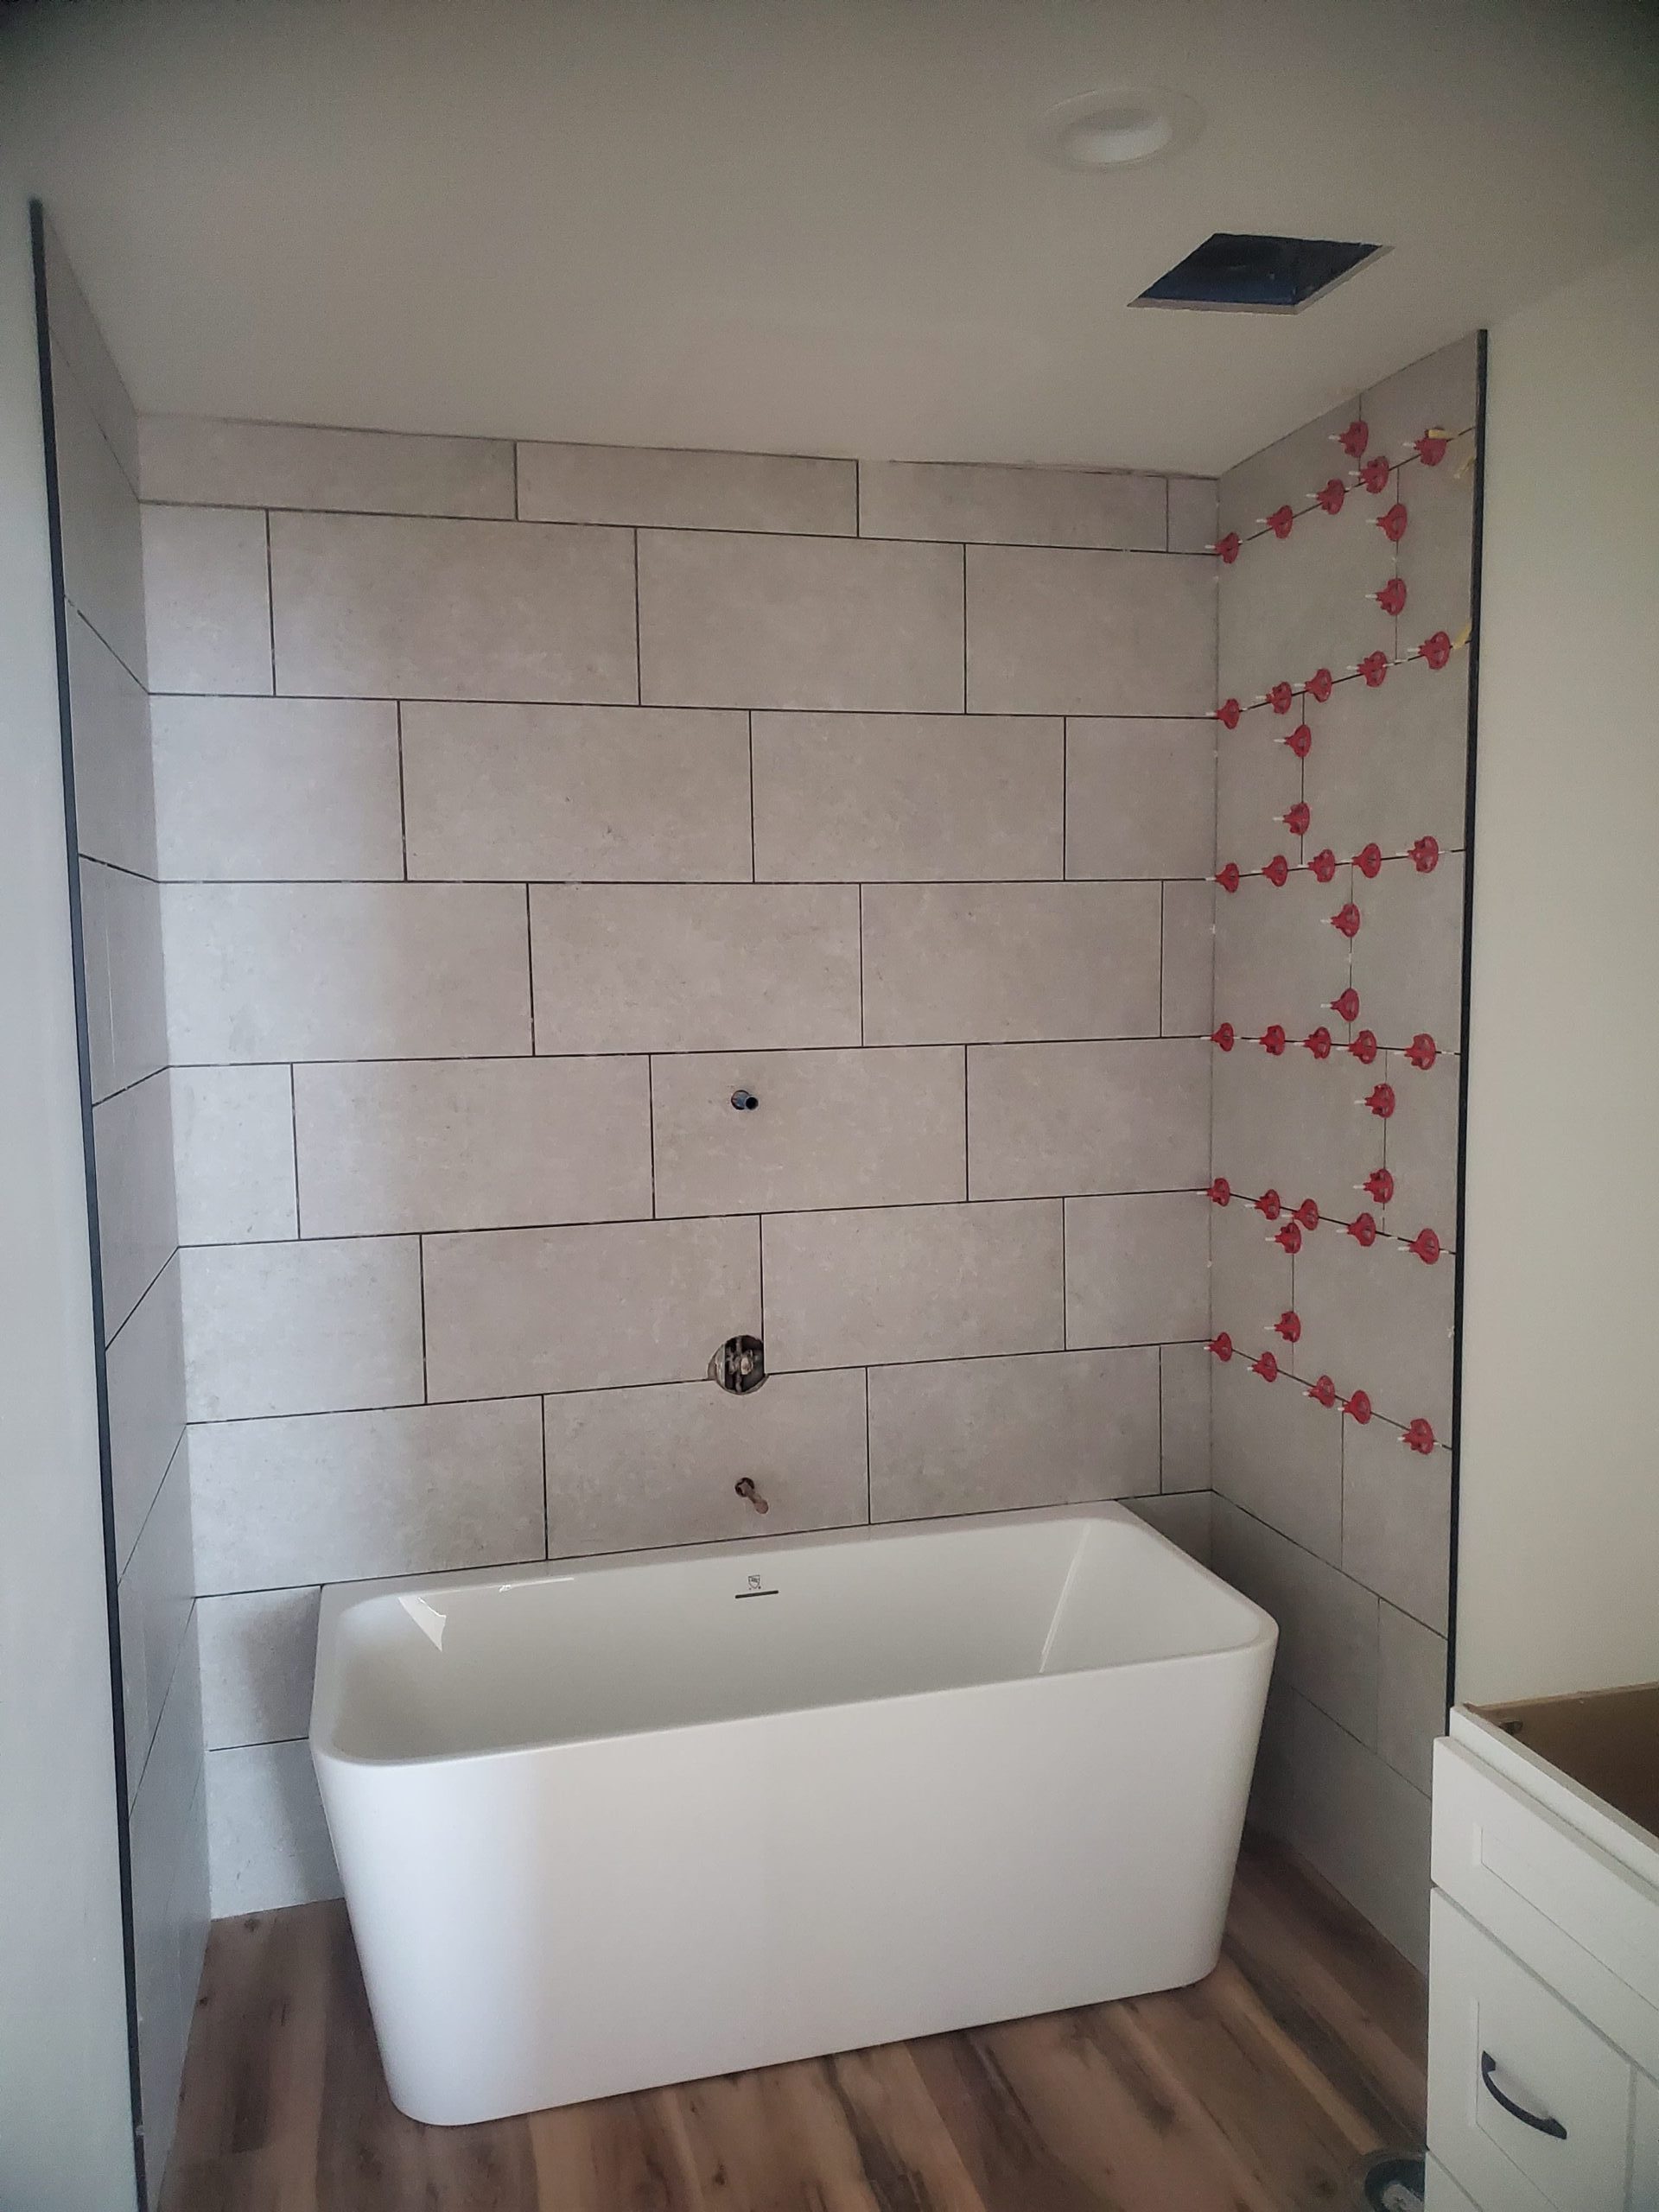
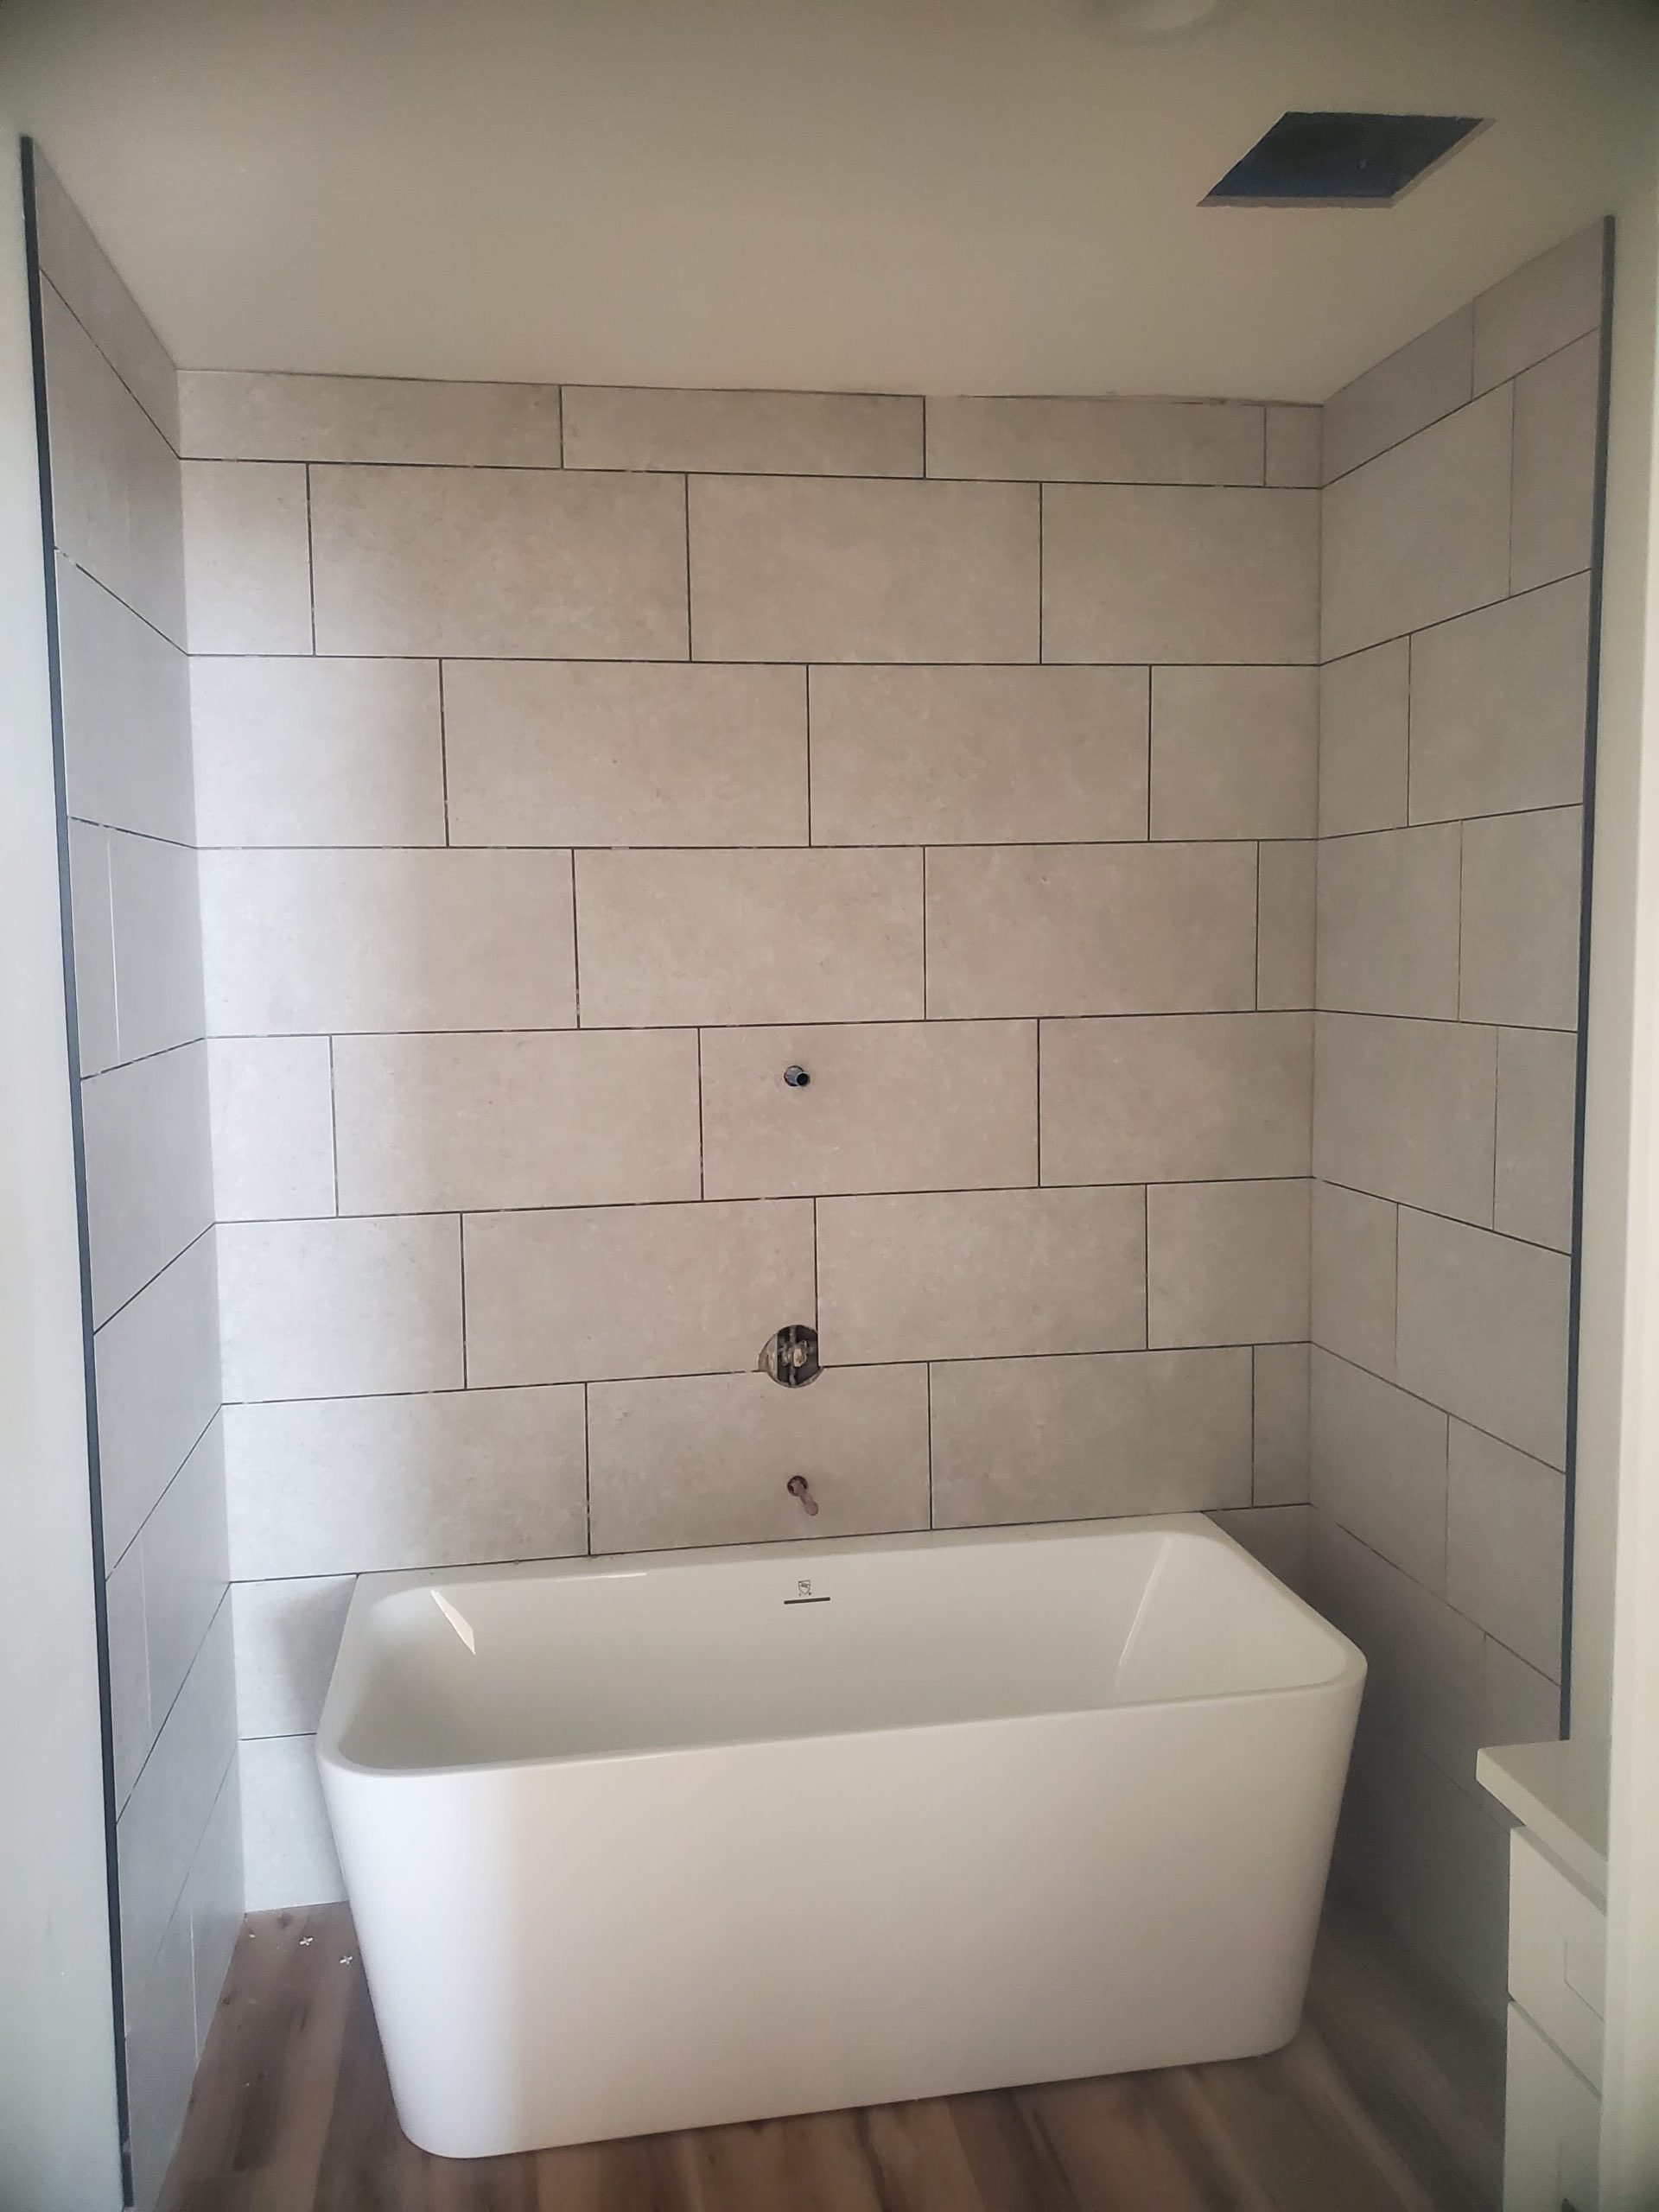
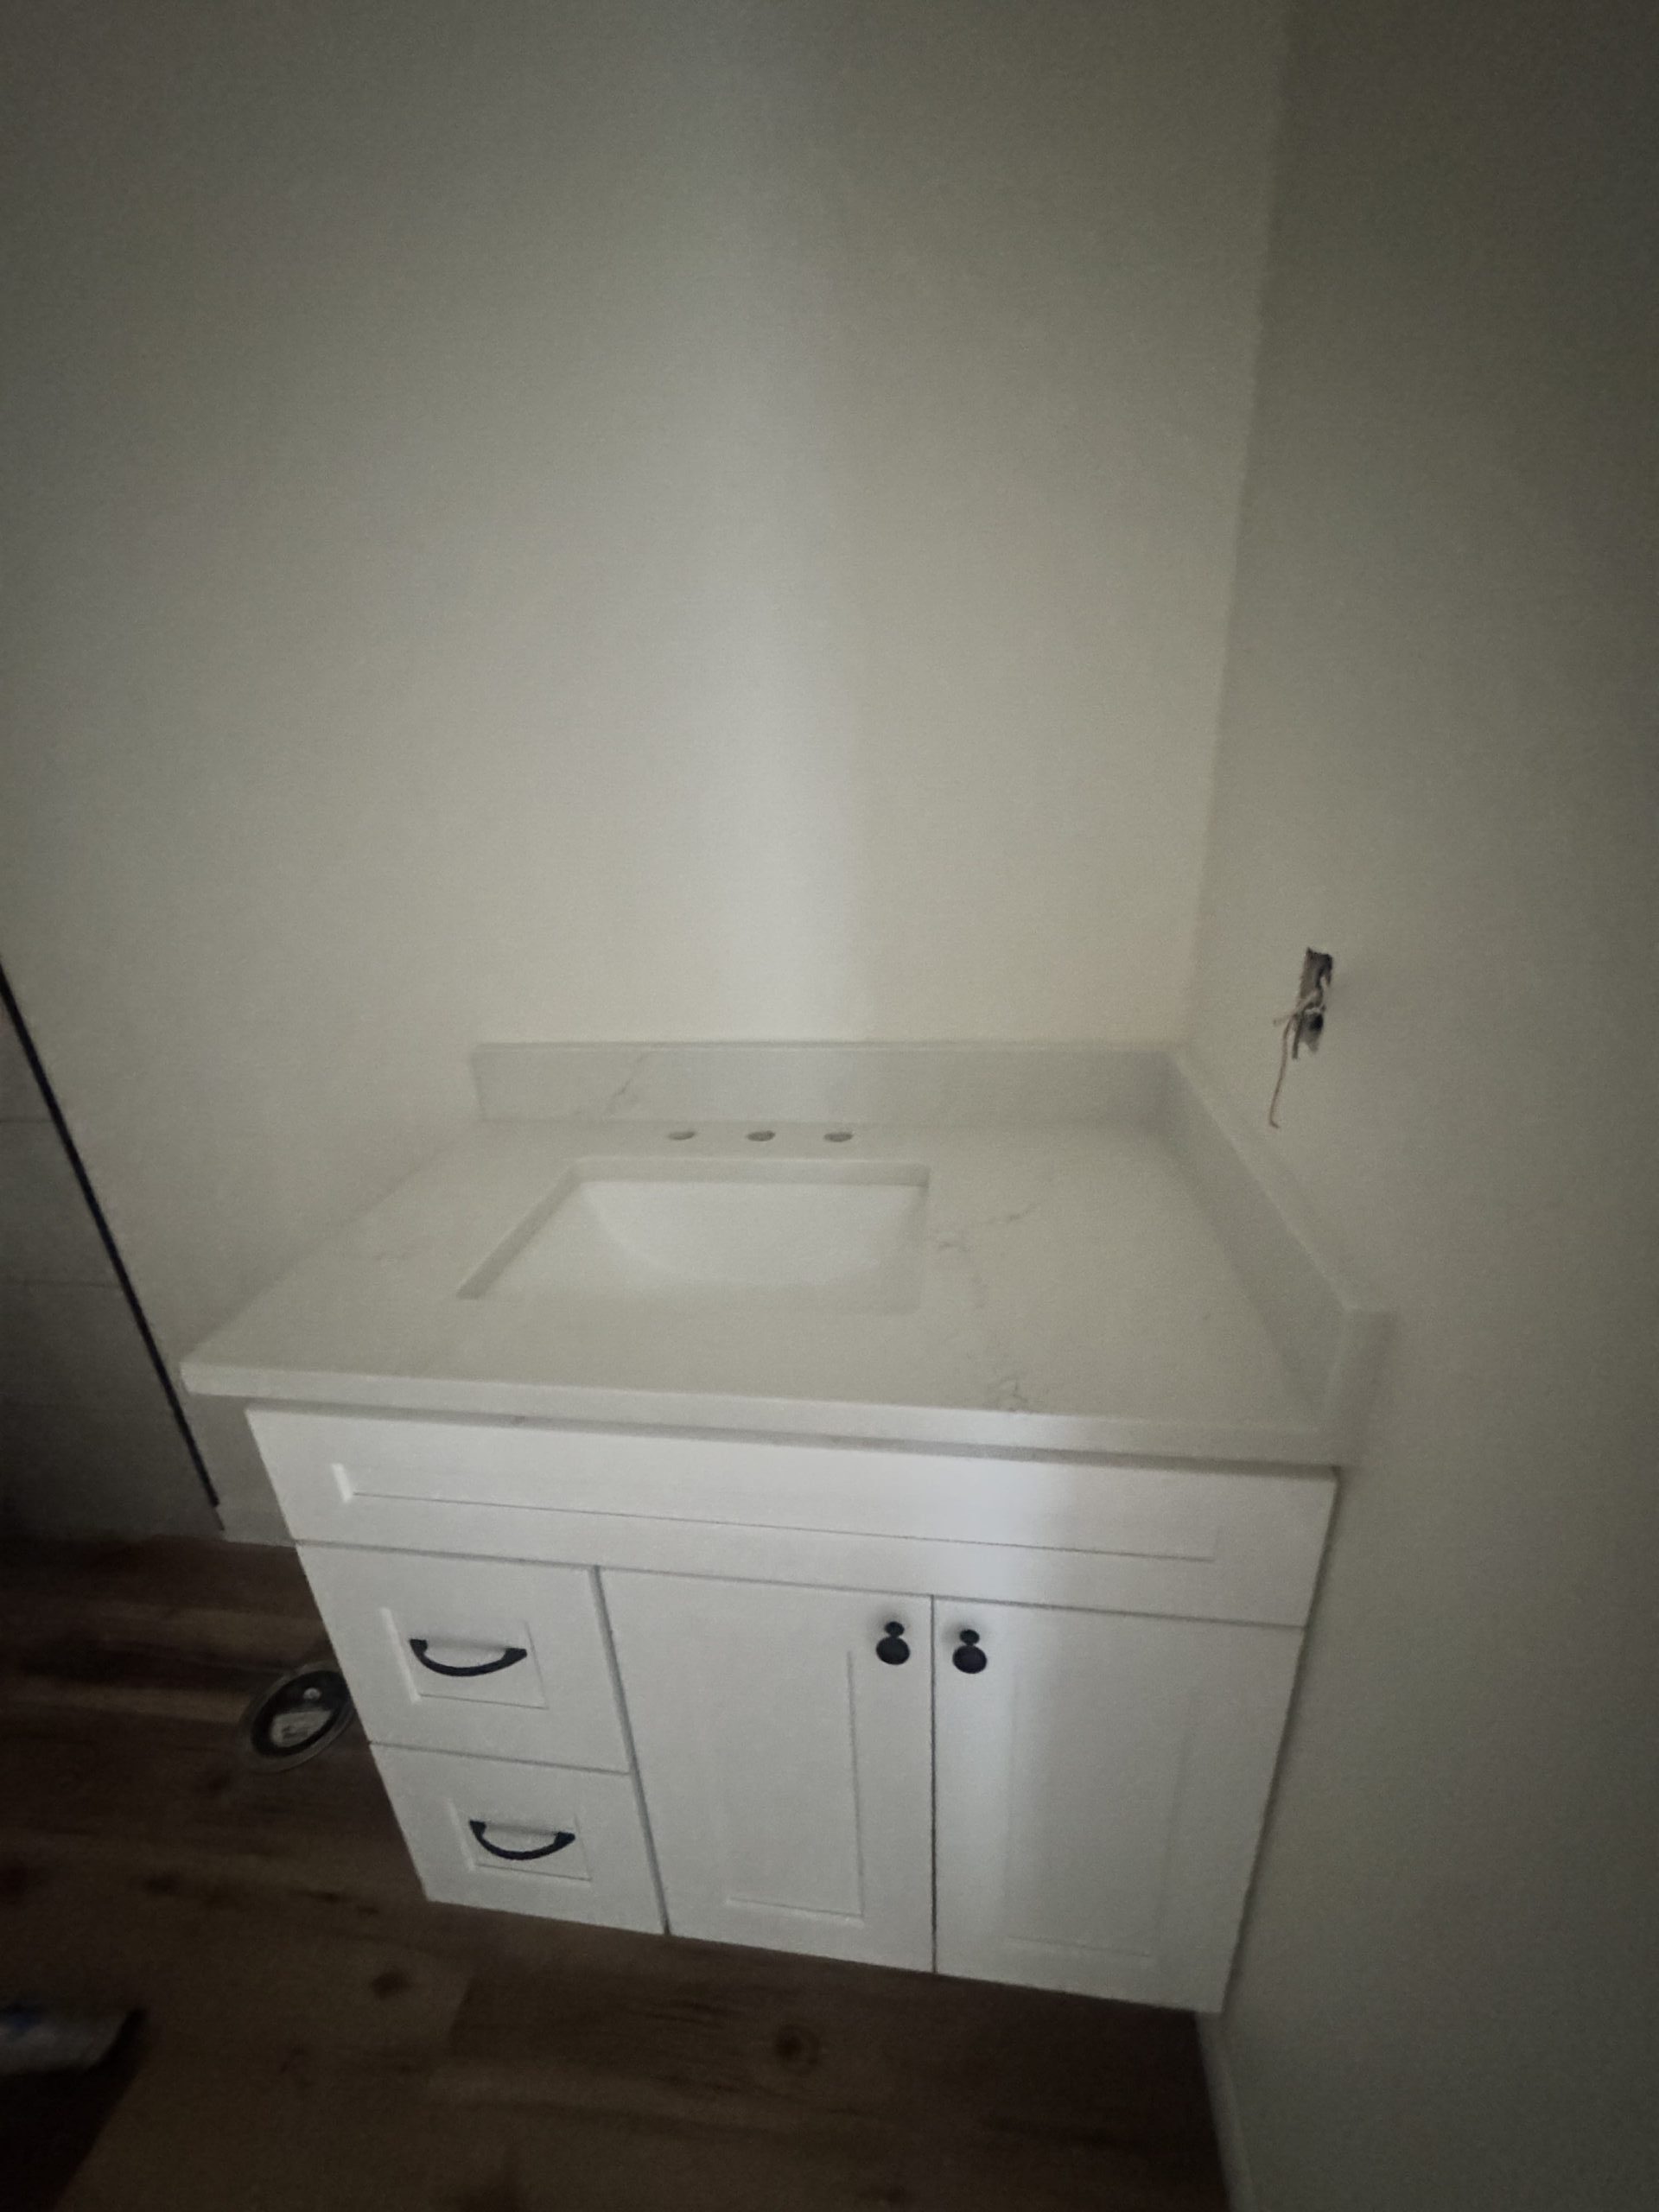
Phase 3: Millwork, Tile, and The Supply Standstill (July 17 – Late July)
By July 17, major milestones were checked off:
- The front door frame and surrounding drywall were completed.
- Master shower pan and drain connections were made.
- Hallway bathroom tile was installed.
However, custom finish work hit a temporary pause near the end of July. While waiting on delayed plumbing fixture deliveries from Rosen Supply and scheduling the electrical crew’s return, on-site crews focused on clearing general debris and capturing progress documentation.
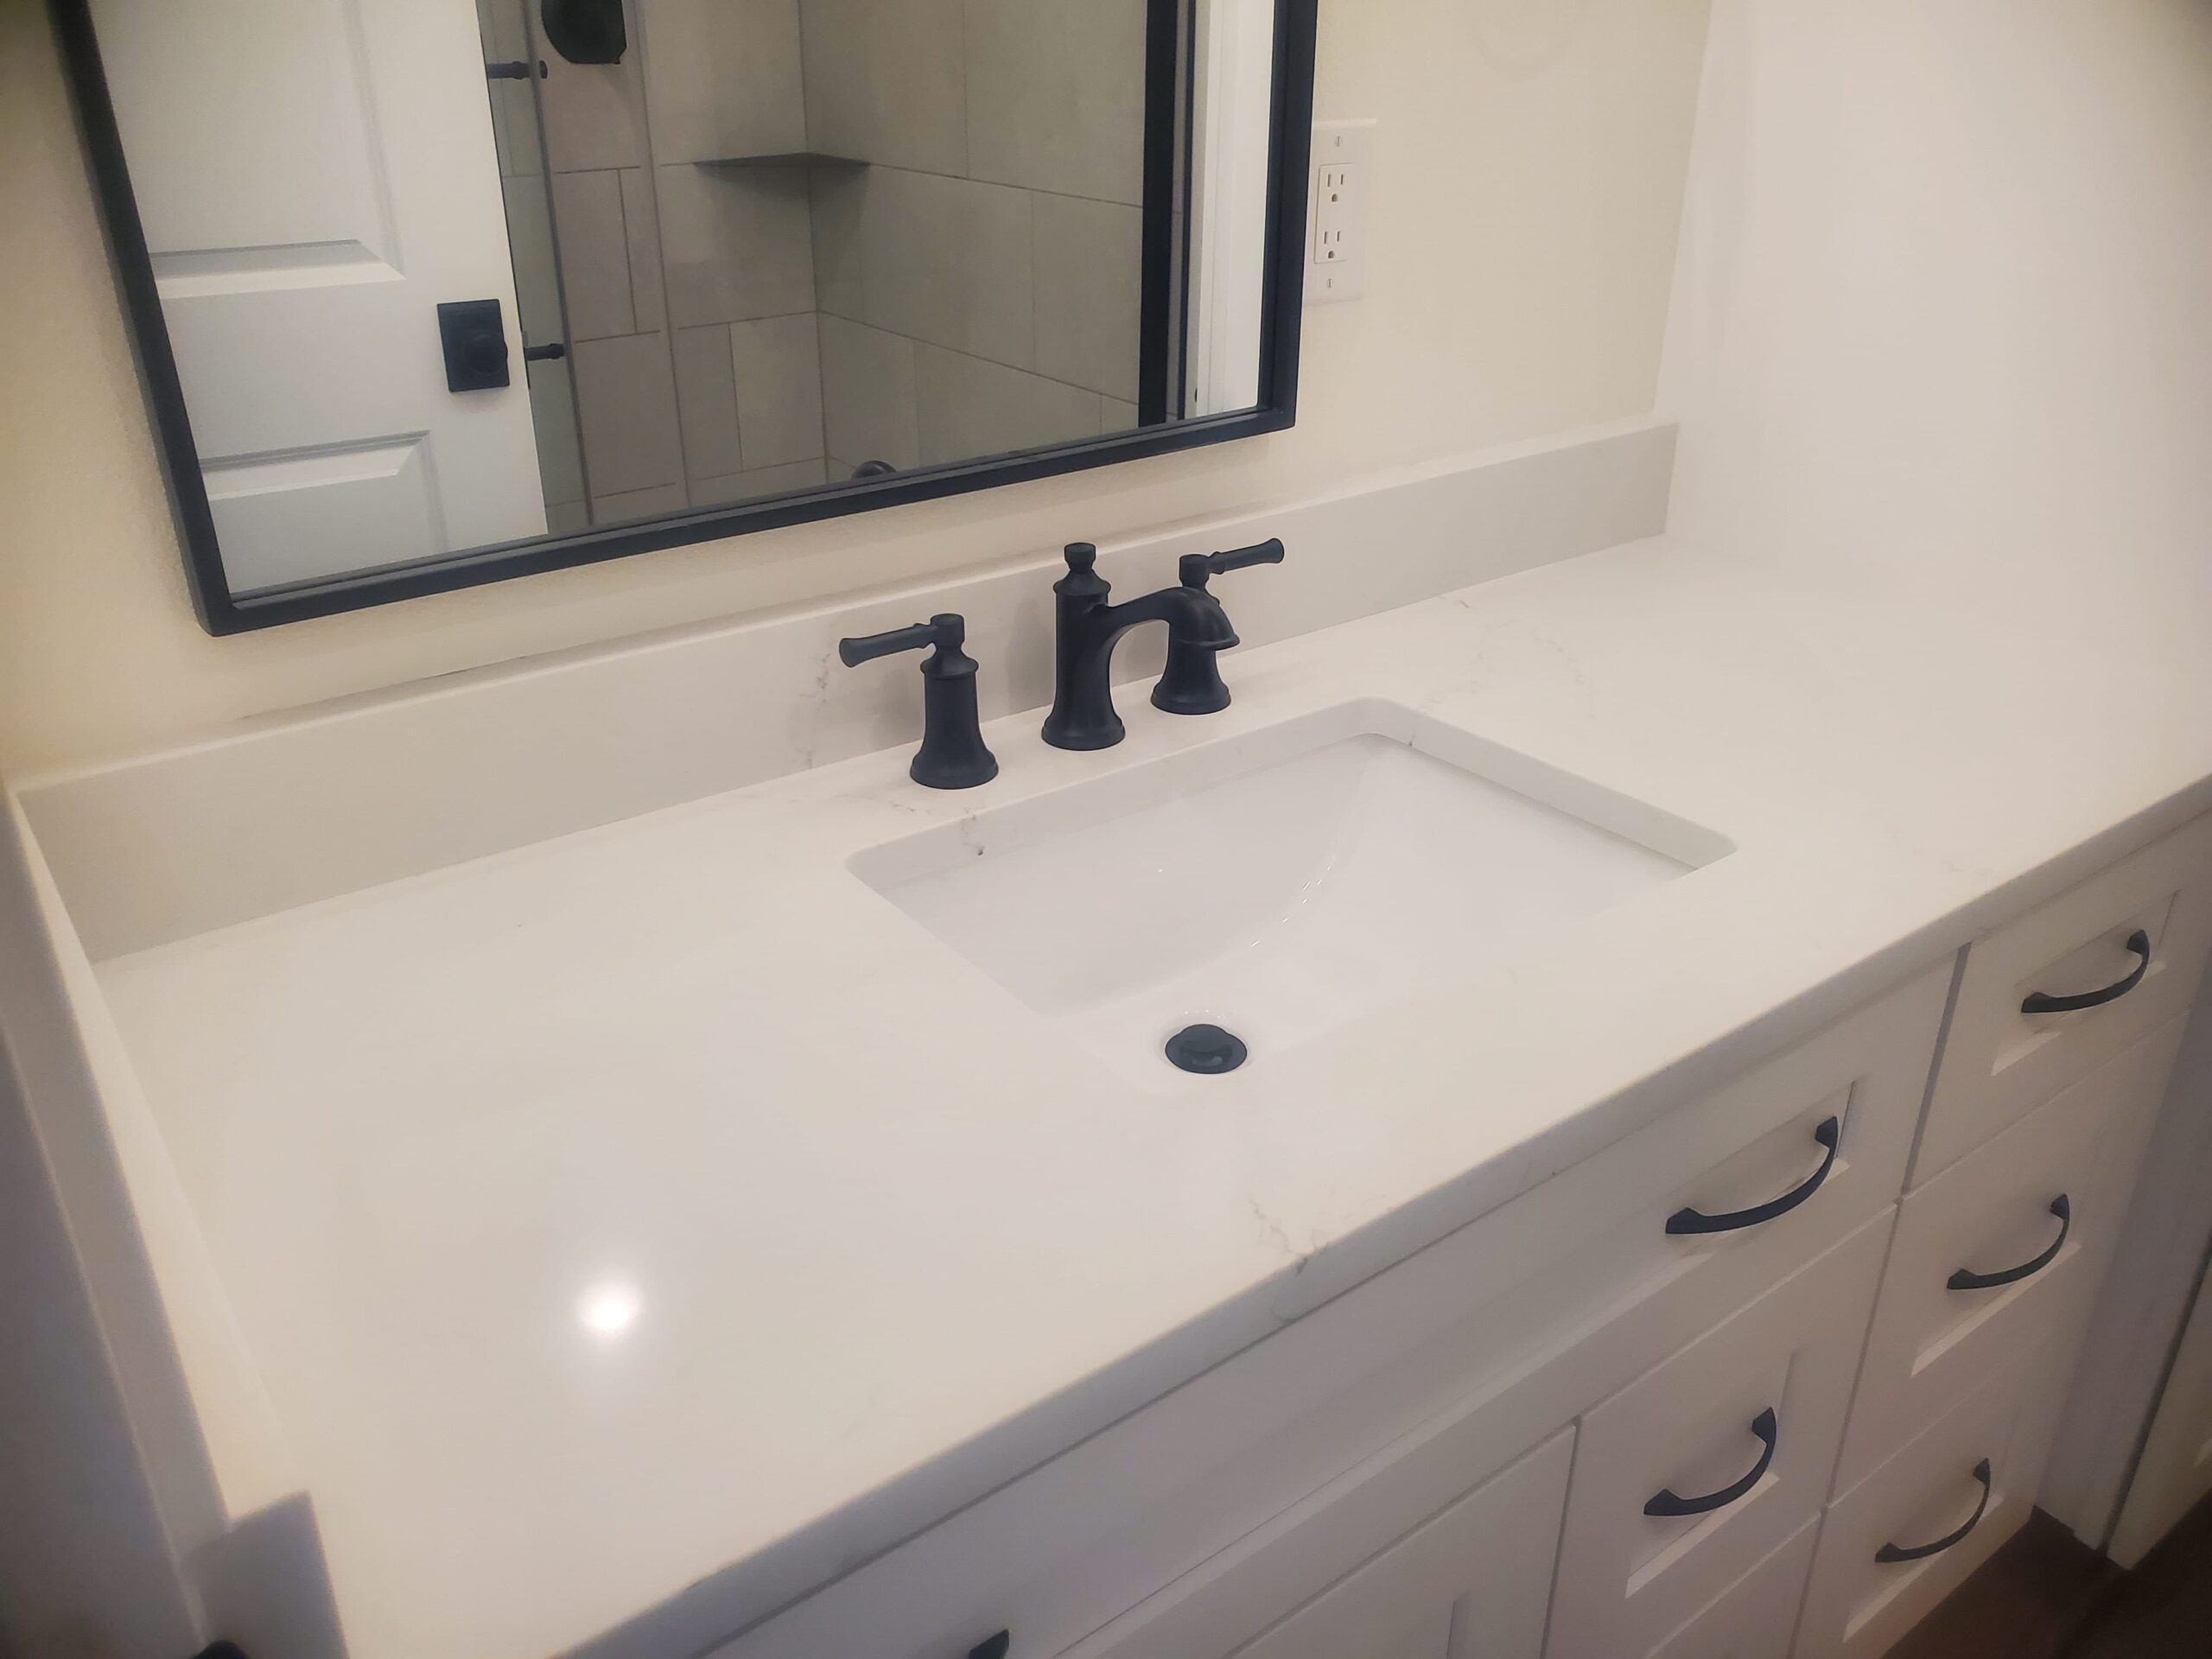
Phase 4: Finish Electrical & Preliminary Inspection (August 3 – August 7)
Work resumed in early August as electricians finalized garage outlets, mounted exterior sconces, and wired the hood vent outlet. Missing shower valve parts arrived, allowing tile trim to be finalized.
On August 7, the project manager walked the property with the local building inspector to compile a punch list. Key requirements included adding a dishwasher air gap and hammer arrestor, patching garage drywall penetrations, anchoring heat pump equipment to concrete, mounting exterior house numbers, and adding self-closing bommer hinges to the garage entry door.
Phase 5: Final Appliance Hookups & Final Sign-Off (August 11 – August 19)
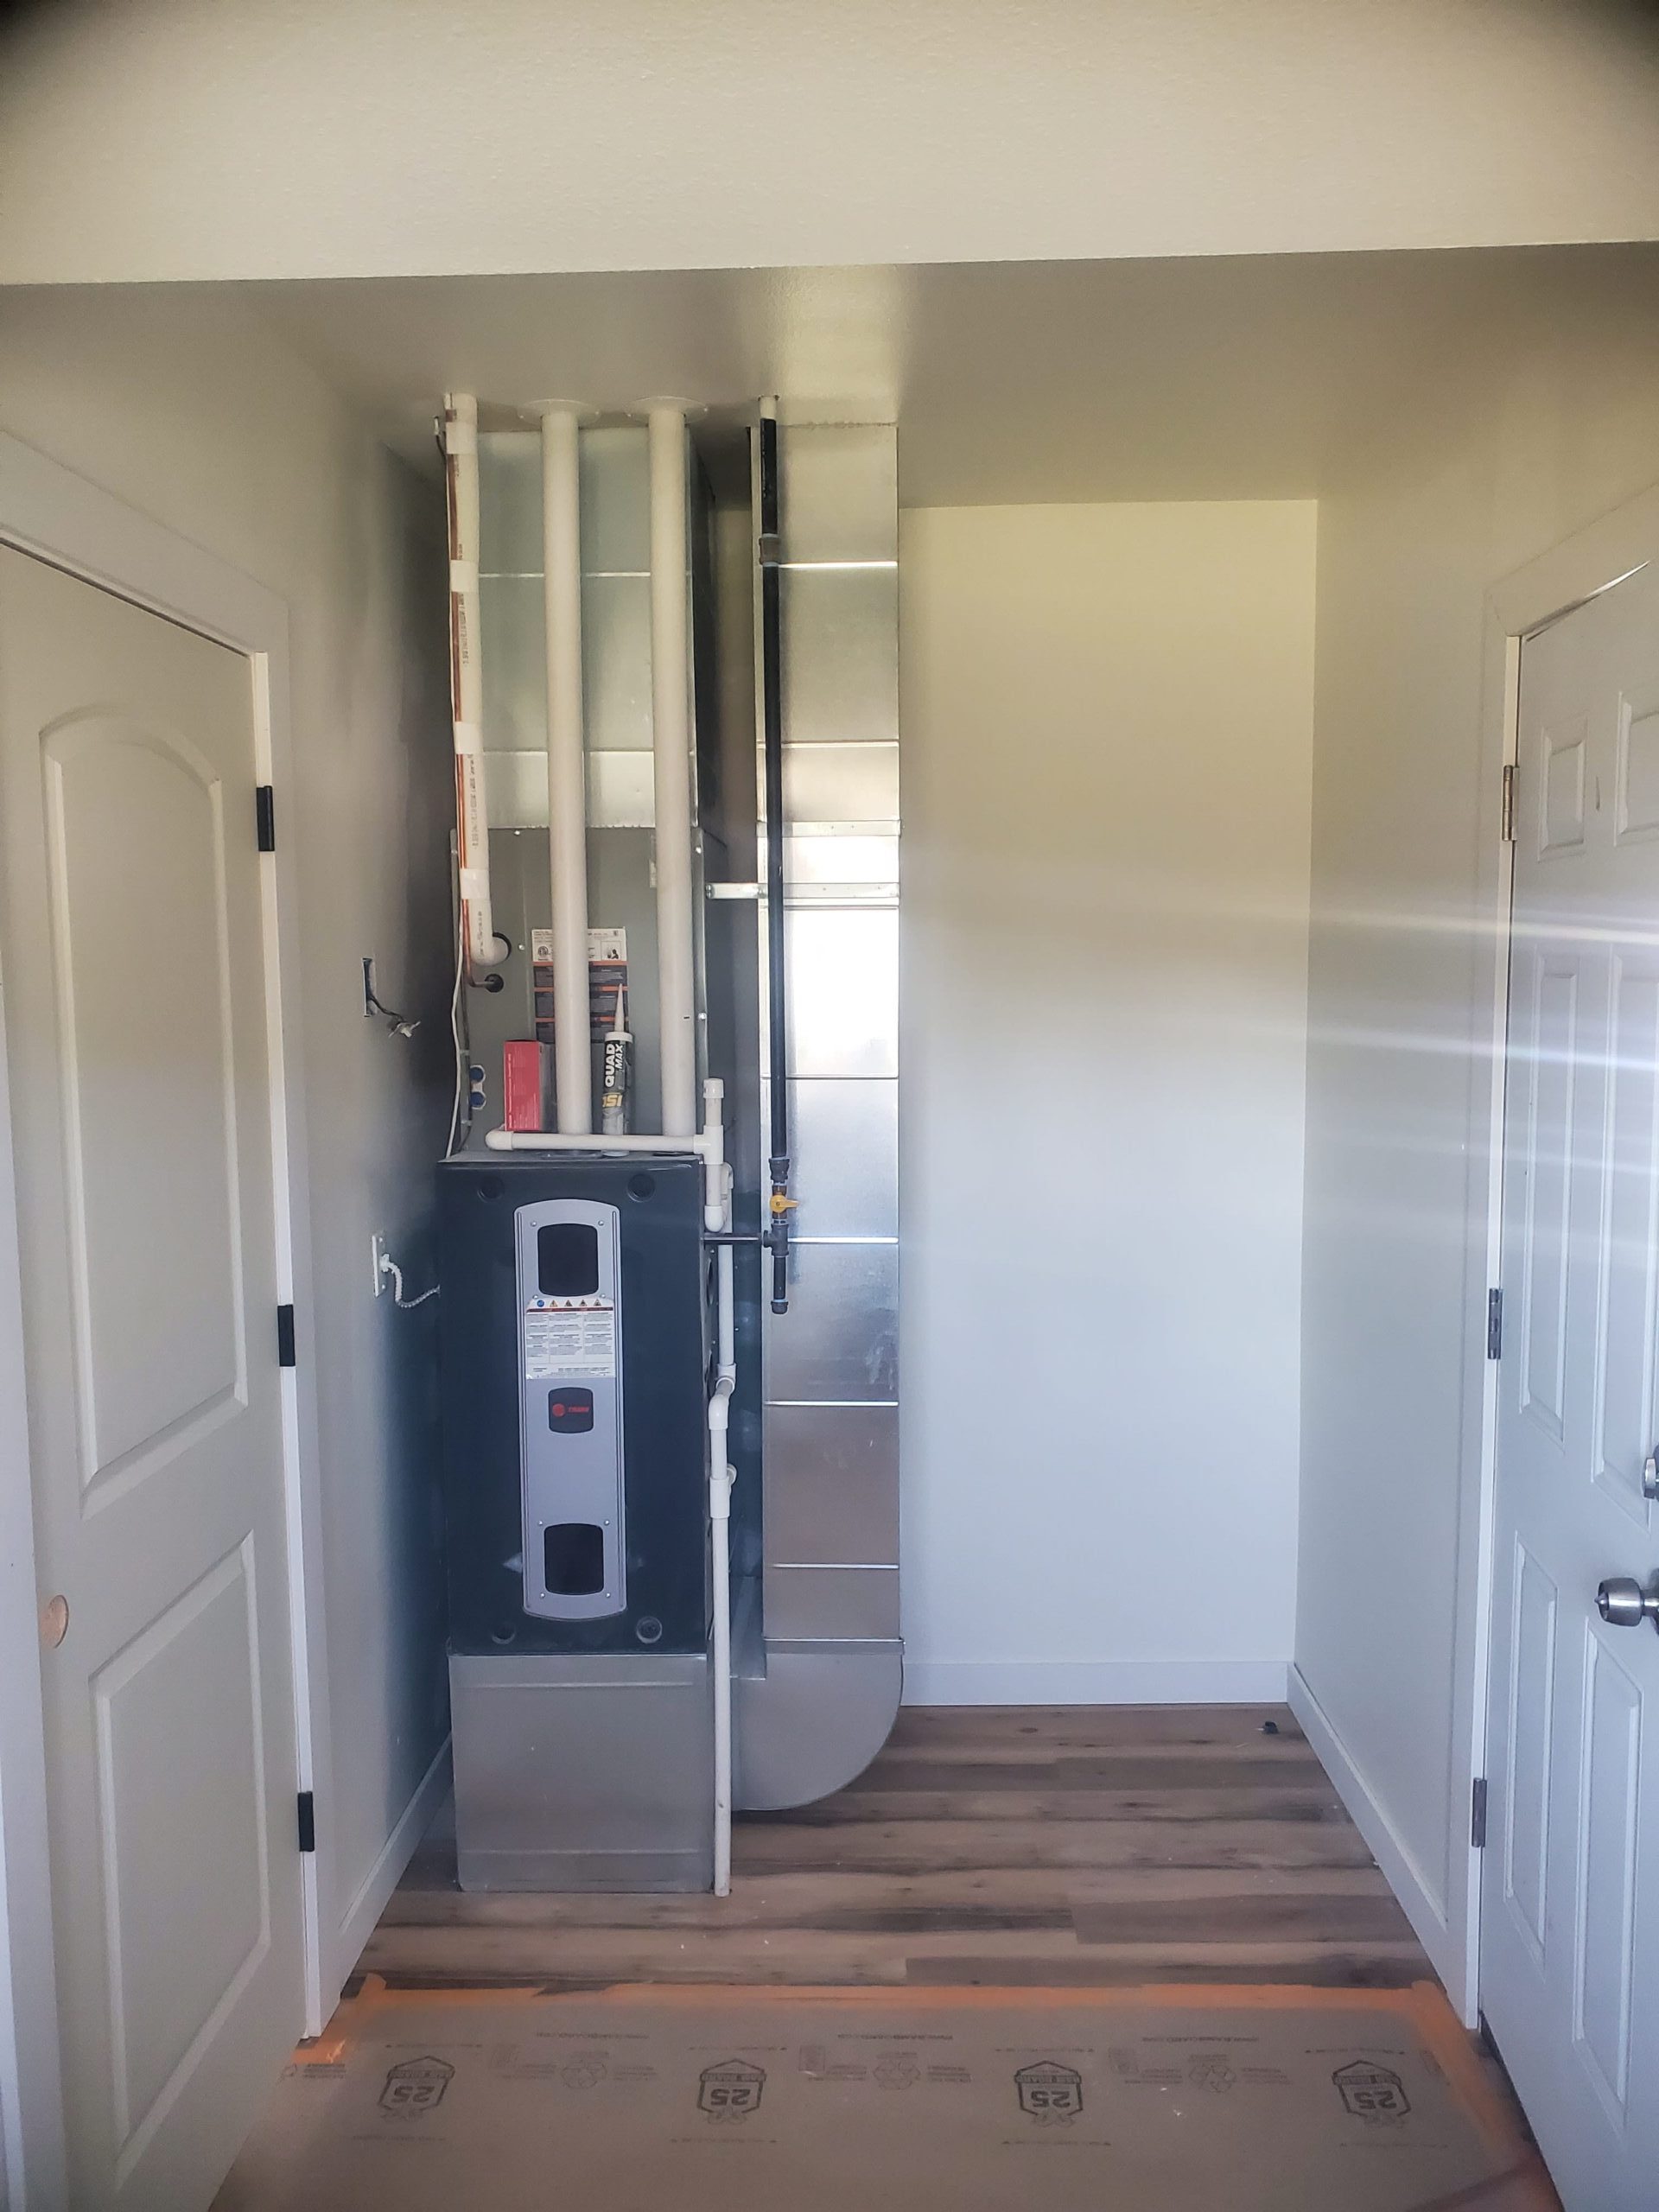
During the final week, appliances were mounted, drains and disposals were connected, and safety detectors were installed across bedrooms and living spaces. A temporary hurdle arose when gas appliances showed no flow despite open internal valves; Puget Sound Energy (PSE) visited the site and resolved the issue by unlocking a secondary meter valve.
By August 18, all gas systems and plumbing fixtures were operational, and electrical panel troubleshooting was completed. Following the final walkthrough on August 19, only minor finishing items remain before sign-off, including sealing minor furnace and meter penetrations, updating smoke detectors to Wi-Fi models, and mounting steps at the rear exterior sliding door.