January 2026 Kitchen Remodel
It all started when the homeowner reached out with a super practical plan: a full whole-house re-pipe plus a smart, budget-friendly kitchen remodel. They wanted to modernize the space without going overboard — durable materials that looked great but didn’t break the bank.
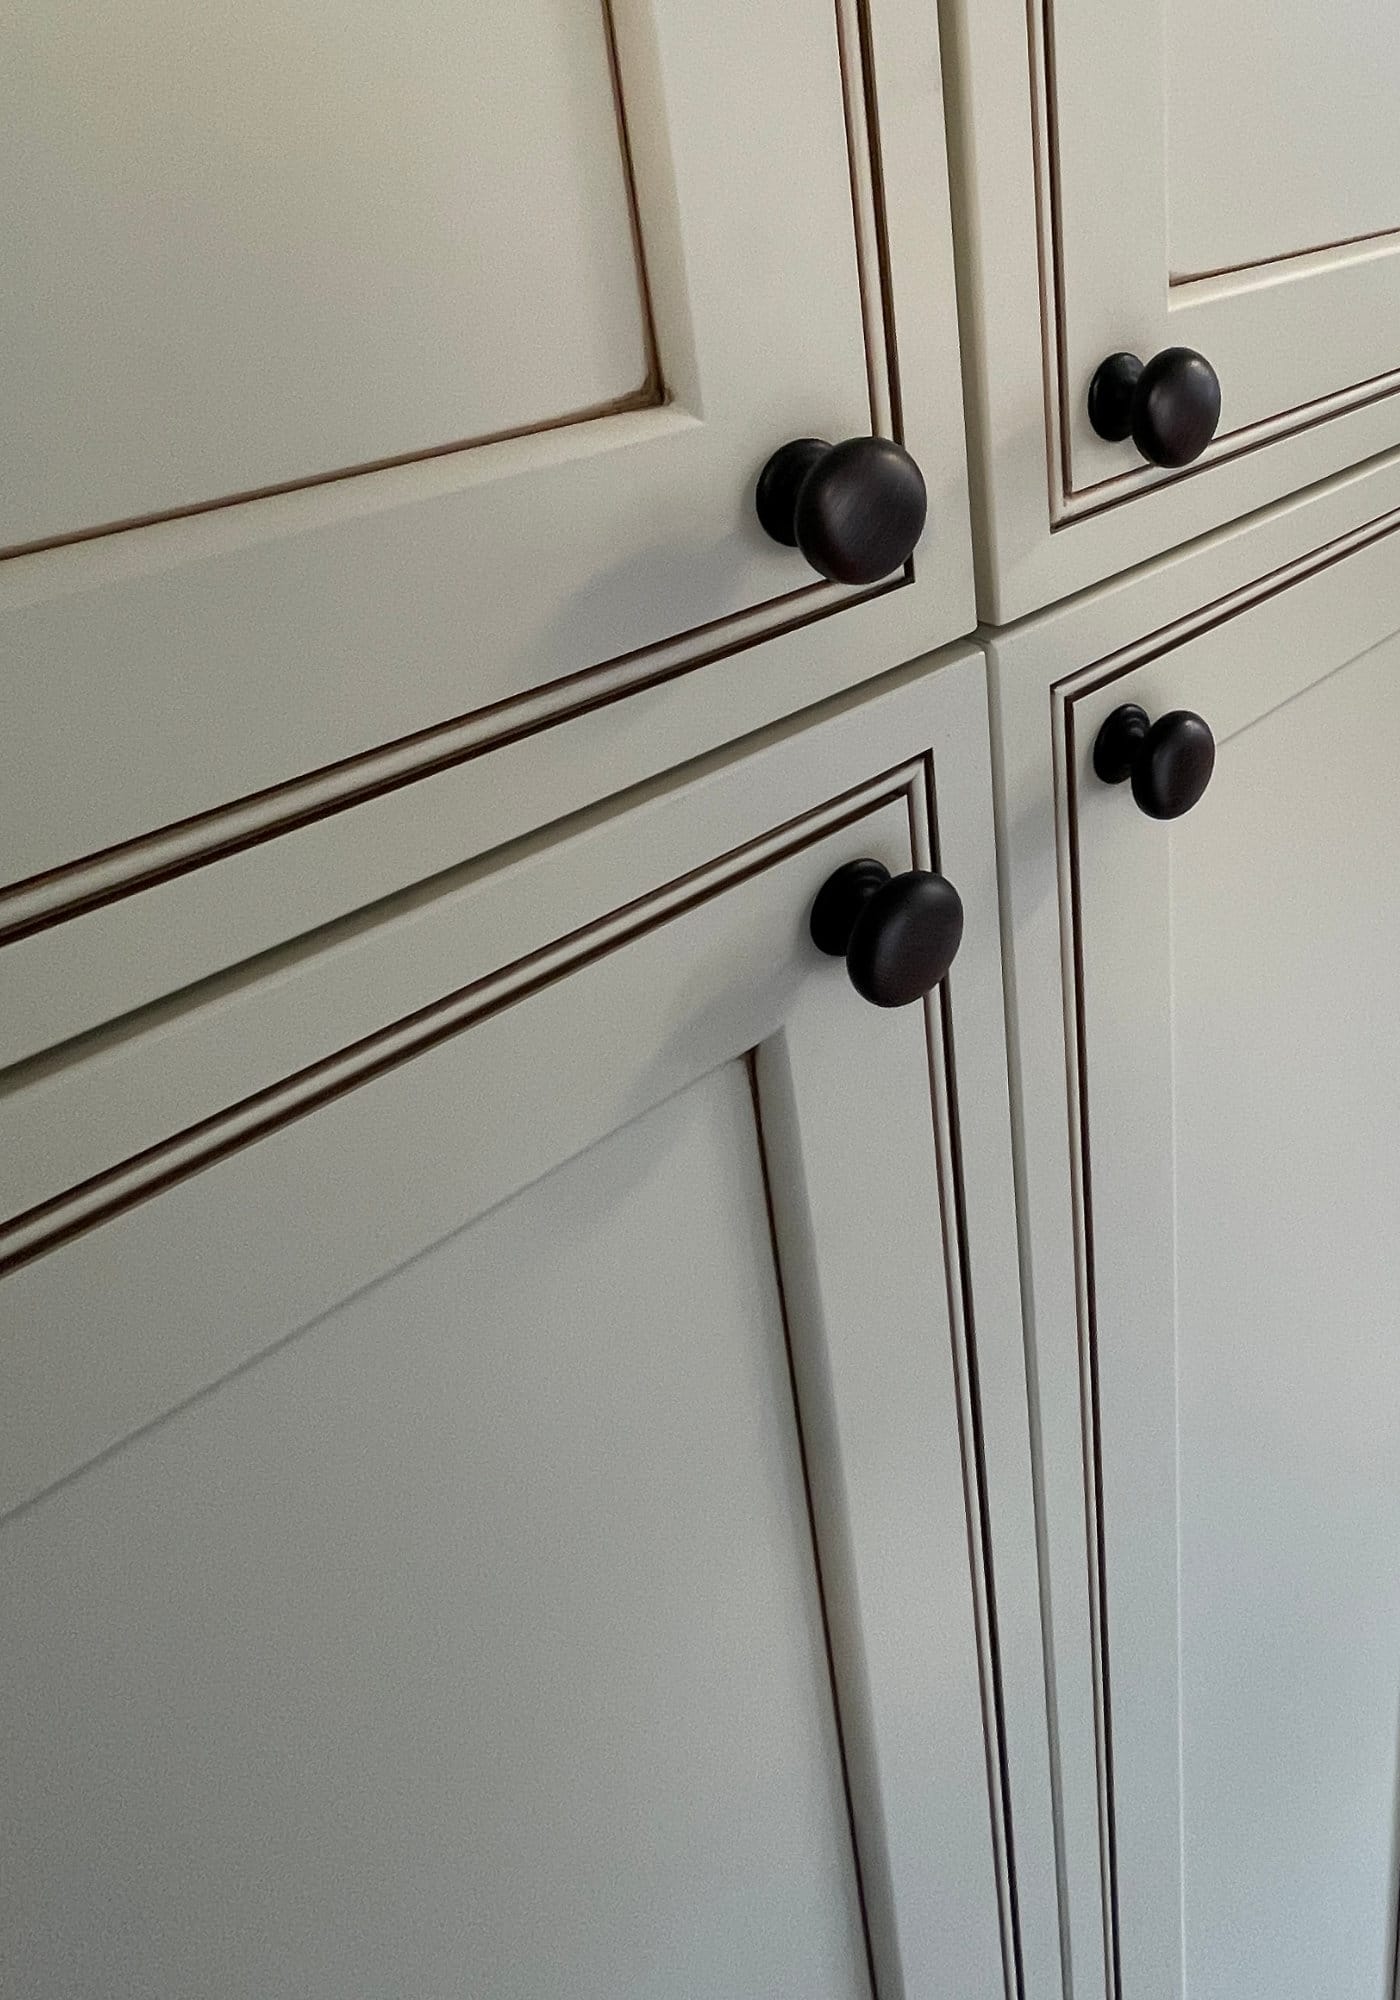
Right away, they were clear about a few things they really cared about: keeping the laundry room cabinets nice and symmetrical (no weird mismatched fills), and going with simple white Shaker-style upper cabinets. Once they saw and approved a sample of the H9 Chiffon Highlight finish from Luban, they were good to go with stock cabinetry.
During that first chat, we walked through the whole scope — running new water lines in the walls, cutting all the old plumbing flush to the slab, fire caulking every penetration, and insulating the hot water lines. By the end of the call, they felt confident in the plan, so we set up an on-site visit to measure everything and lock in the detailed quote.
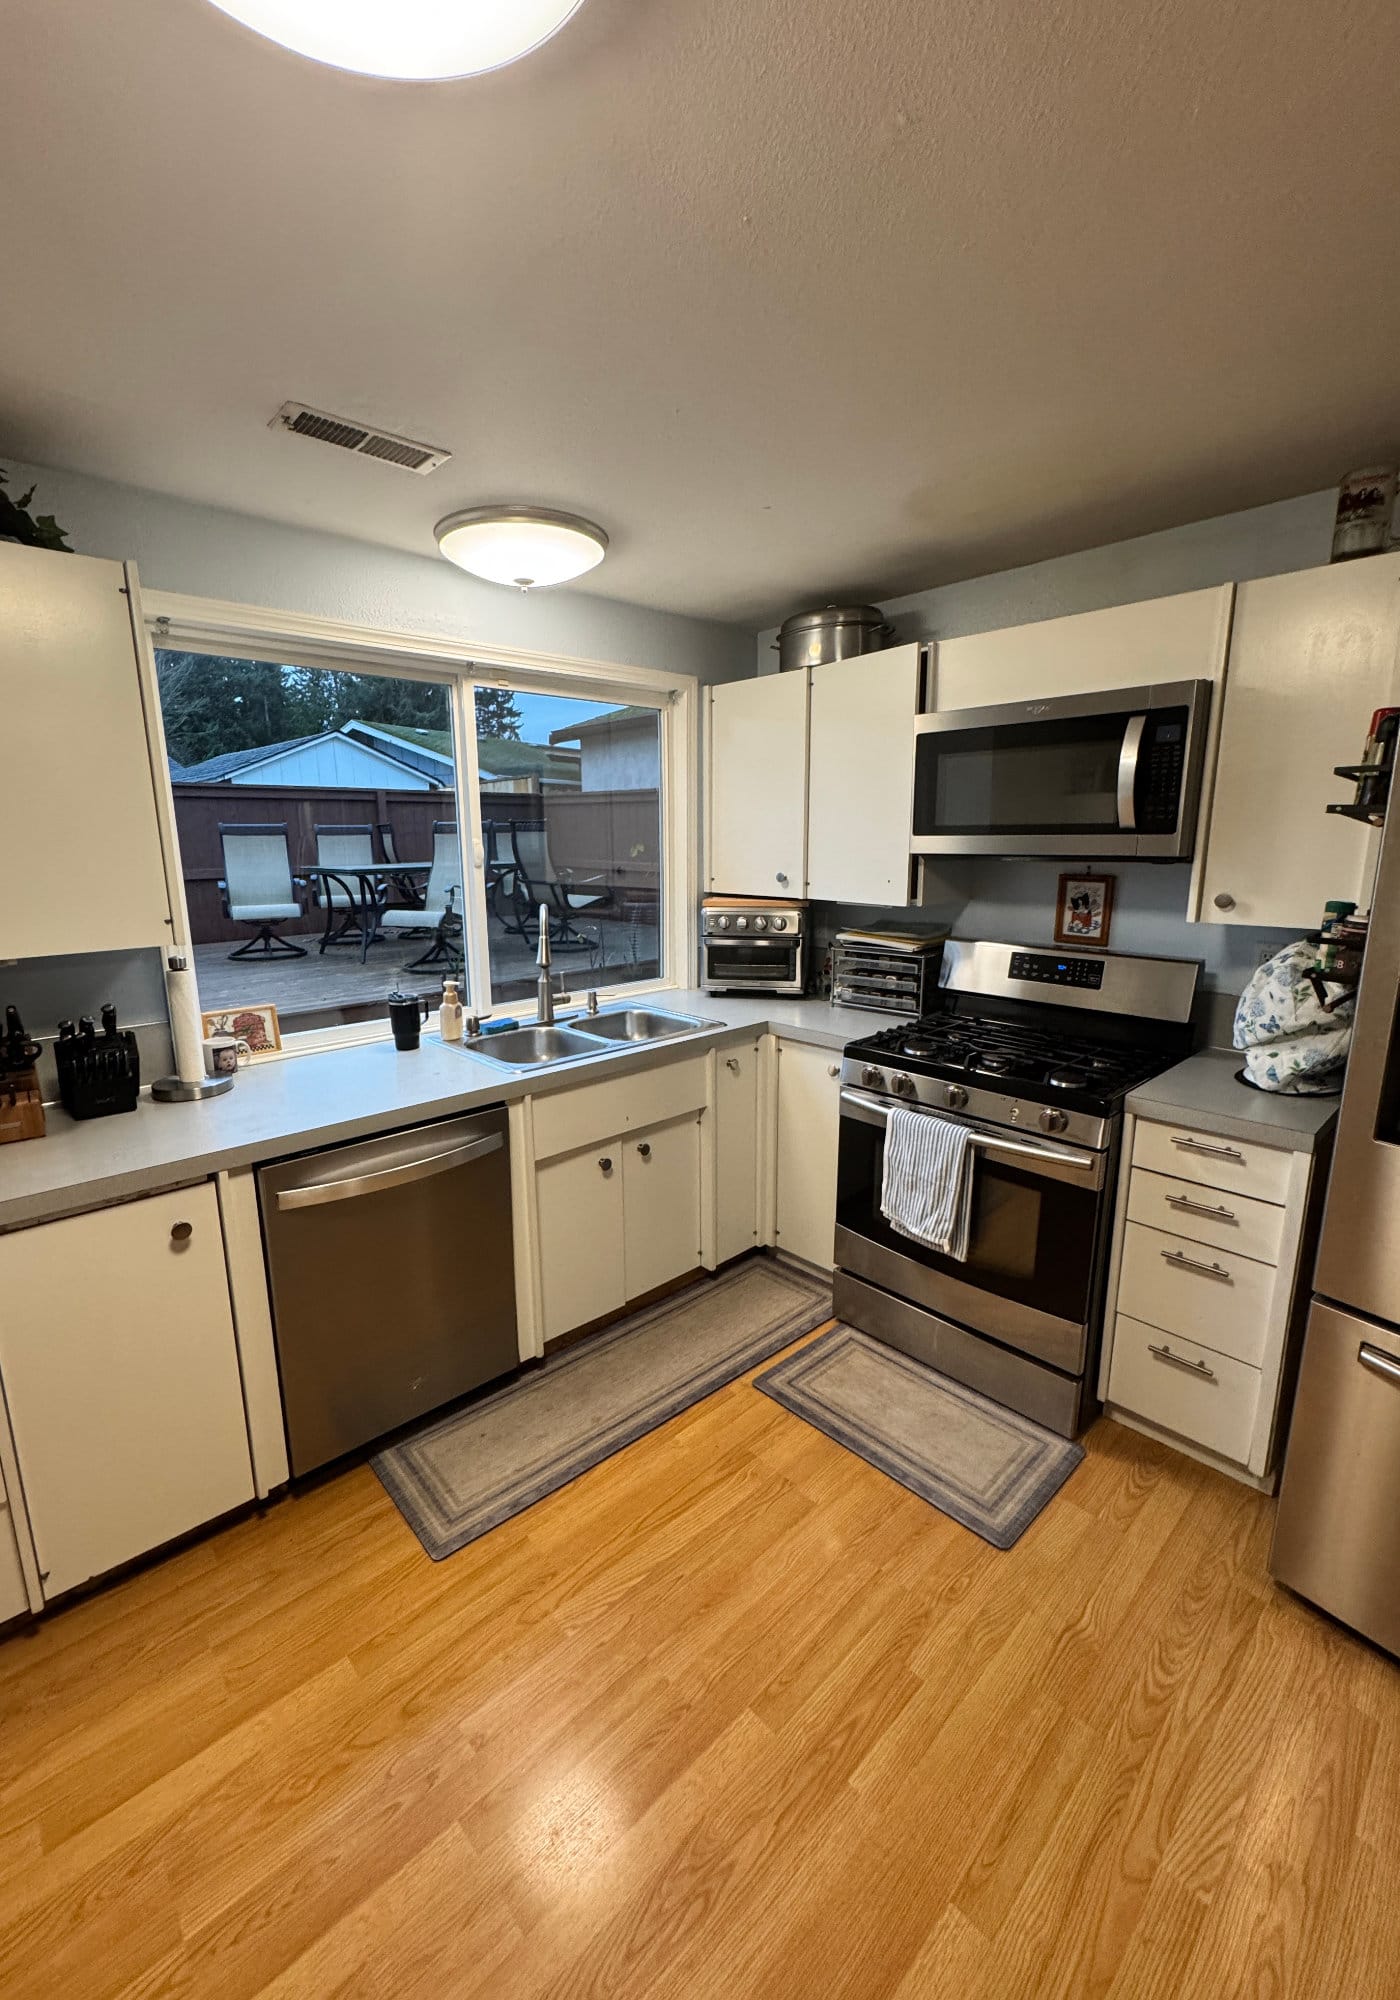
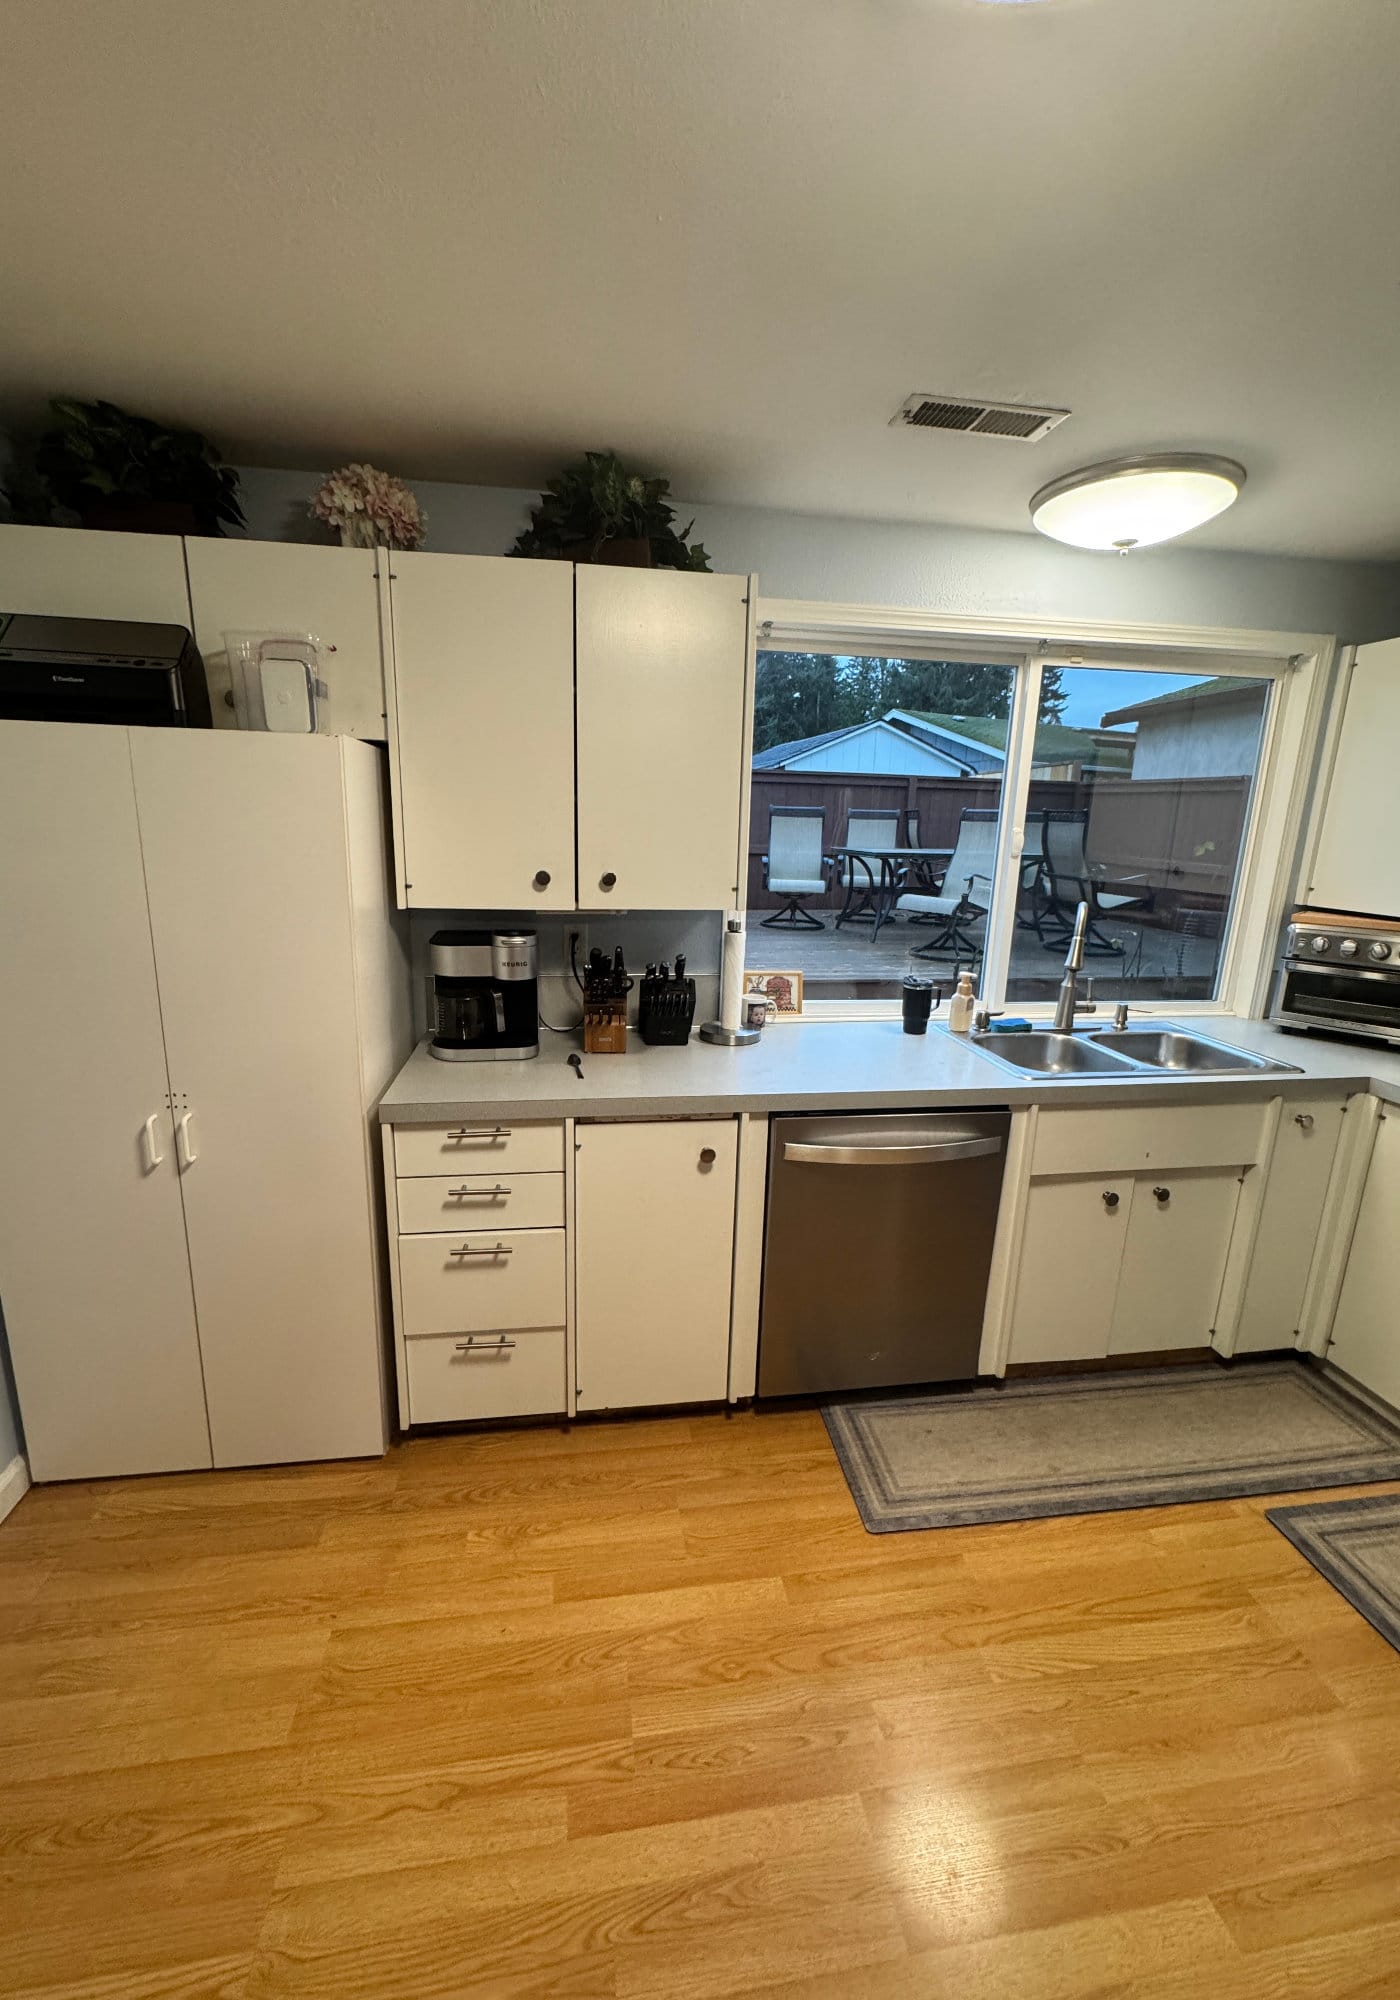
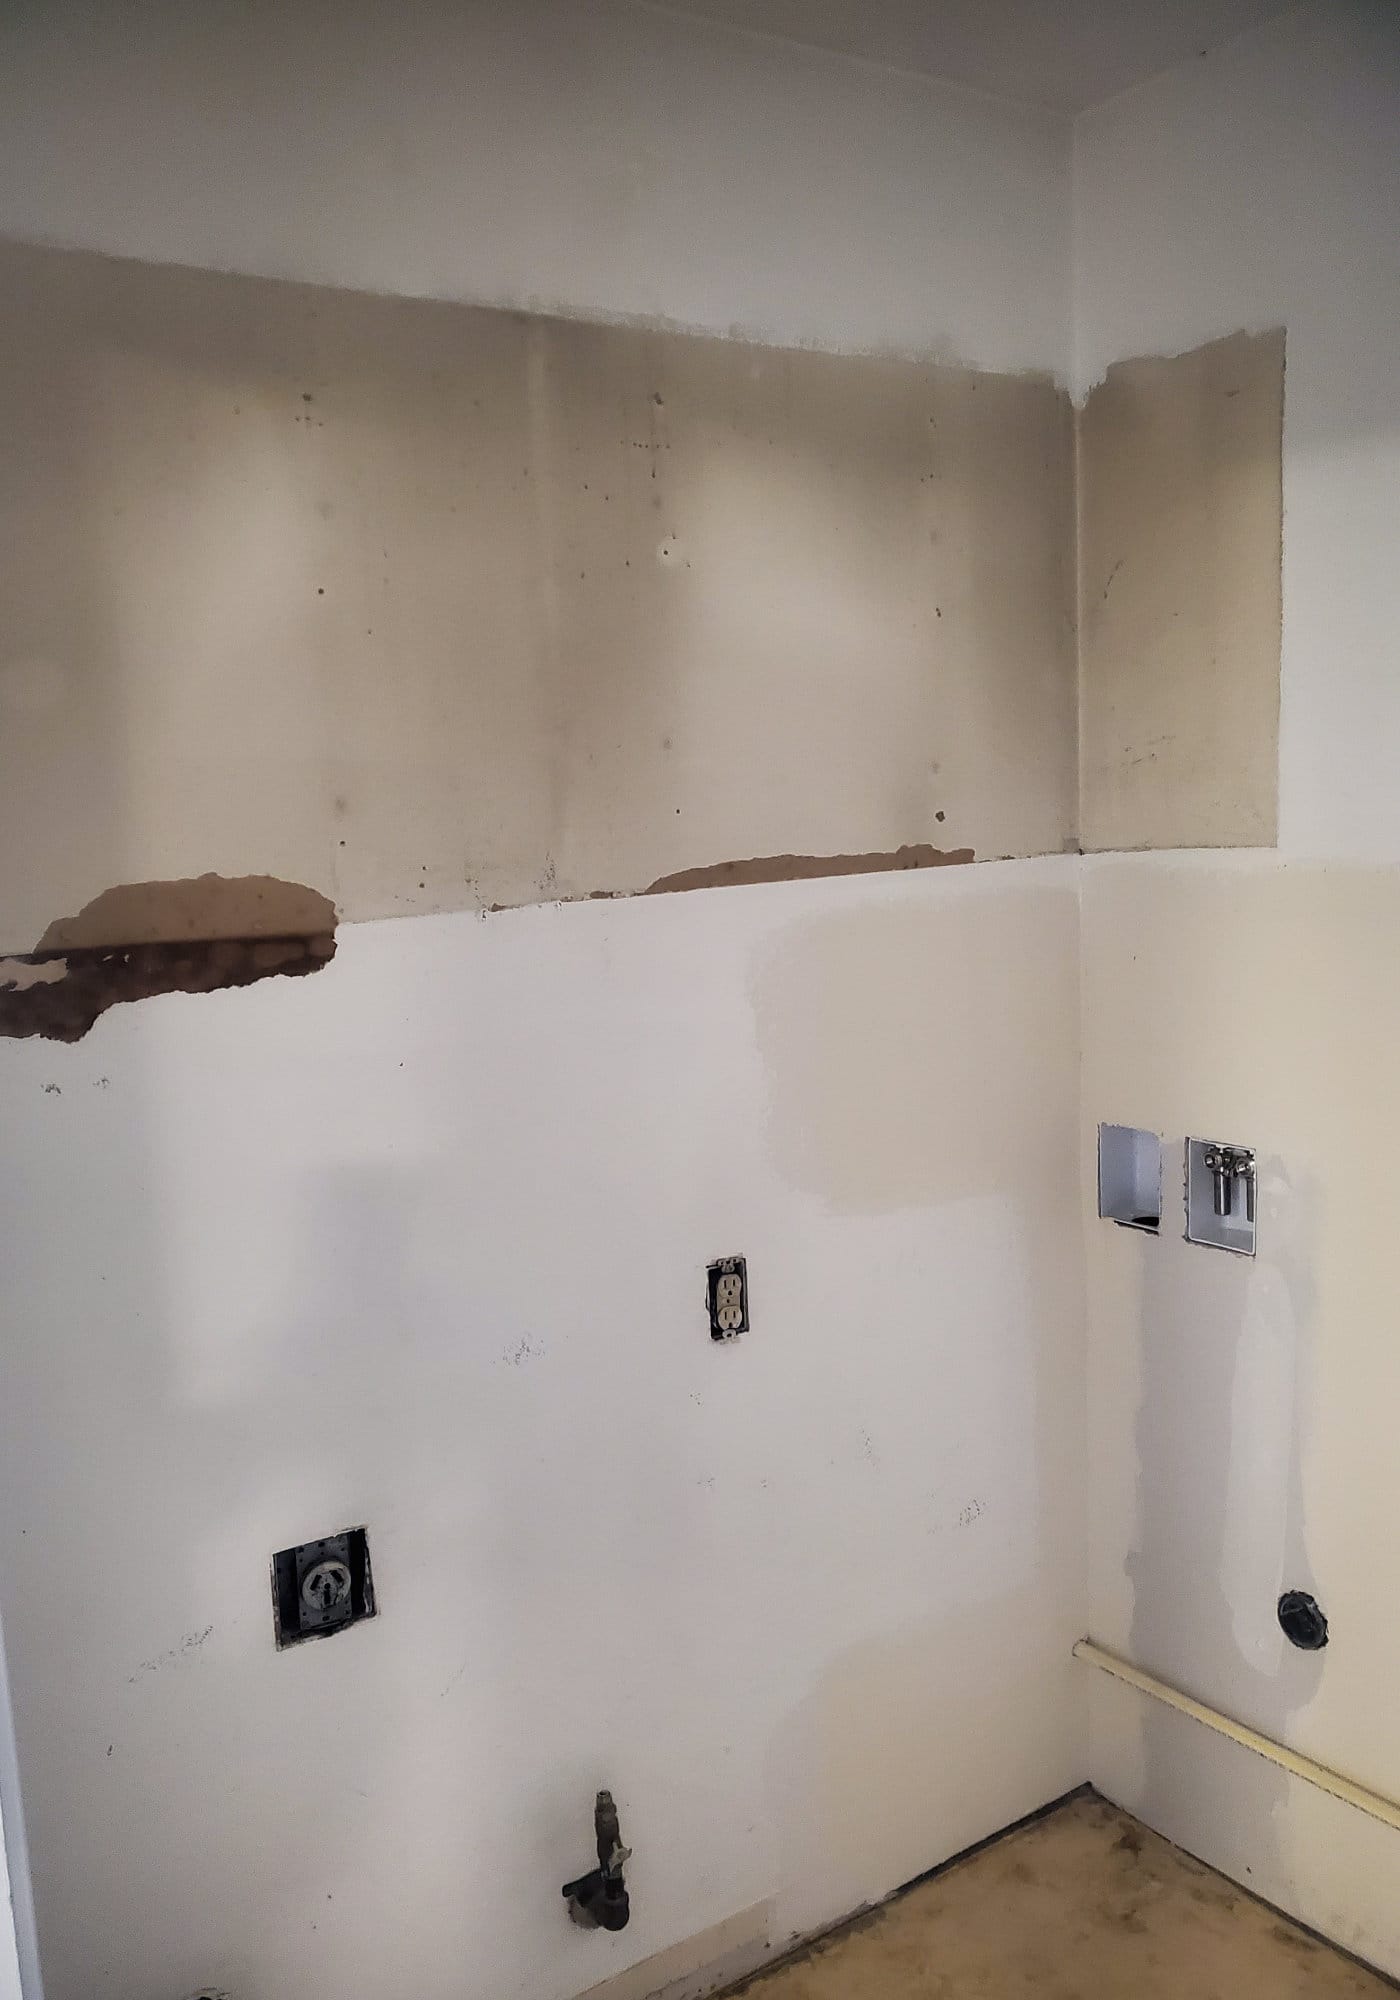
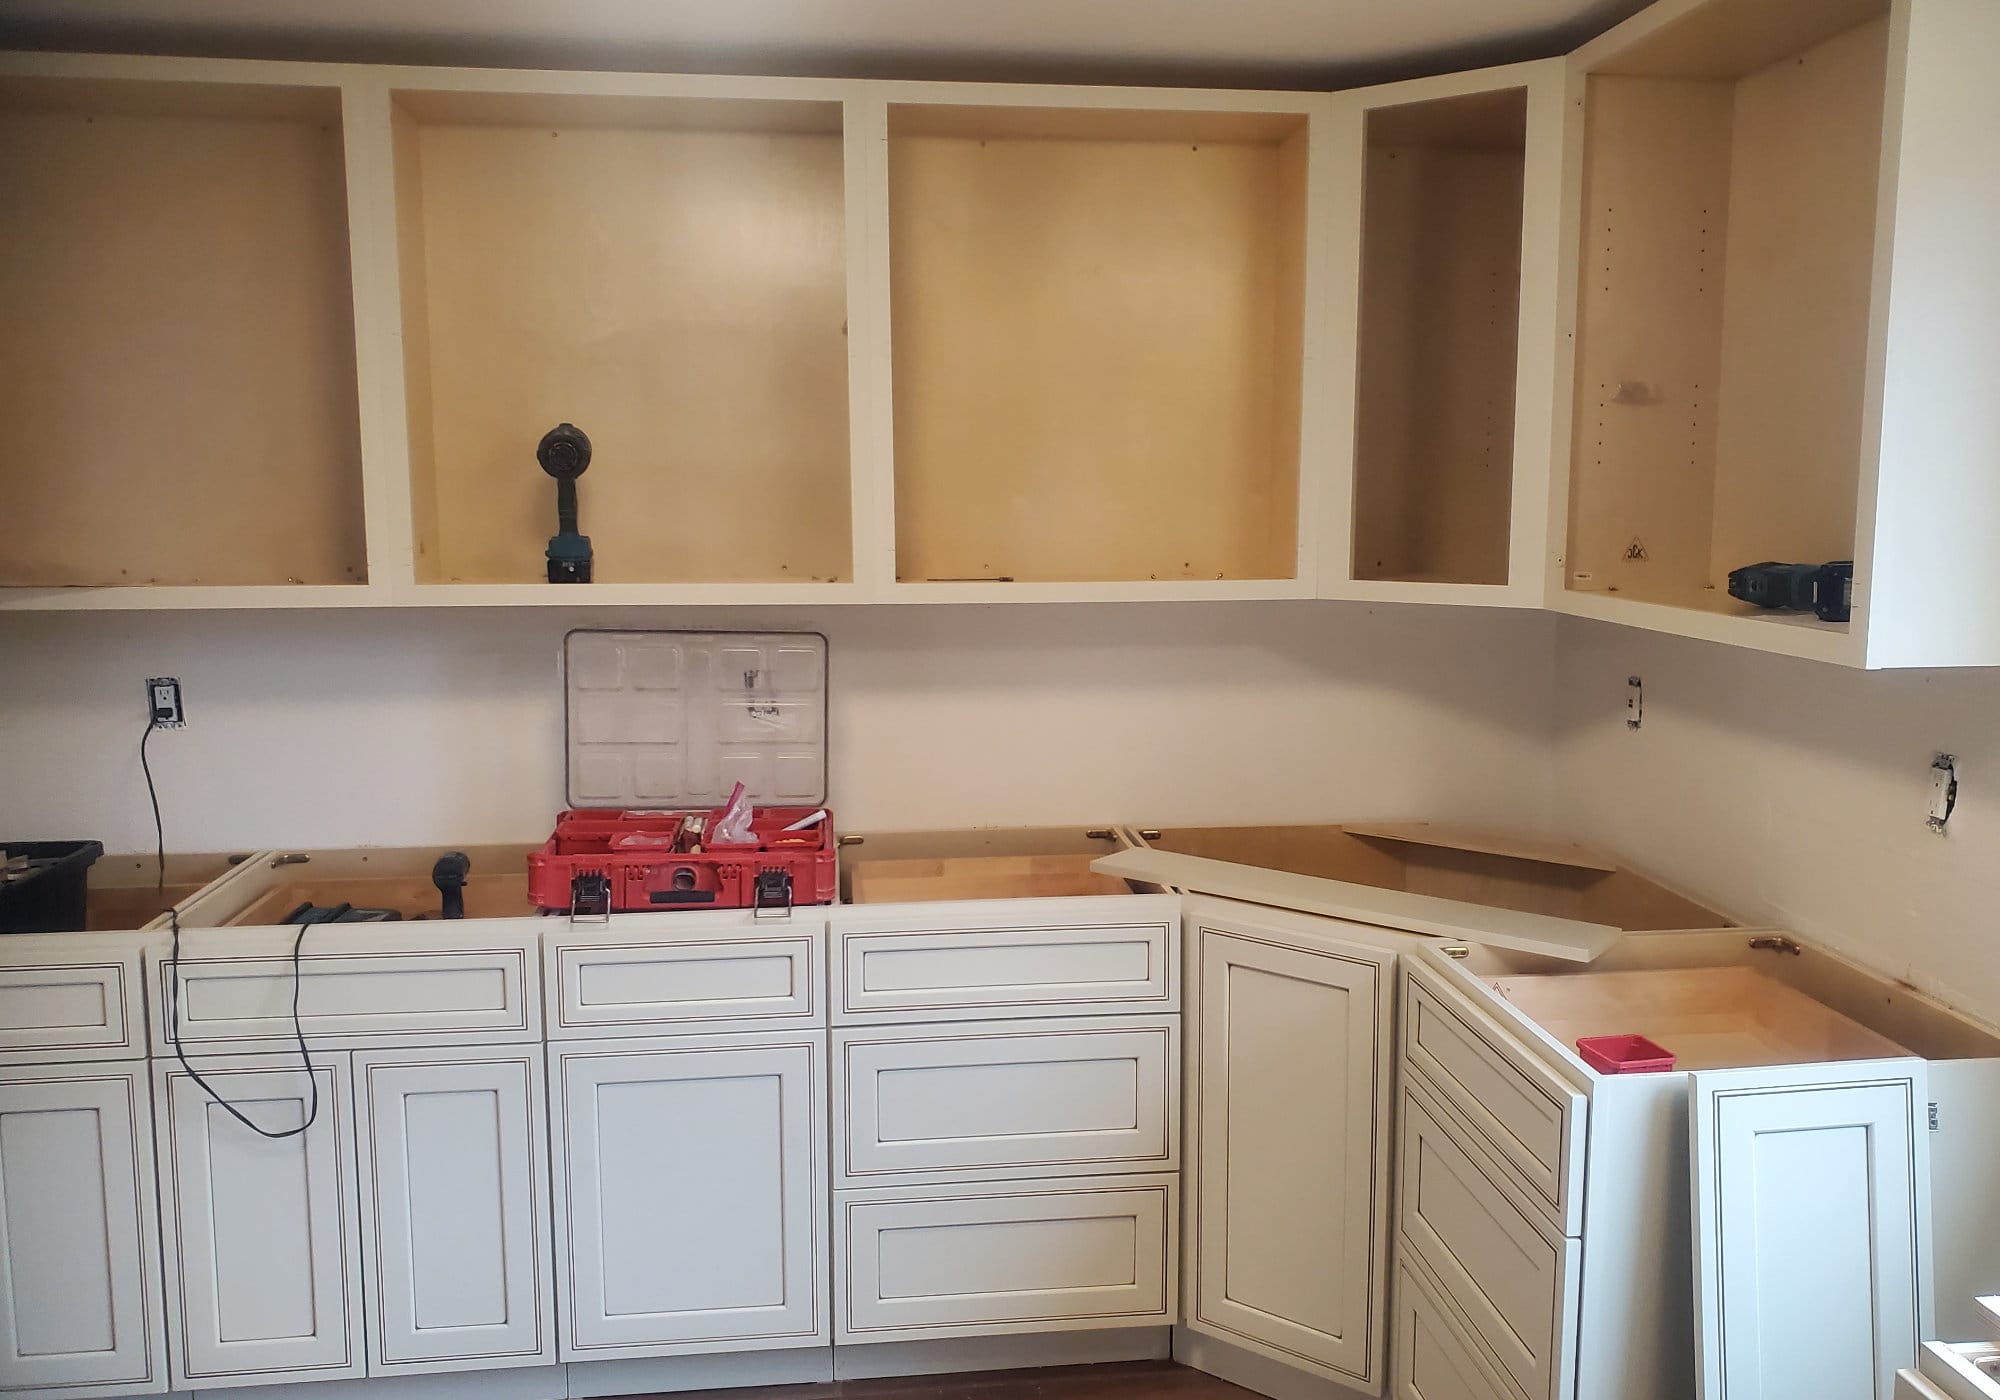
Initial Client Photos

On-Site Visit & Planning
When we got to the house, we measured the kitchen, took tons of photos, and really dug into their must-haves and wish list. Their priorities were clear: plenty of storage without making the space feel closed in, durable low-maintenance materials, a good classic work triangle for the workflow, and a neutral but warm look that would fit the rest of the home.


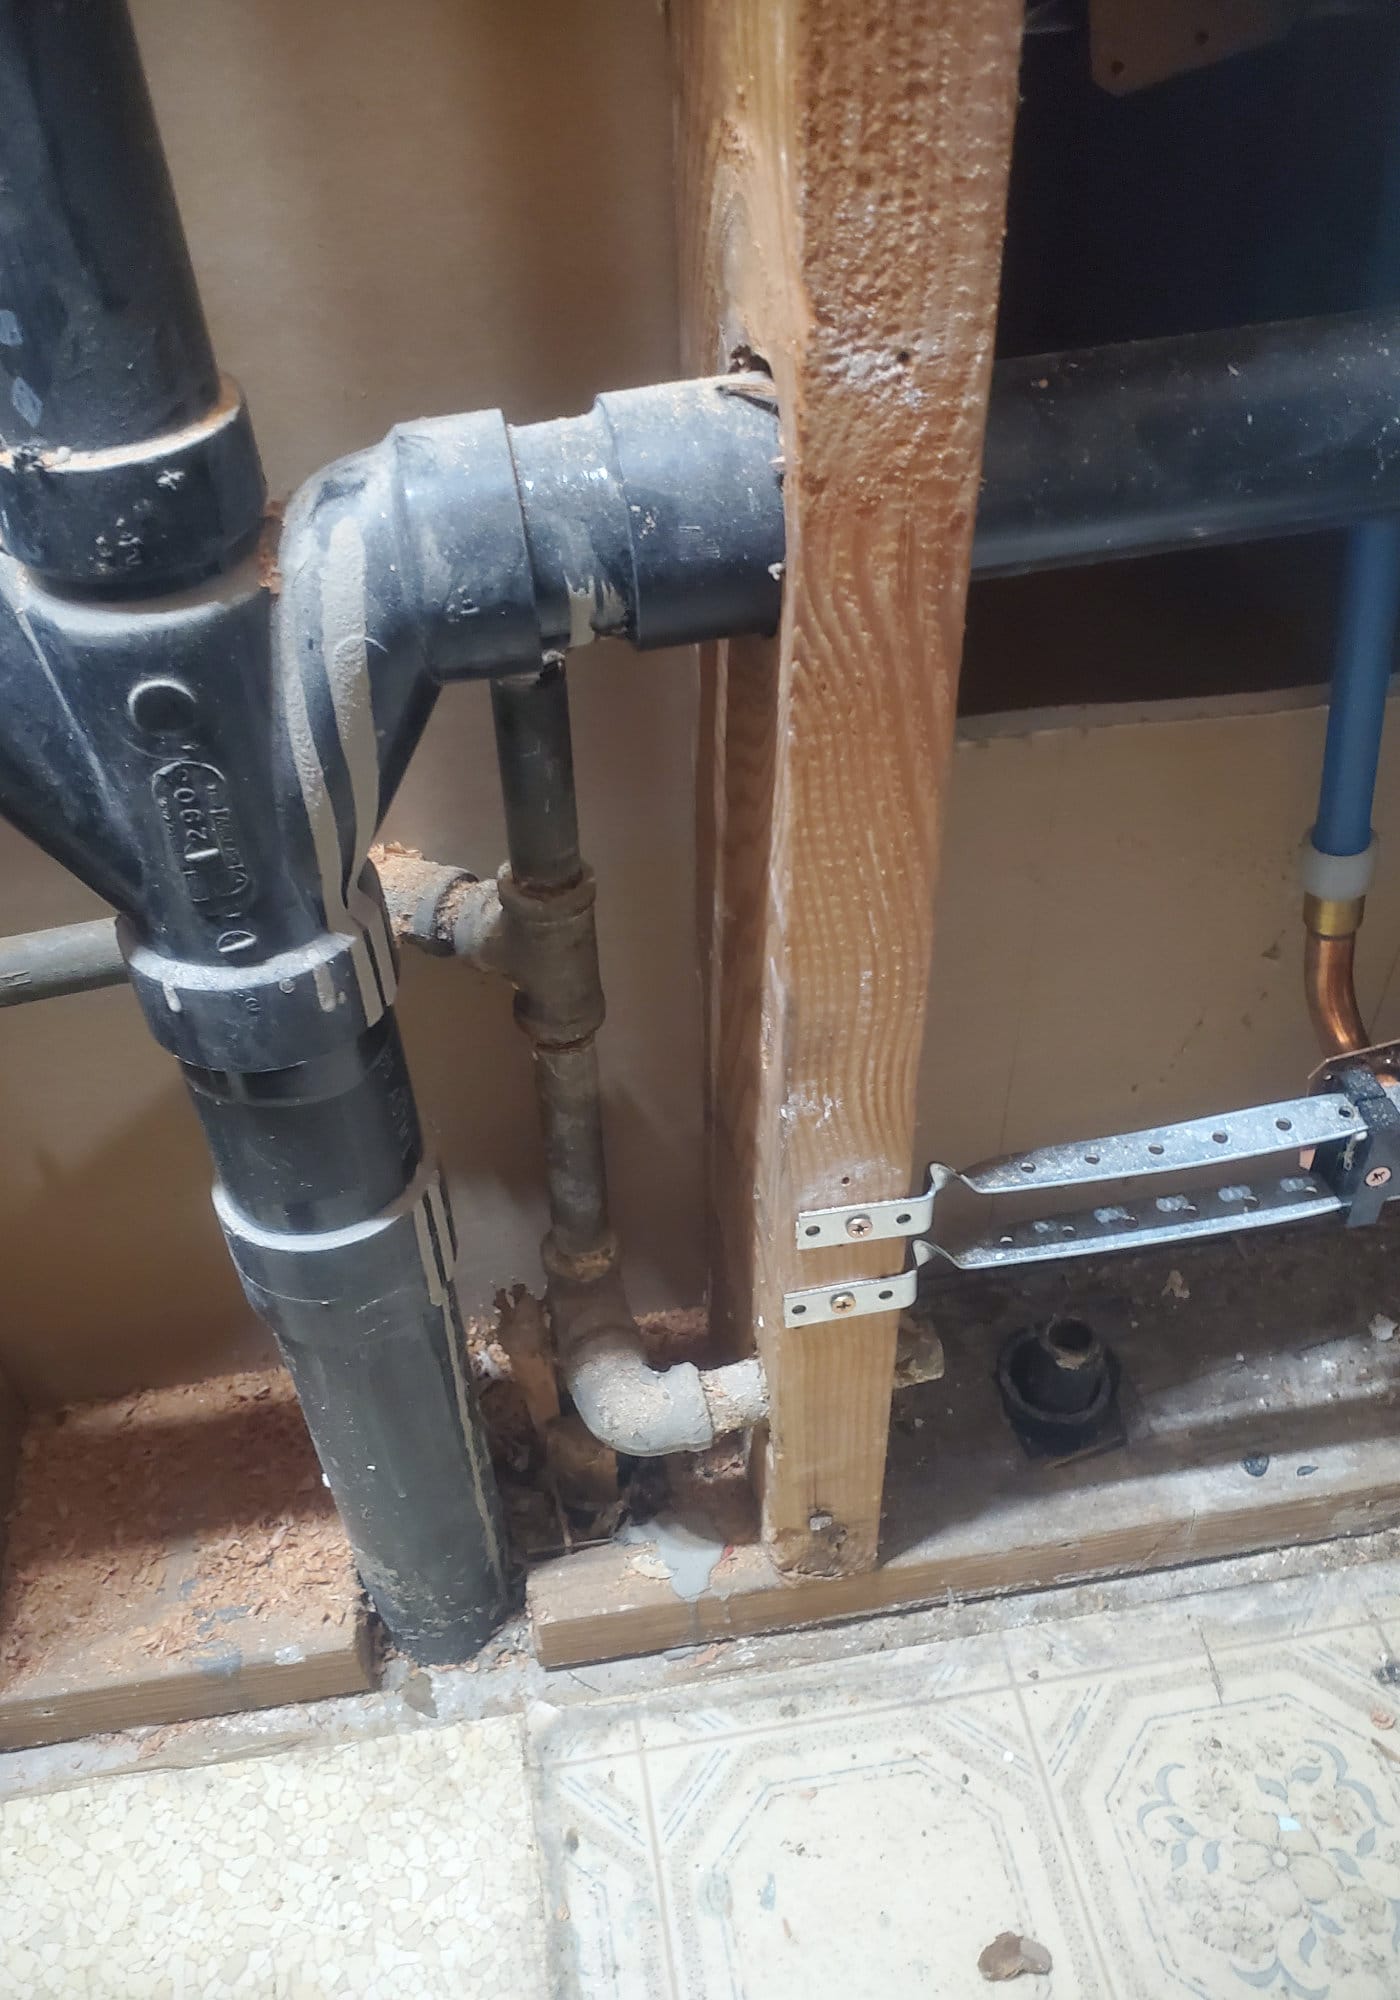
Getting Started: Demo & Plumbing
We kicked things off with demolition and plumbing work. The crew exposed the existing lines and handled all the code requirements — cutting old plumbing flush to the plates, fire caulking every hole (old and new), and insulating the hot water lines. Everything got done properly so the house would be safe and efficient for years to come.


Plumbing Done, Drywall Patching, & Cabinet Decisions
While the plumbing was wrapping up, the cabinet sample arrived and the homeowner confirmed they loved the H9 Chiffon Highlight finish. They stuck with the symmetrical laundry setup using two 30×36 Shaker white upper cabinets.
Drywall patching started in the kitchen, and soon after they finalized the full cabinet order for both the kitchen and laundry. We coordinated everything so the plumbing, drywall, and cabinet teams could hand off smoothly. The cabinet knobs and pulls were ordered to perfectly match the doors, and we had a solid plan in place.


Plumbing & Patching Finished — Ready for the Fun Stuff
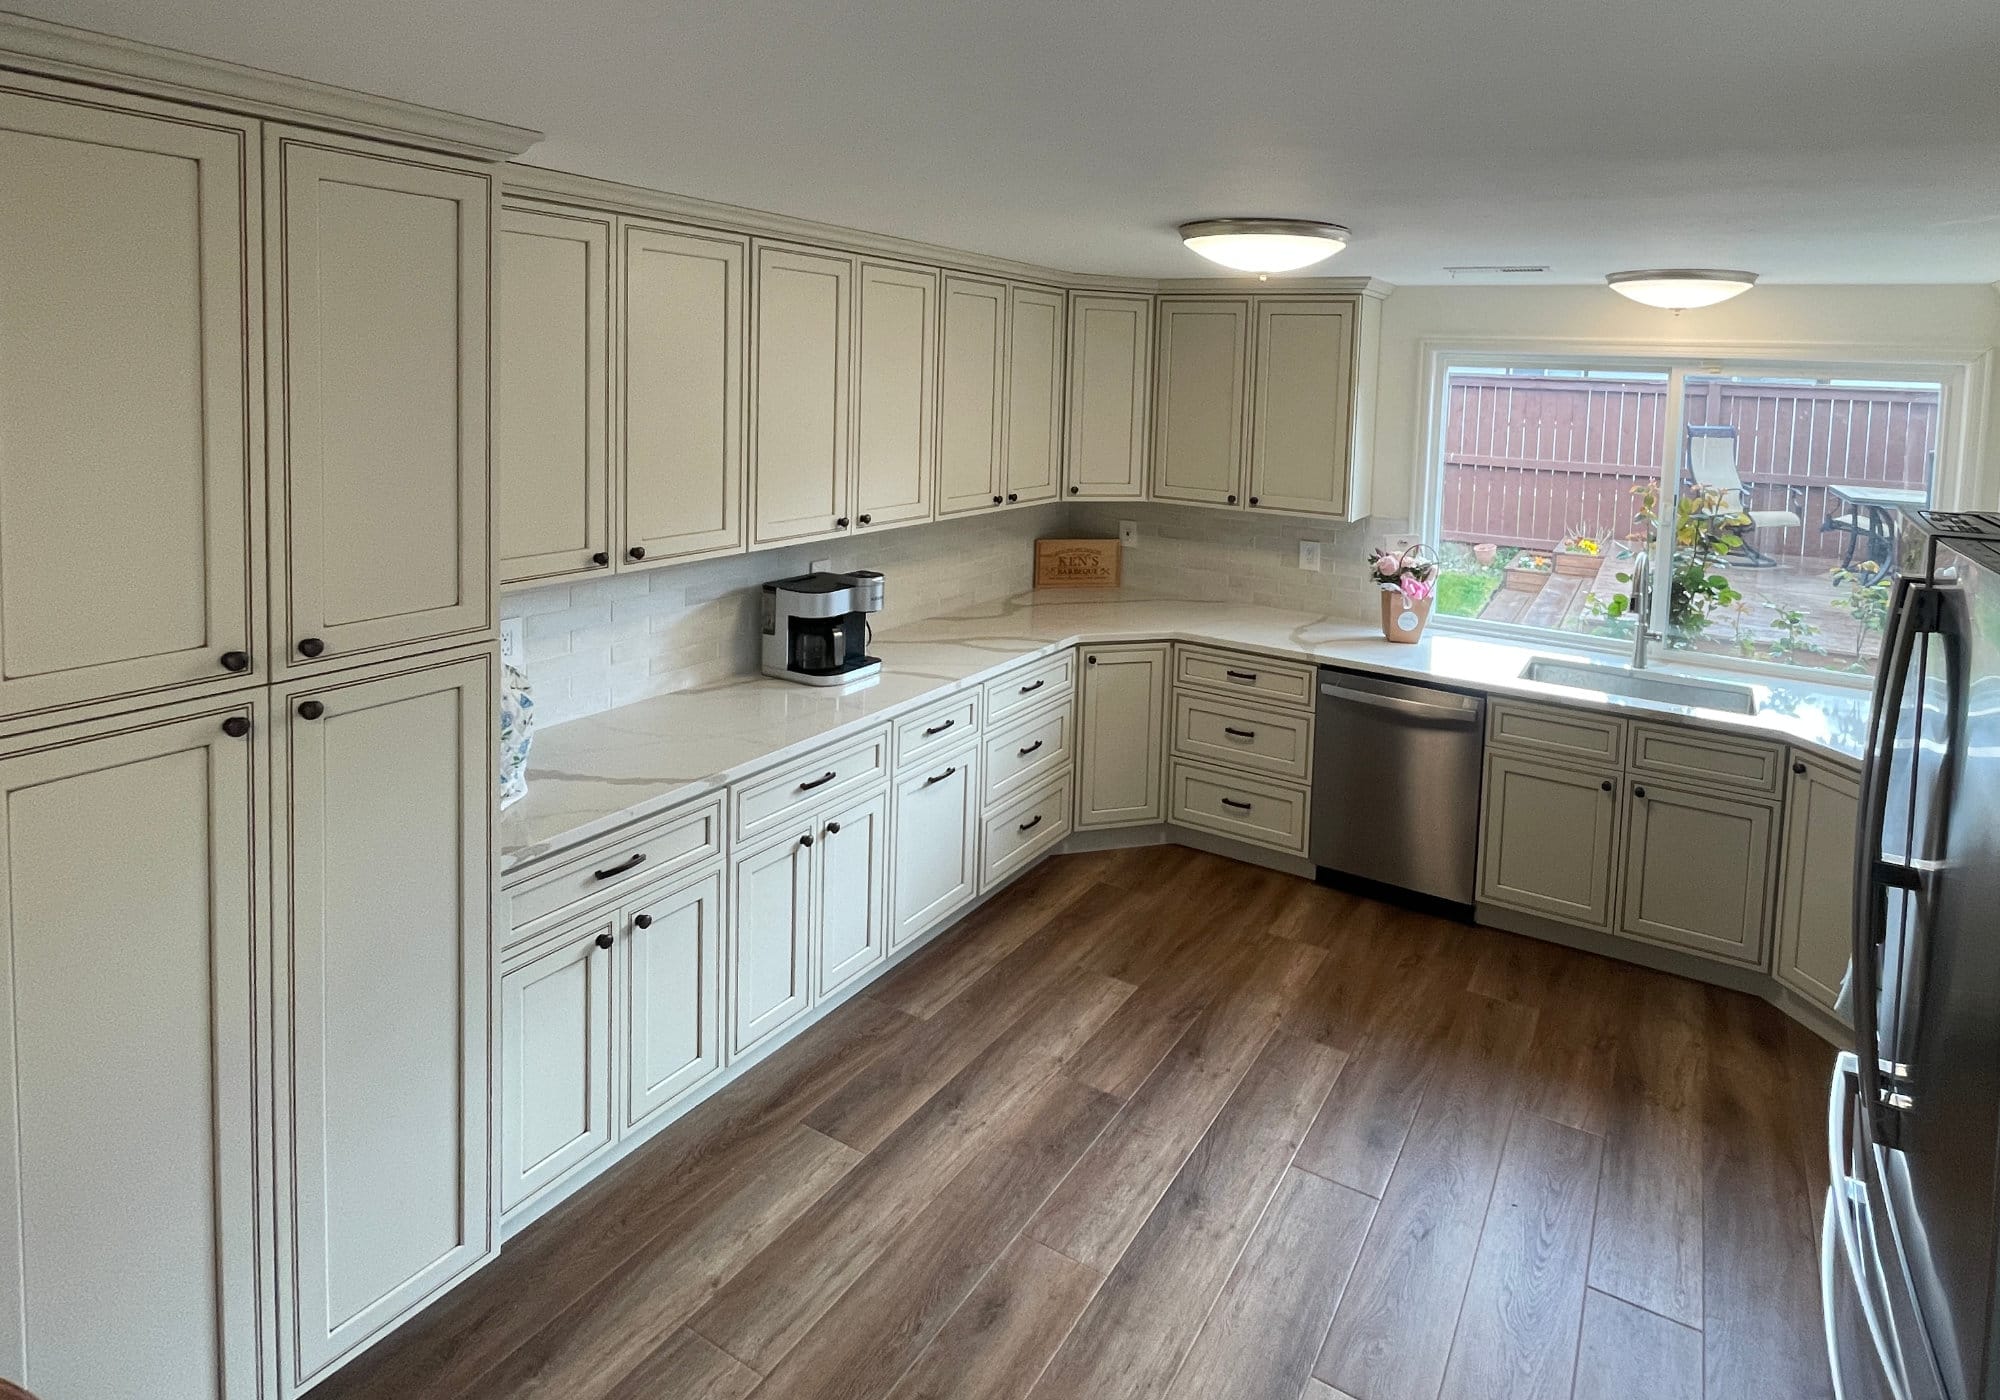
With the plumbing and patching wrapped up, it was time to move on to flooring. The durable LVP flooring was installed in both the kitchen and laundry room — it looks great and is super practical. There was a small schedule tweak on the cabinet delivery, but the homeowner gave us a quick heads-up and everything stayed right on track. The space was quickly turning from a construction zone into something that actually felt like a kitchen again.


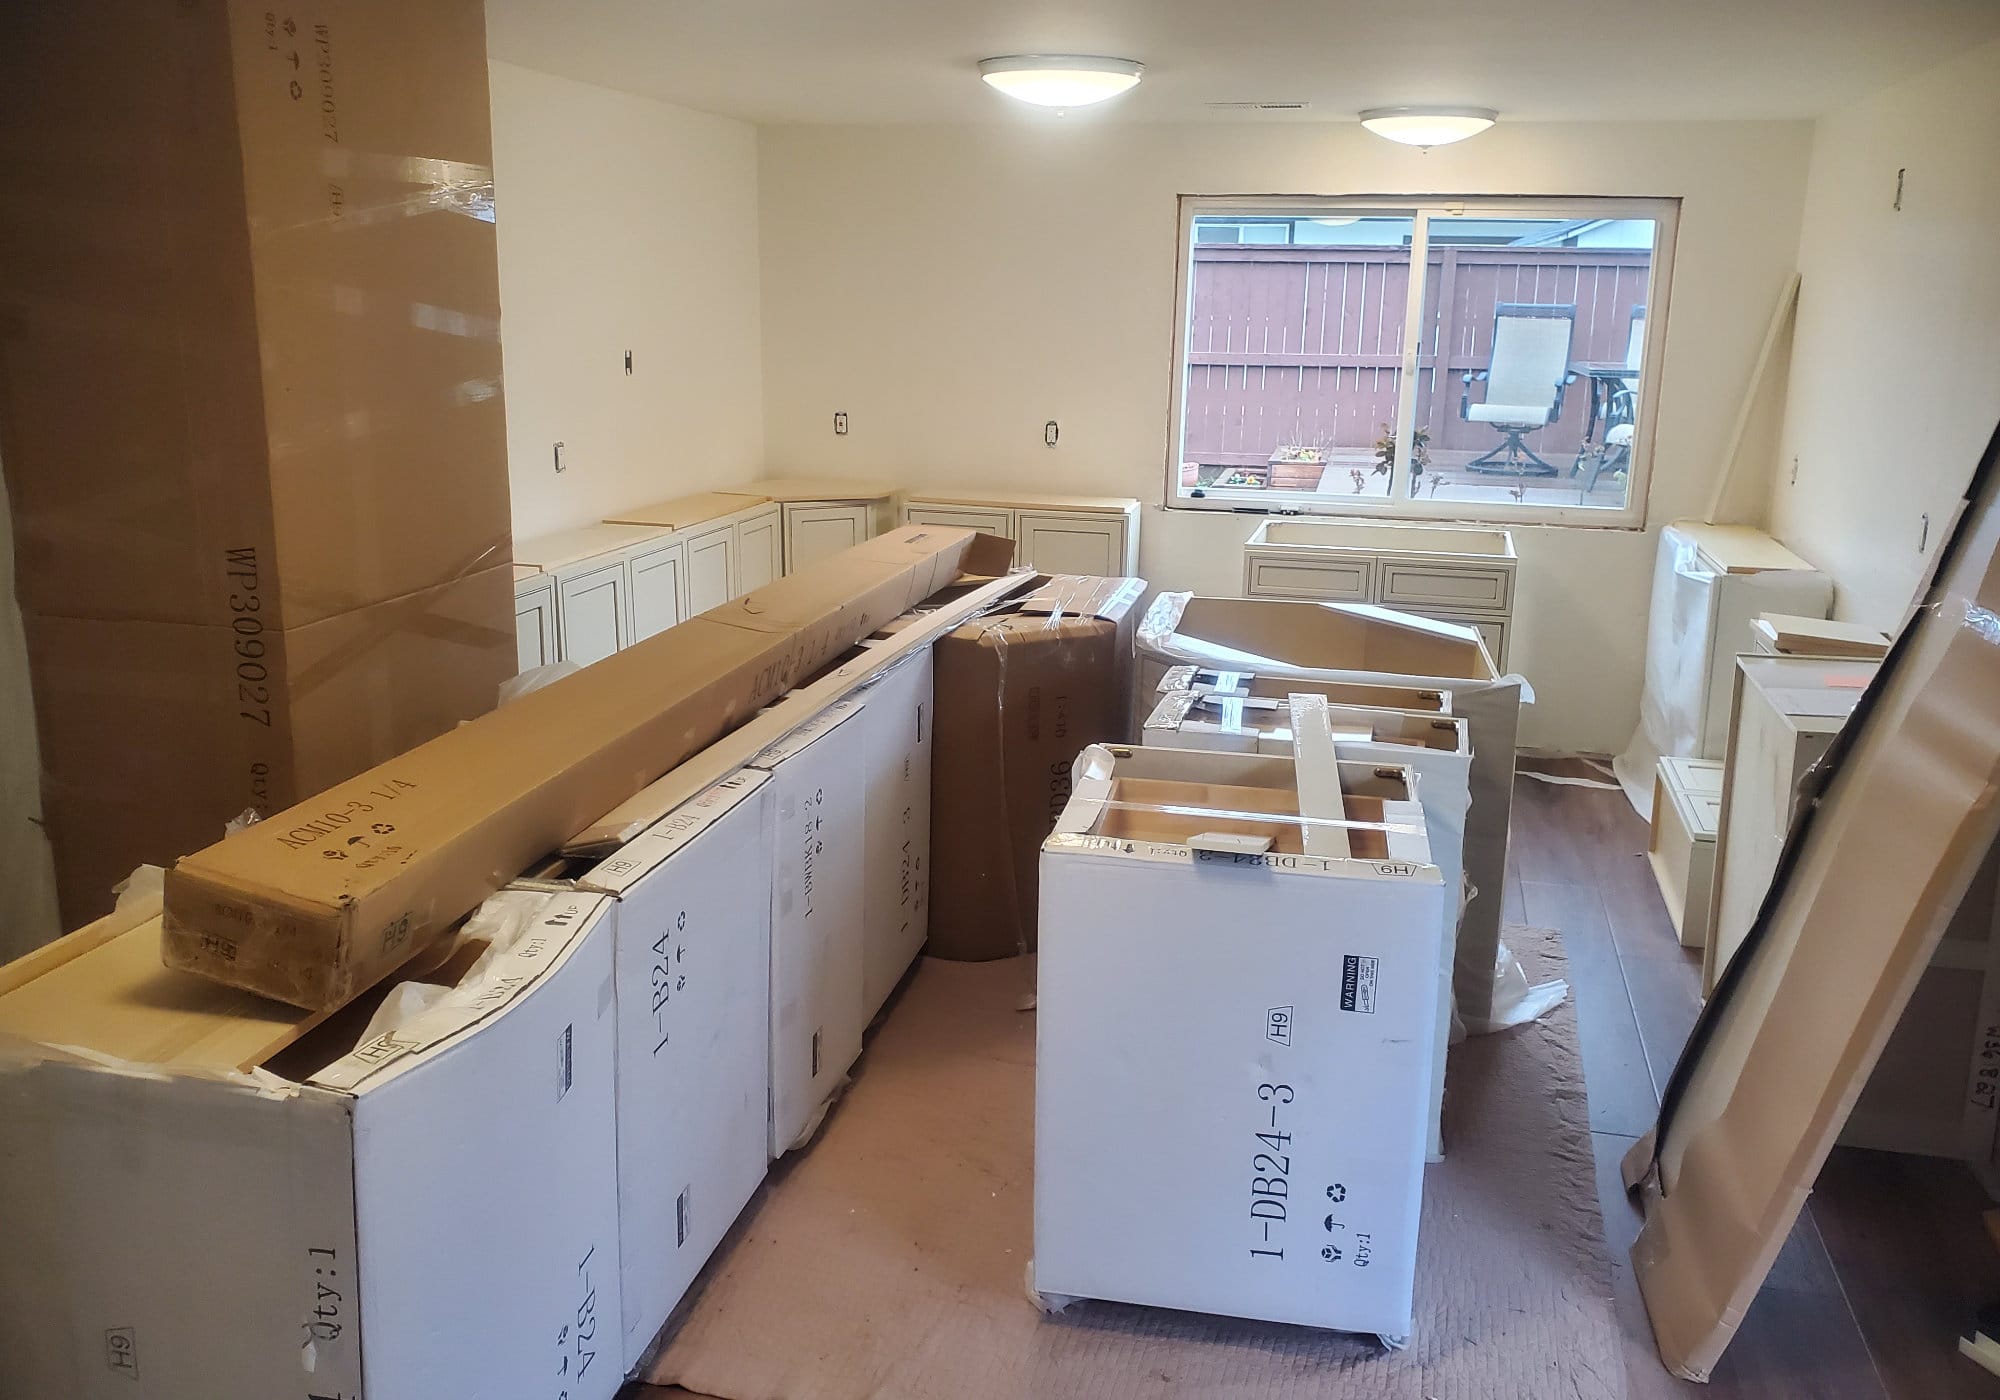
Cabinets Arrive & Get Installed
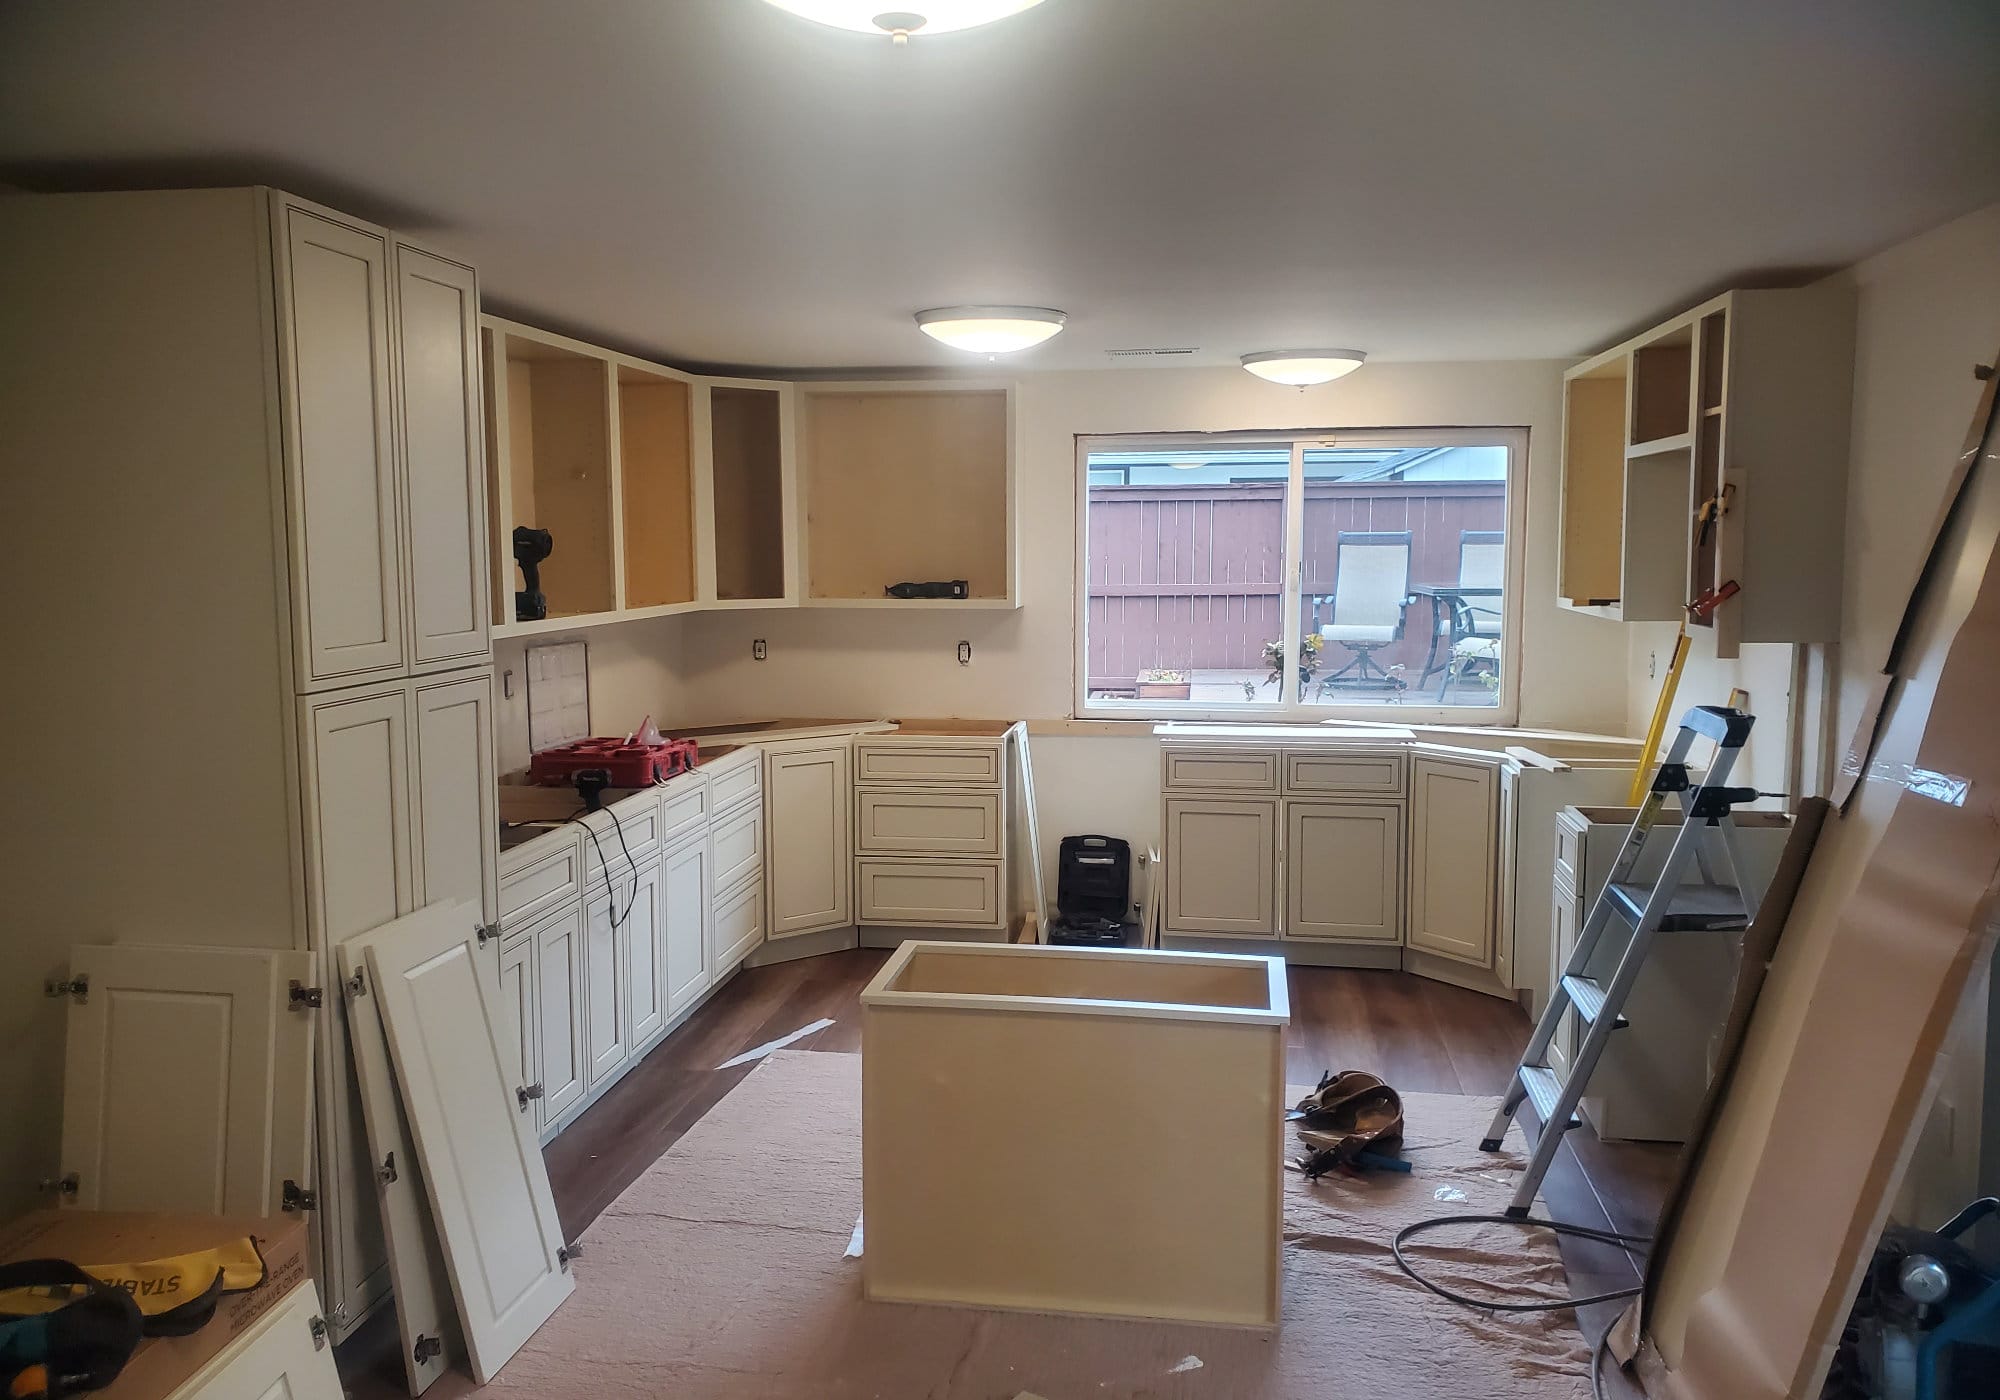
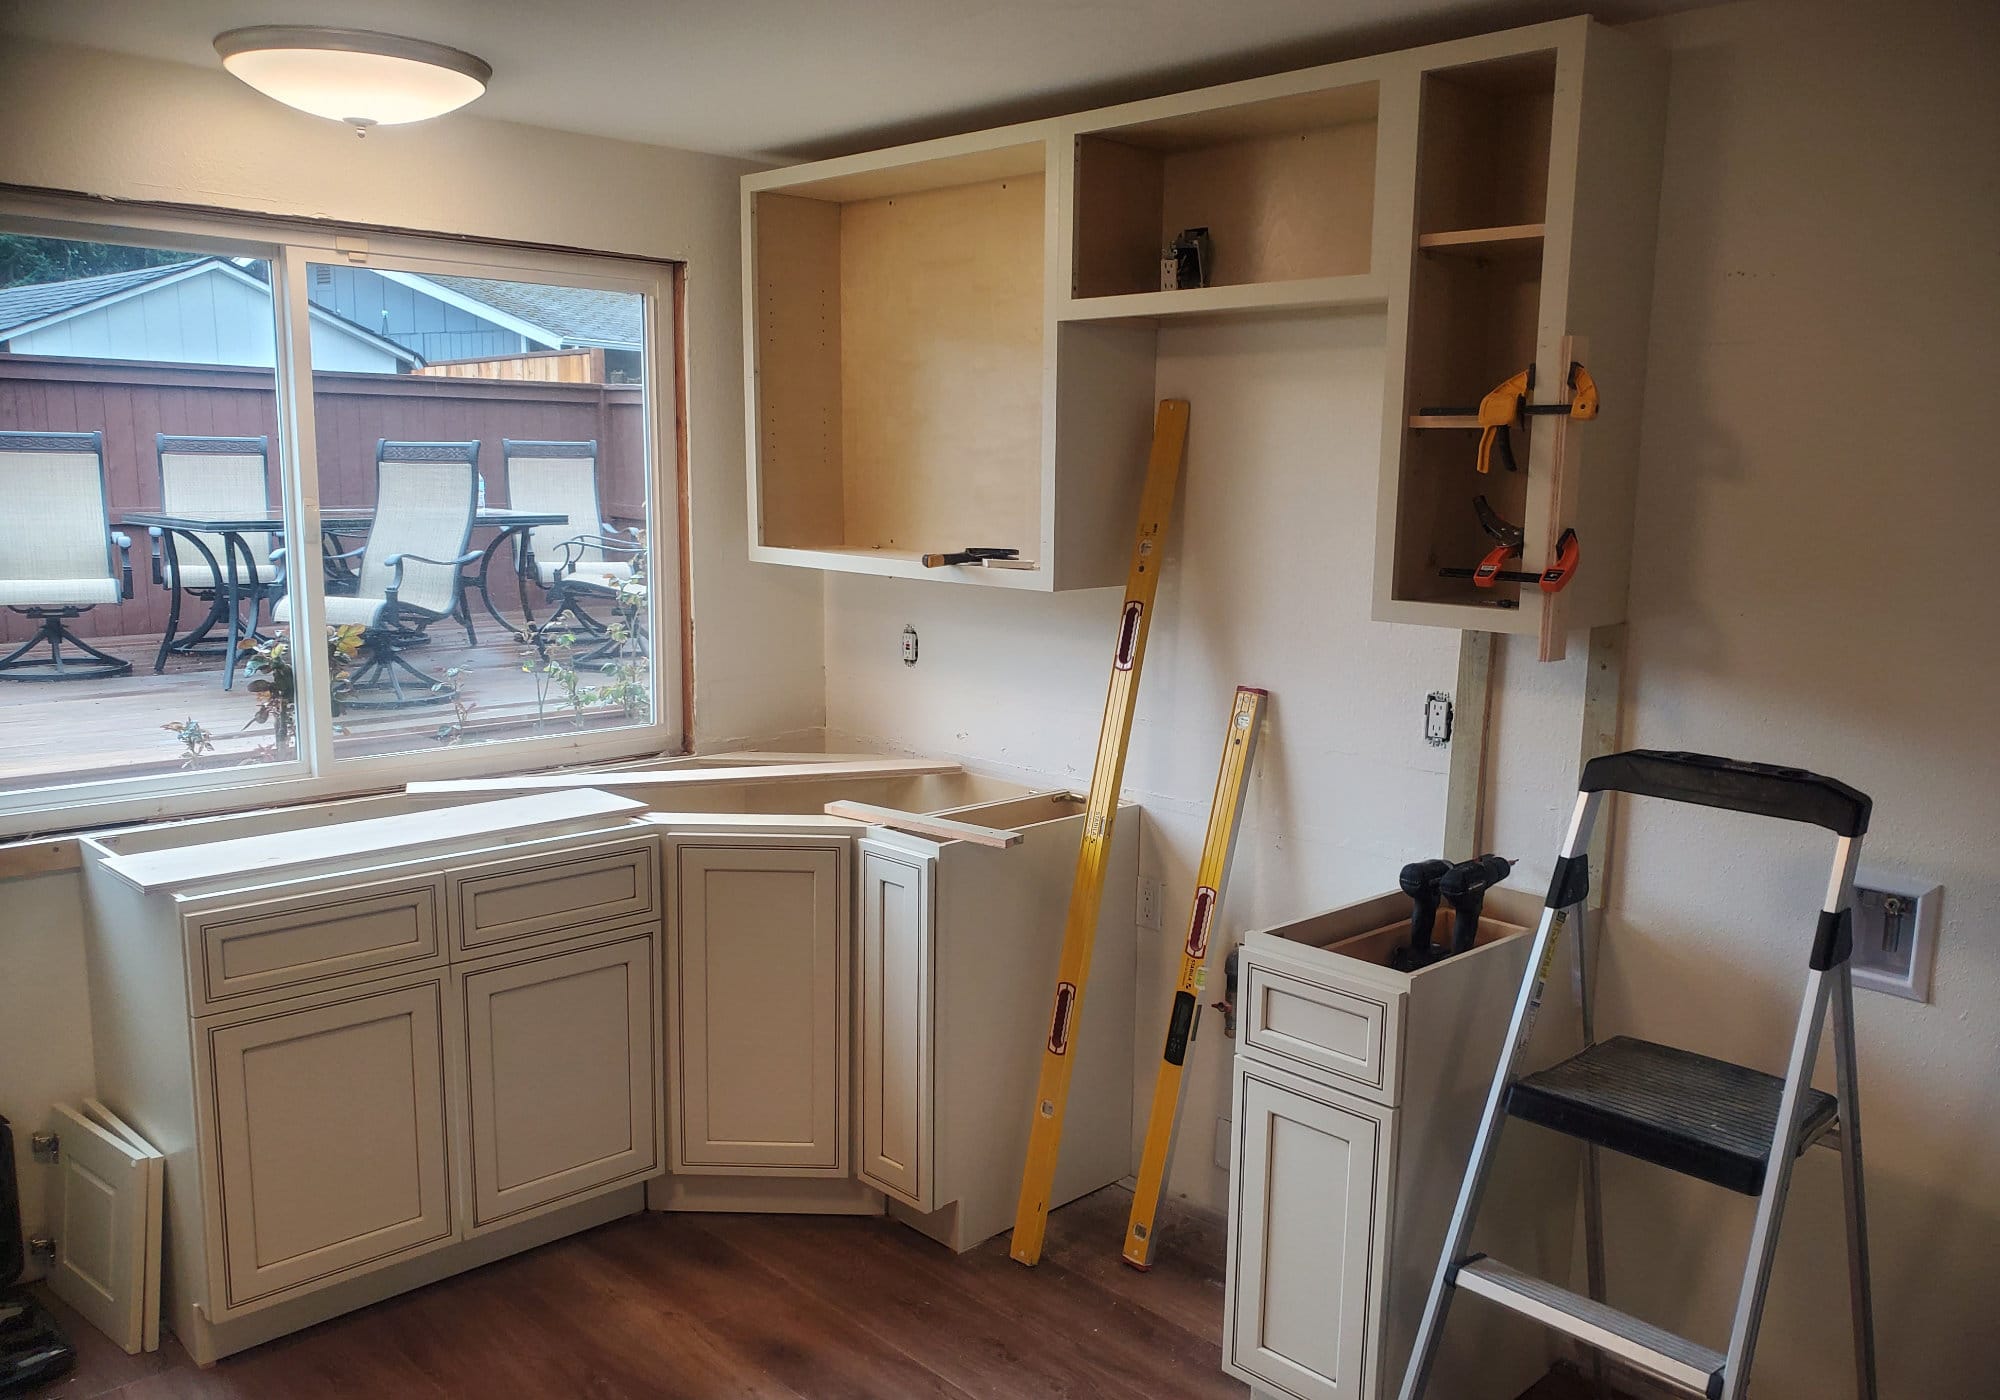
When the cabinets showed up, the team laid them out on the floor in exact installation order — a “dry fit” that helps us check clearances for appliances, plumbing, and outlets before anything gets screwed in. The next day the installer got to work, carefully leveling every base cabinet, securing them to the studs, and fastening them together for a rock-solid run. Special attention went to the sink base so the final plumbing hookups would be clean and easy.


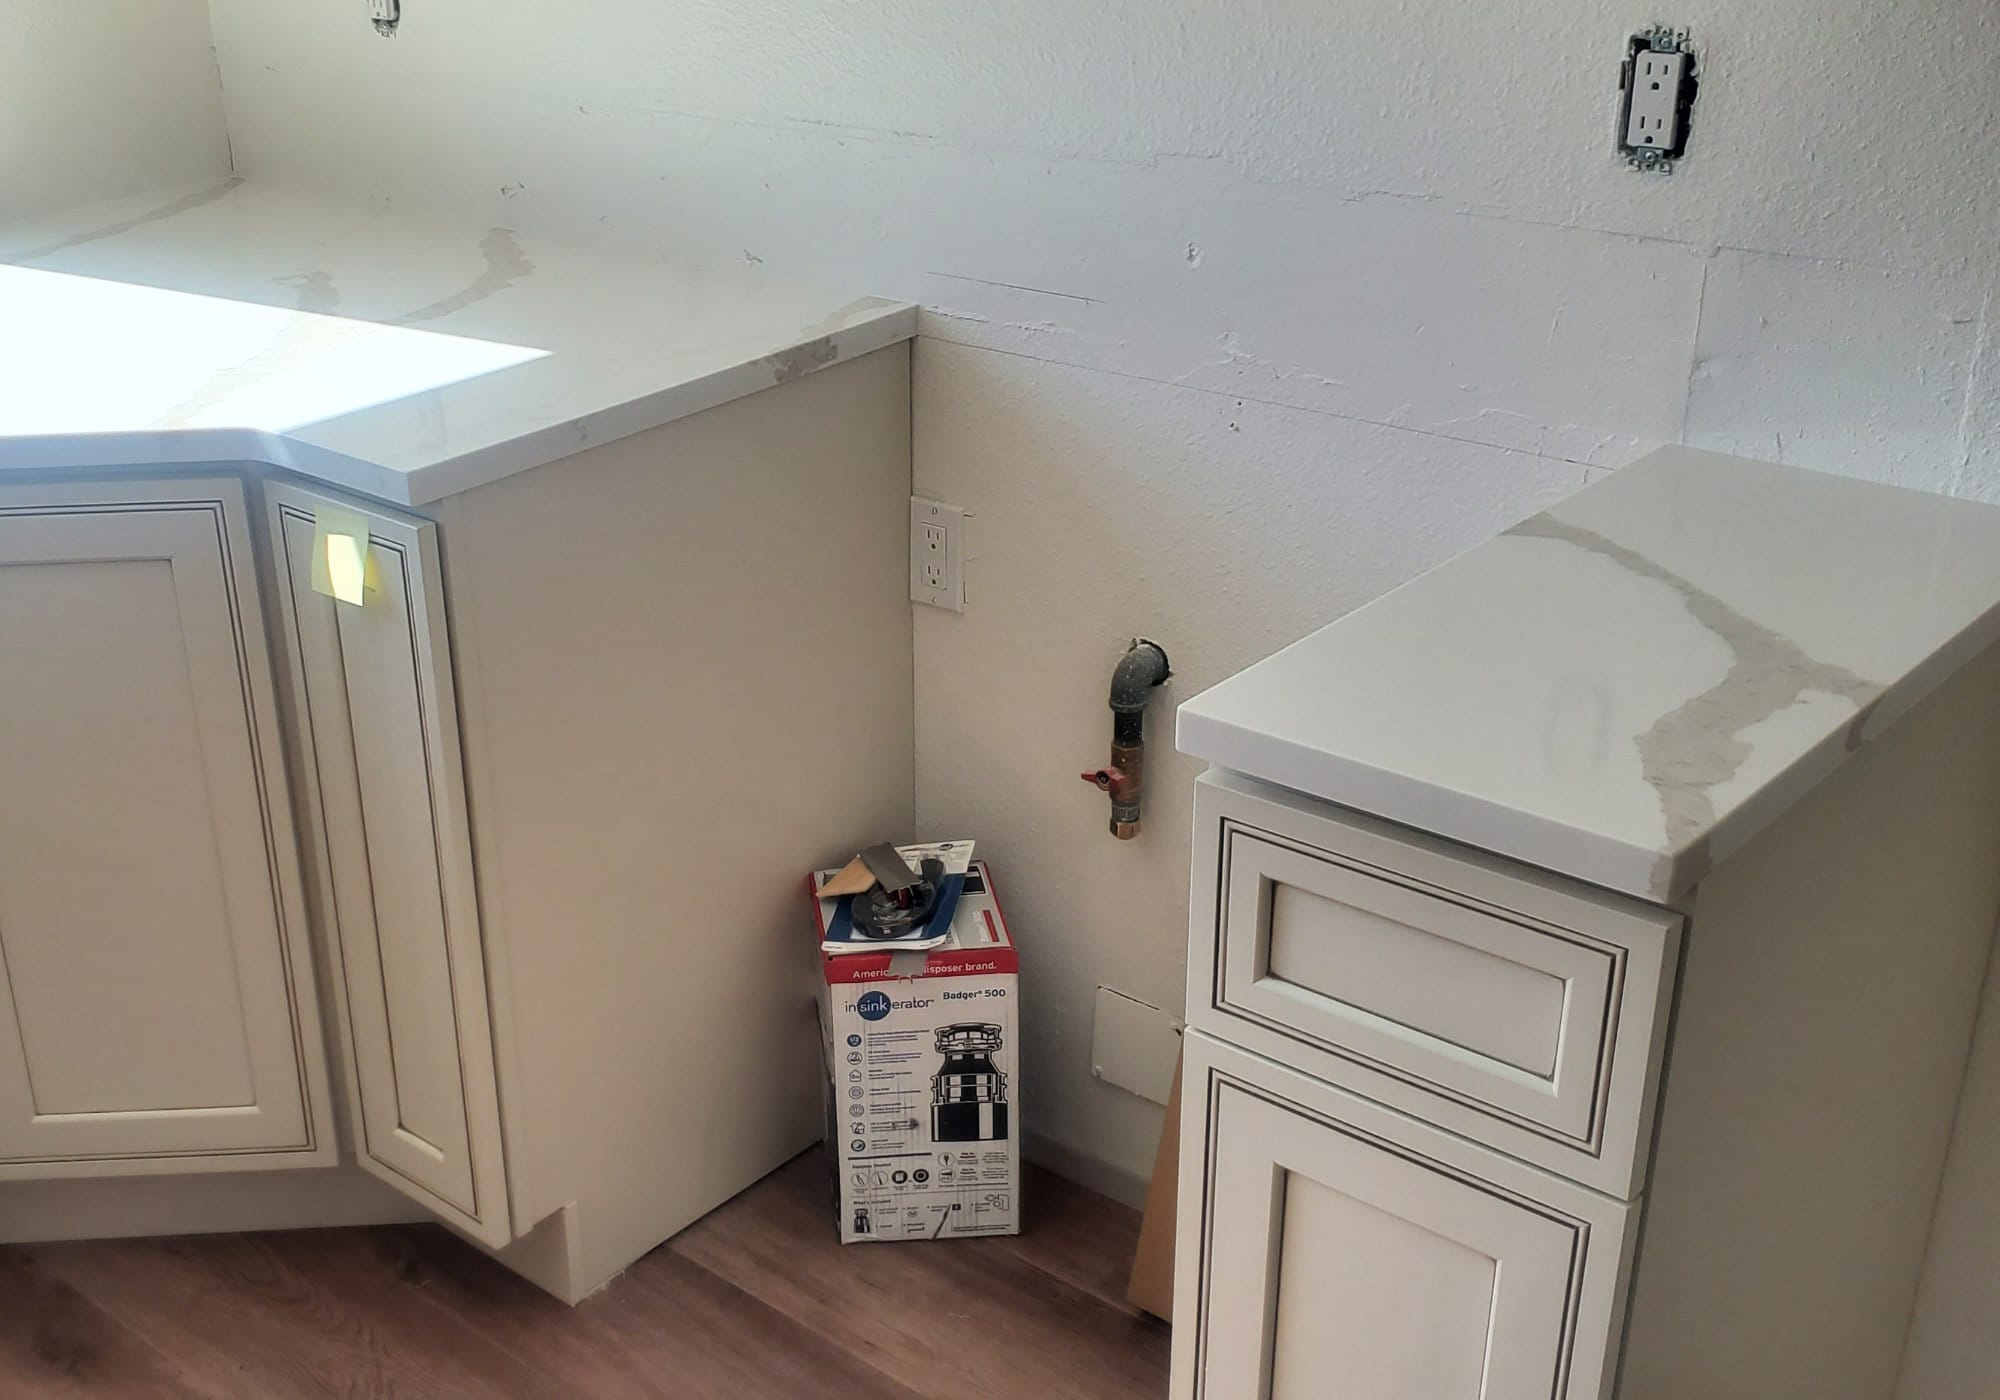
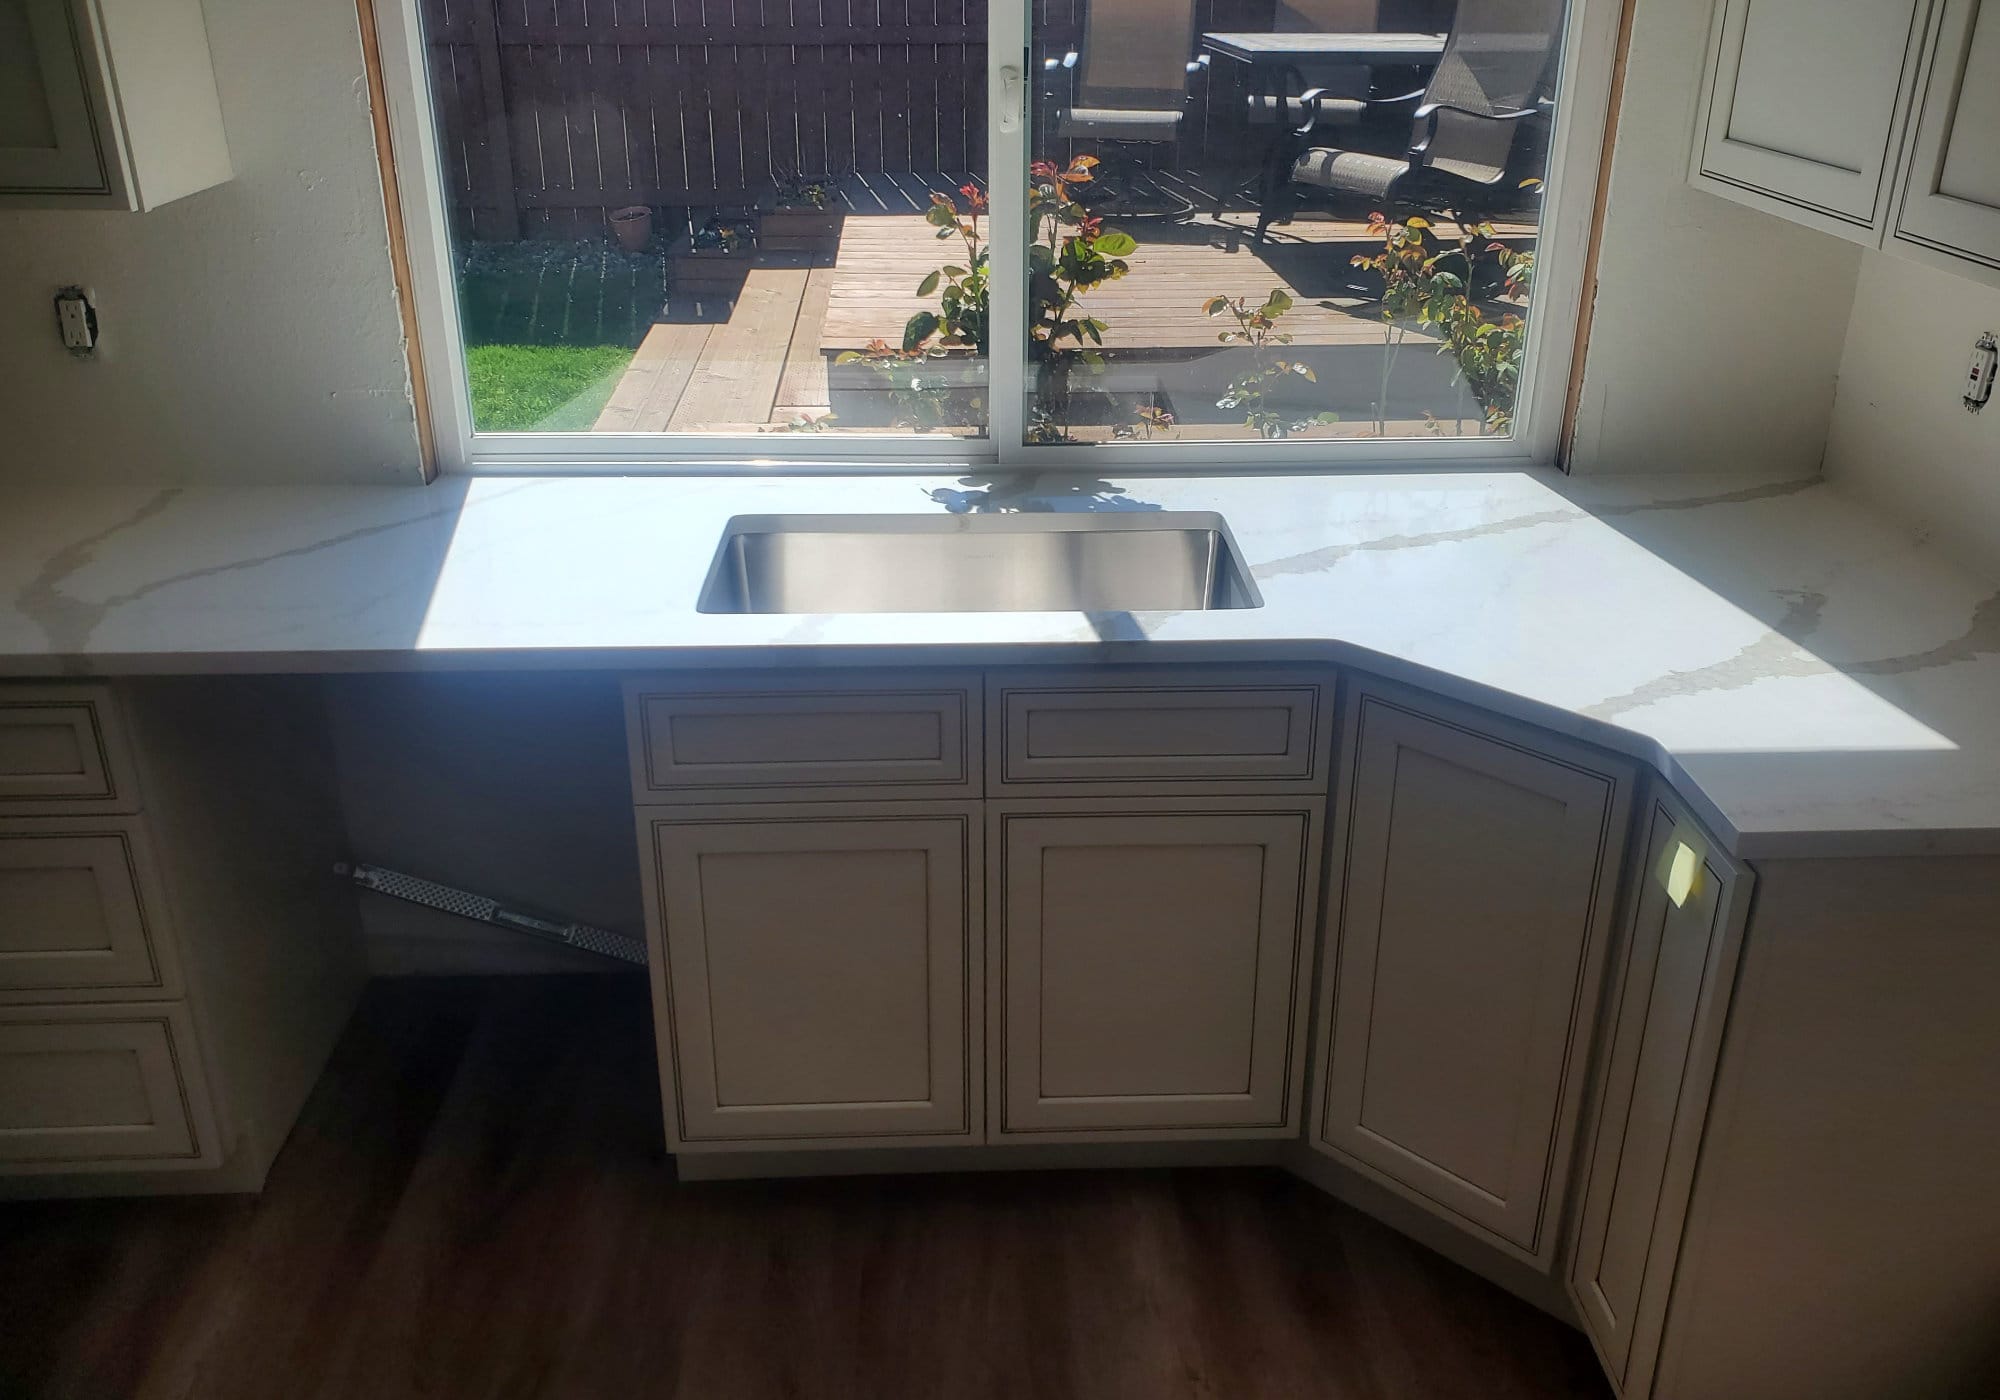
Countertops, Backsplash & Finishing Touches
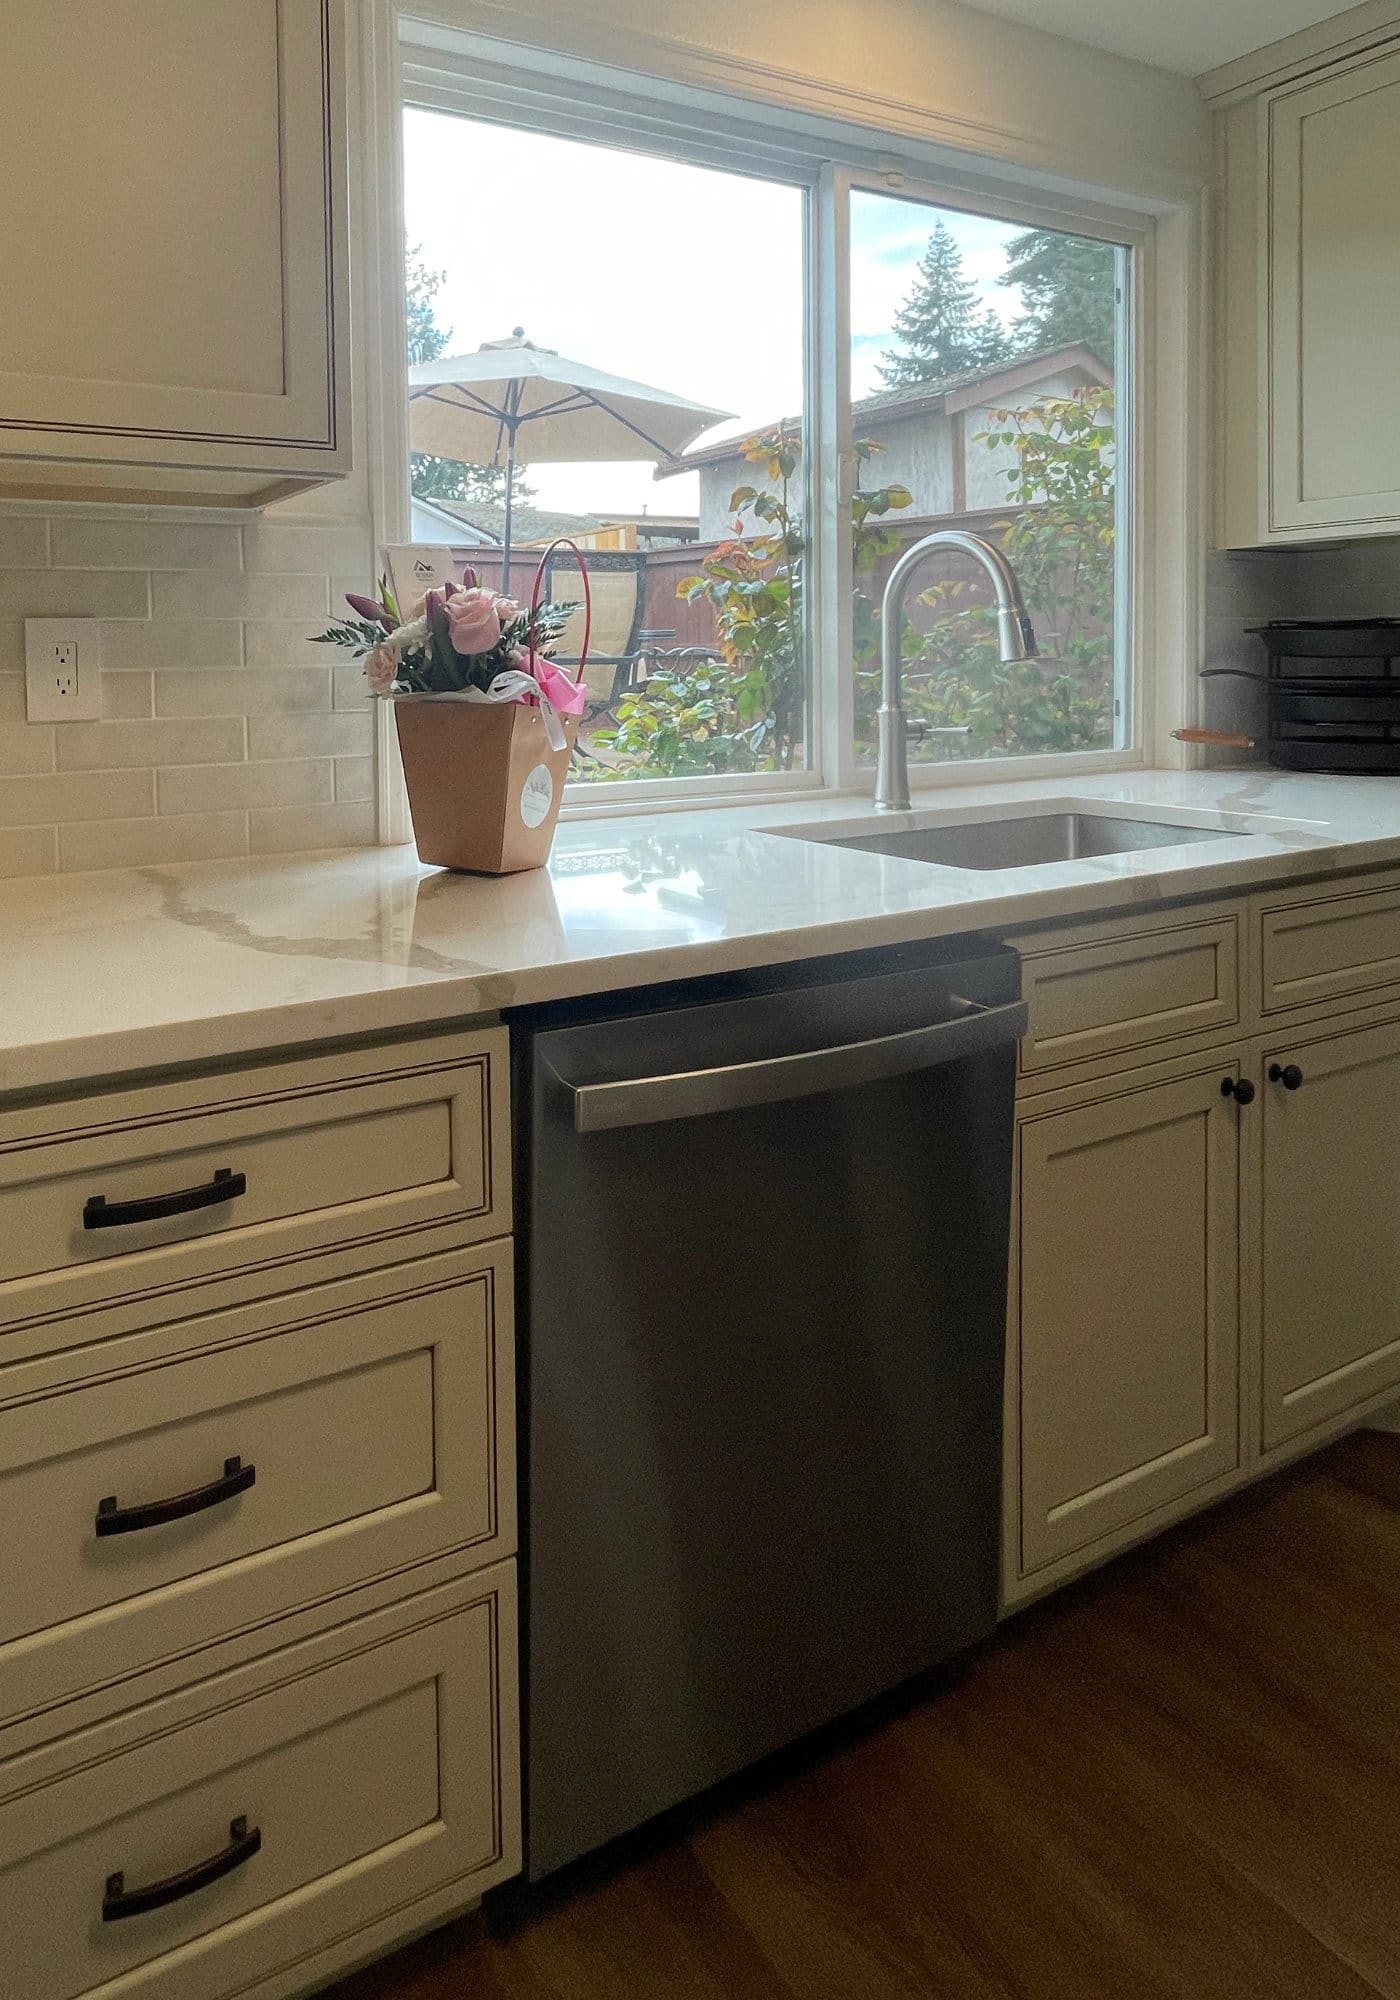
The stone fabricator came out to template the counters (including the fun little dog storage station) and we made sure the undermount sink was accounted for. Once the beautiful countertops were installed, it was a huge visual upgrade. Next up, the microwave hood went in with proper 6-inch ductwork vented through the roof.


Tile Work and Cabinet Hardware Installed
The team started by preparing the walls: they applied a thin layer of moisture-resistant primer over the newly patched drywall above the countertops, then snapped precise layout lines using a laser level to ensure perfectly straight and level rows. Each 3×6 subway tile was set with a consistent 1/8-inch grout joint using a premium modified thinset mortar. The crew worked in small sections, frequently checking alignment with a straight edge and level to maintain uniform spacing and avoid any lippage between tiles. Next, all the cabinet hardware got installed too, and every detail was checked and polished.


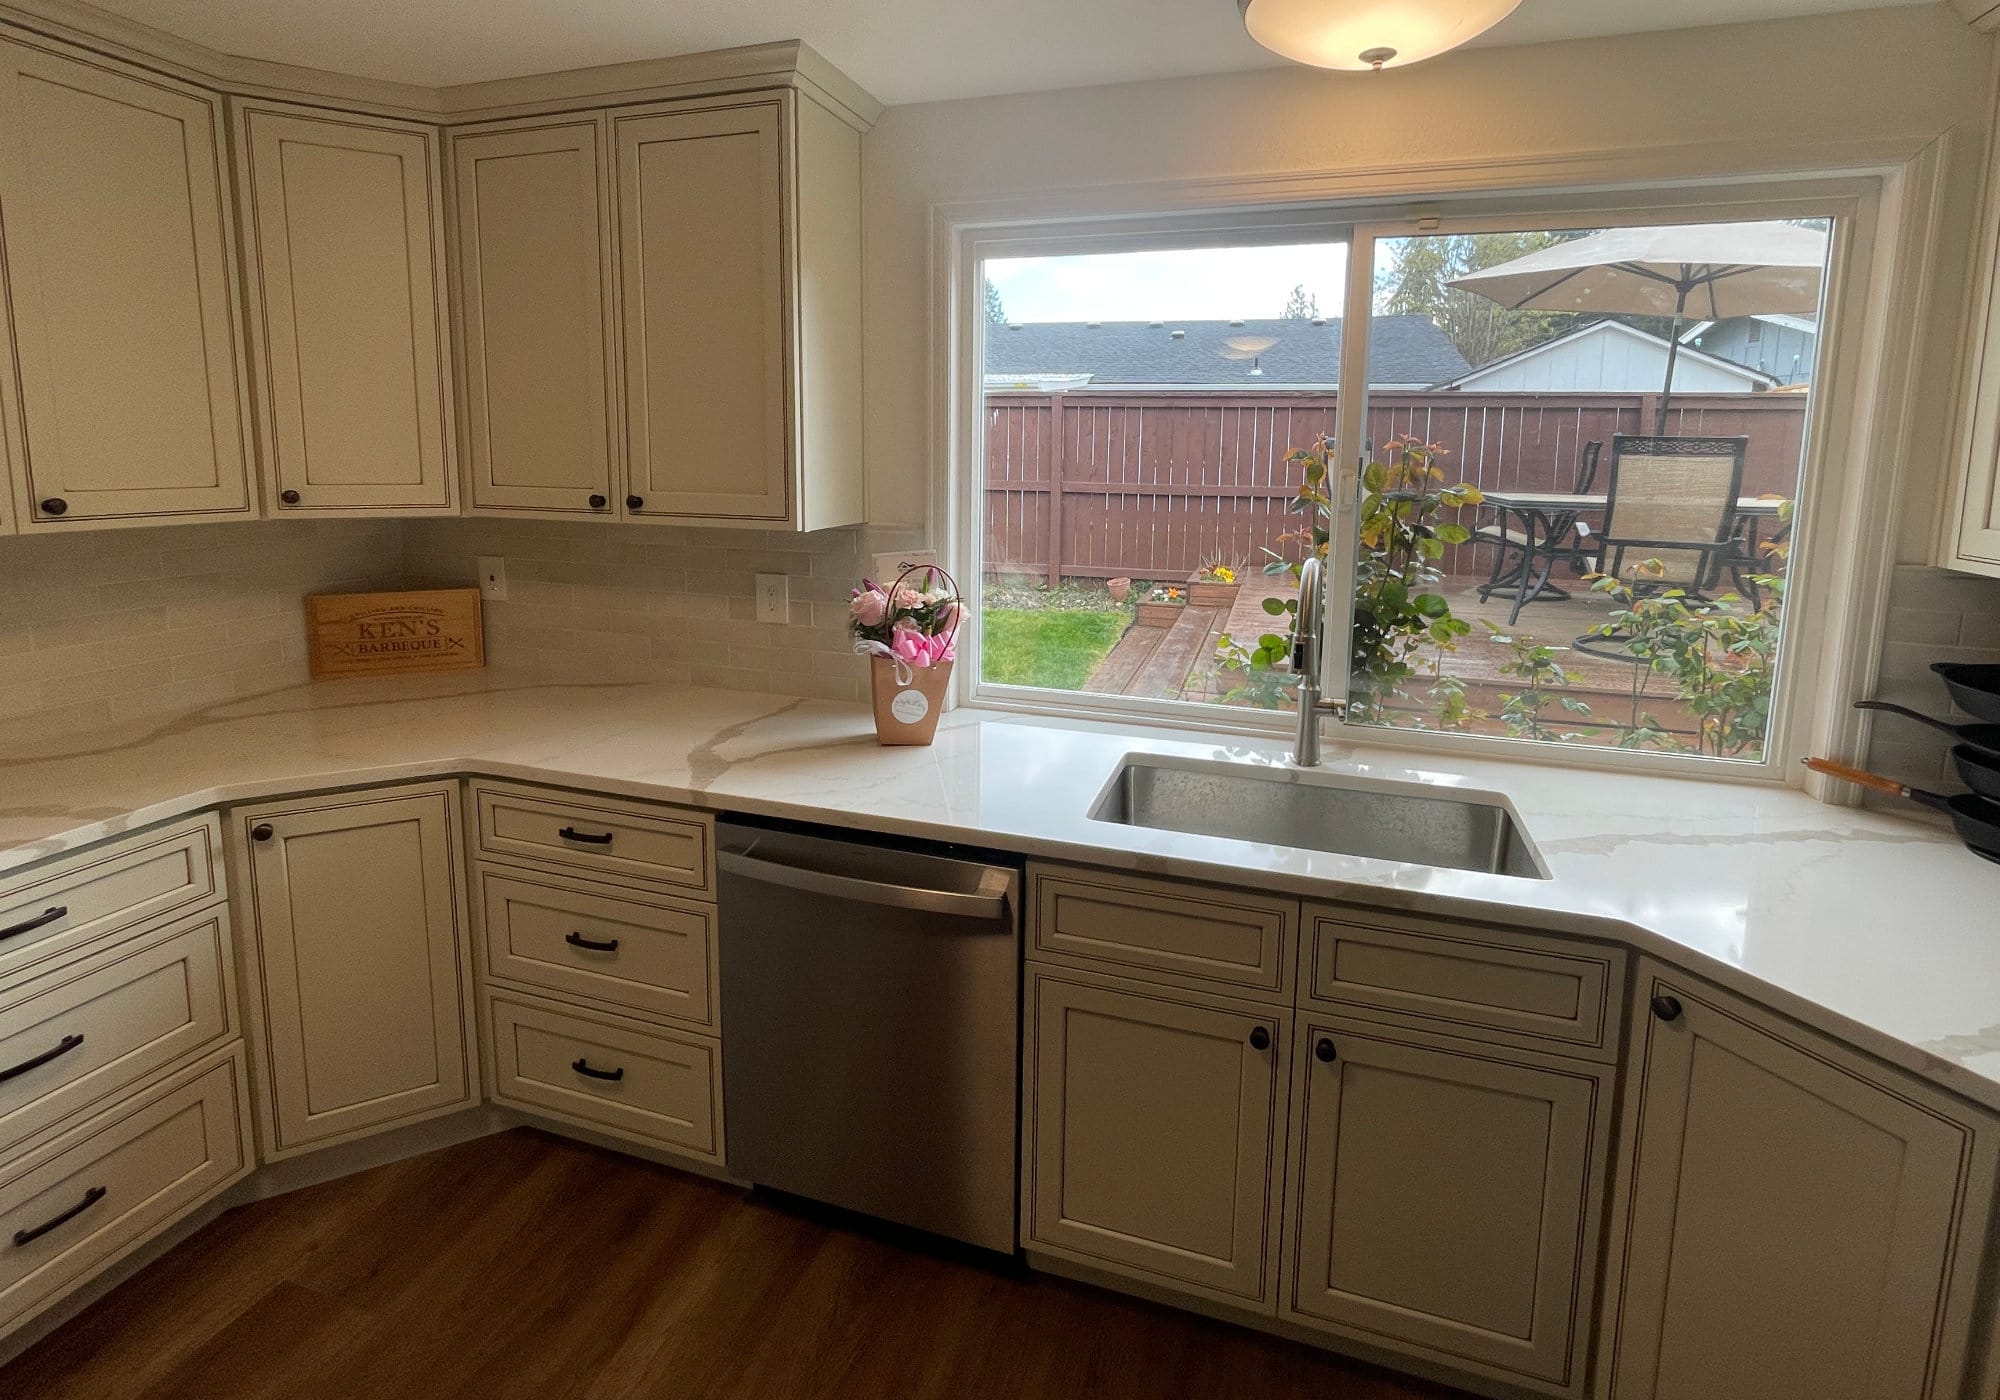
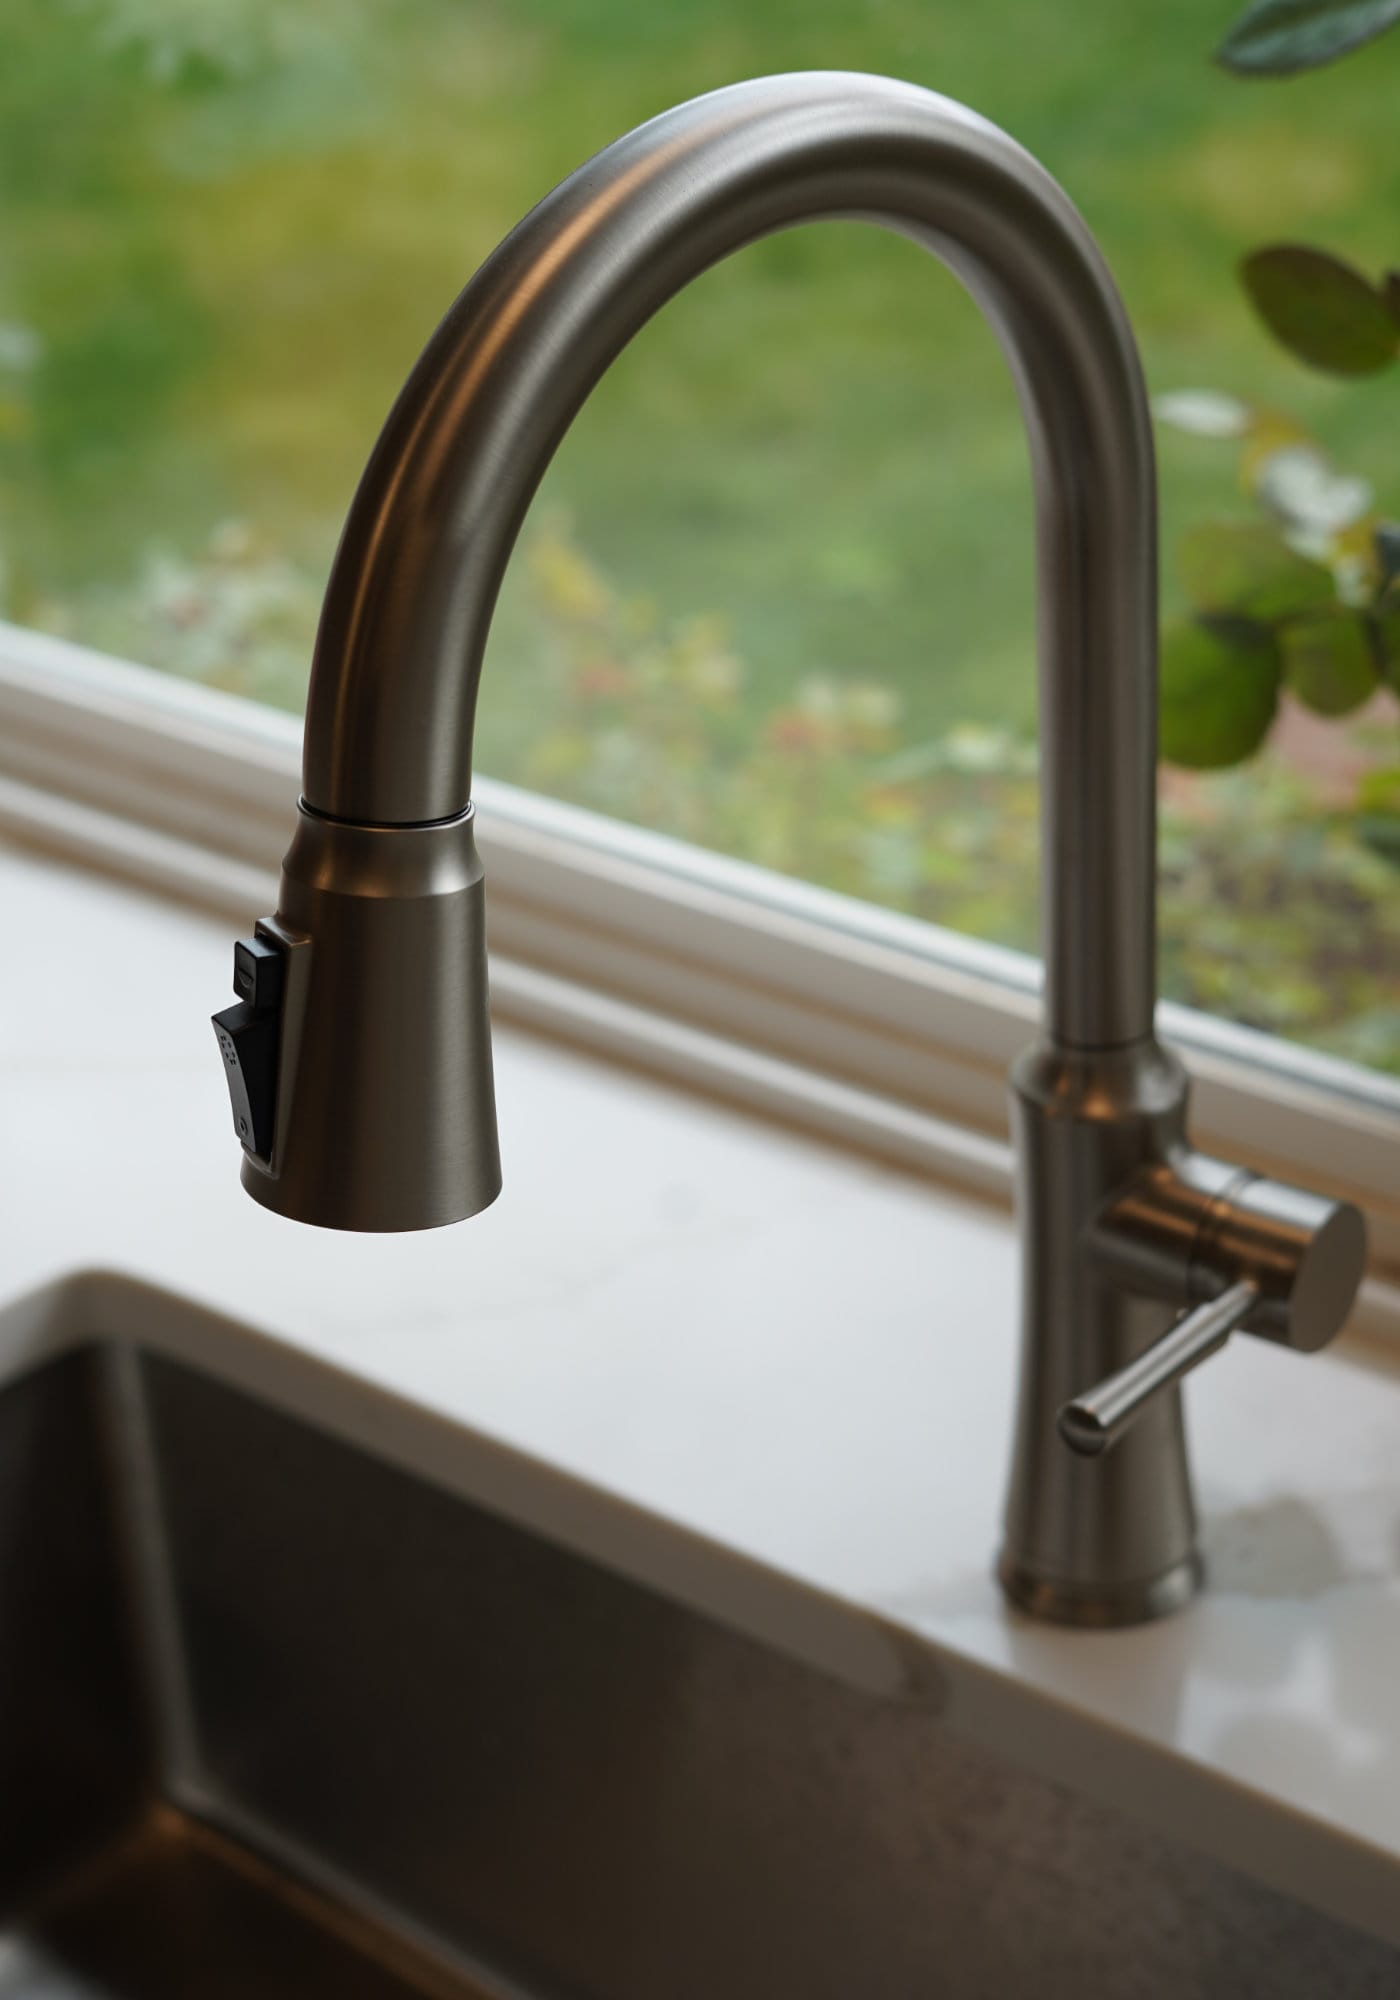
Project Complete!
In the end, the kitchen (and whole-house re-pipe) turned out exactly how the homeowner envisioned: clean, functional, and right on budget. The crisp white Shaker cabinets, symmetrical laundry setup, seamless sink, grouted tile backsplash, and all the thoughtful little details came together beautifully. They were really happy with the transformation, and we wrapped things up with a final walkthrough and photos. It was a smooth project from start to finish thanks to clear communication and everyone staying coordinated.